This section describes the installation process for every Bus Stop type.
If you are installing an OT Bus Stop that will use demo OPC data then you will also need an OPC server (e.g. Kepware). For information on how to install Kepware see here.
If you are installing an IT Bus Stop that will use demo data then you will also need a message queueing server (e.g. ActiveMQ). For information on how to install ActiveMQ see here.
If an earlier version is present it must be uninstalled before proceeding.
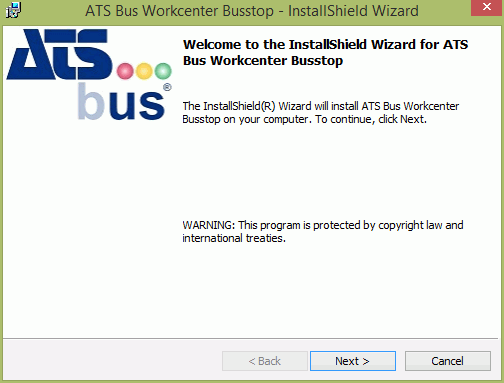
When you run the installation executable the following screen will be displayed:
1. Click Next.
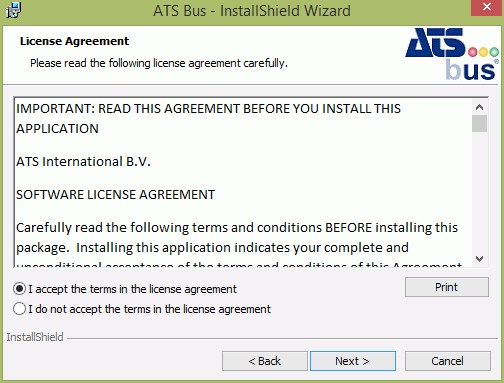
2. Select I accept the terms in the license agreement
3. Click Next.
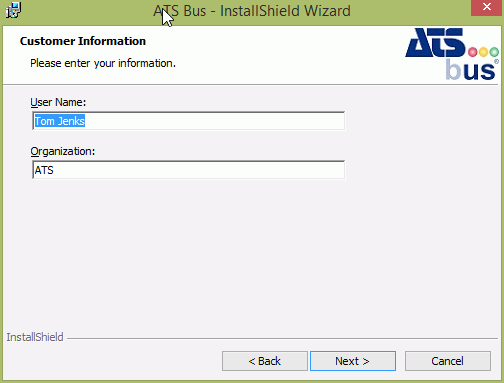
4. Enter a User Name and Organisation.
5. Click Next.
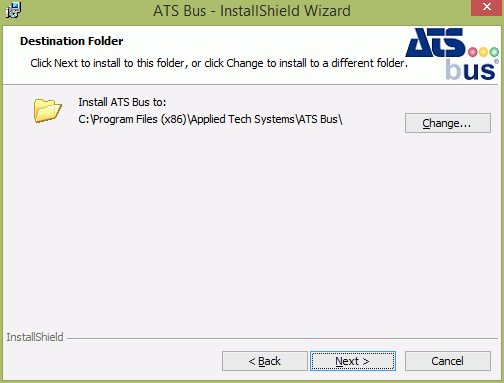
6. Select Change to choose a different destination folder for the installation.
7. Click Next.
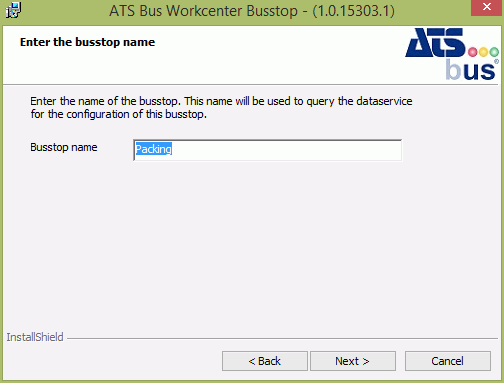
8. Enter the name of the bus stop. This is the name it will use during configuration.
The bus stop may only contain the following characters: 'a'-'z', 'A'-'Z', '0'-'9' and '_'
If you are using demo data with OT, IT or Archive Bus Stop then the names of the Bus Stops will need to be OTBusStop, ITBusStop and ArchiveBusStop respectively.
9. Click Next.
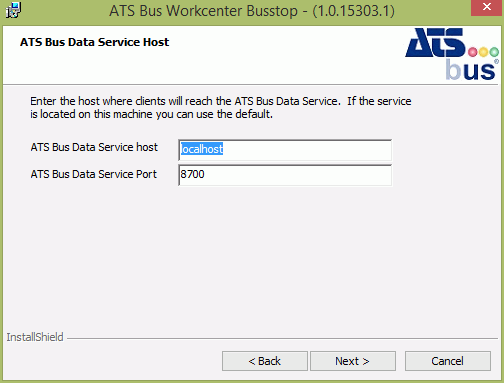
10. Enter the host name and port where the clients will reach the ATS Bus Data Service.
If it's located on the same machine then you can use the default.
11. Click Next.
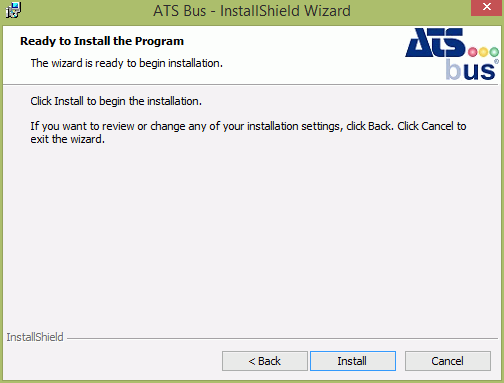
12. Click Install.
When the application has successfully installed the following screen will be shown.
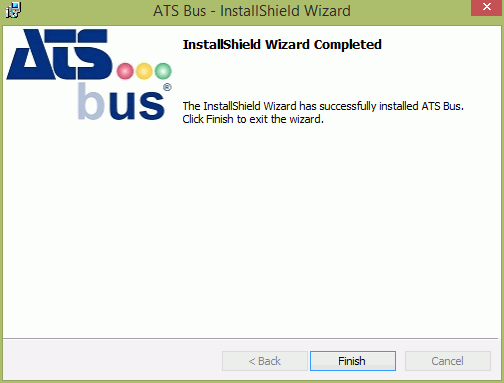
13. Click Finish to close the installer.