In this Topic Hide
This section describes the ATS Bus installation process.
The Services.msc application must be closed before installing ATS Bus.
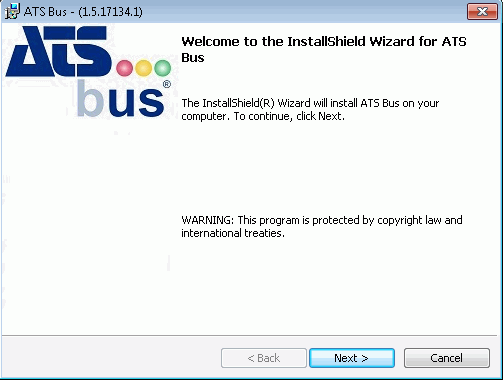
When you run the installer the following screen will be displayed:

1. Click Next.
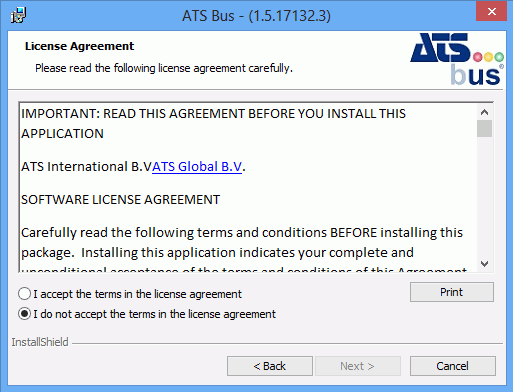
2. Select I accept the terms in the license agreement
3. Click Next.
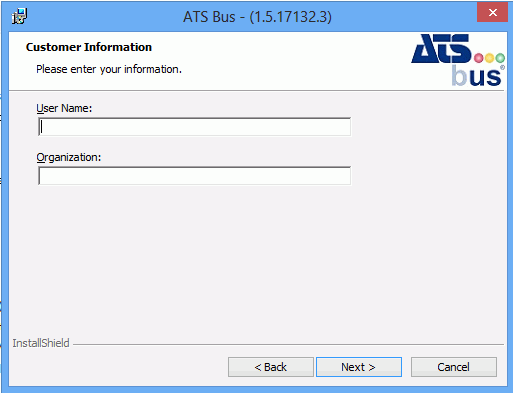
4. Enter a User Name and Organisation.
5. Click Next.
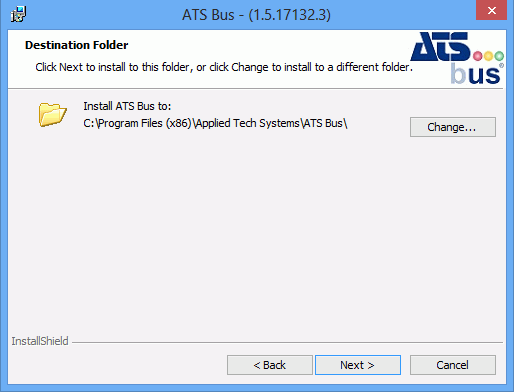
6. Select Change if you want to choose a different destination folder for the installation.
7. Click Next.
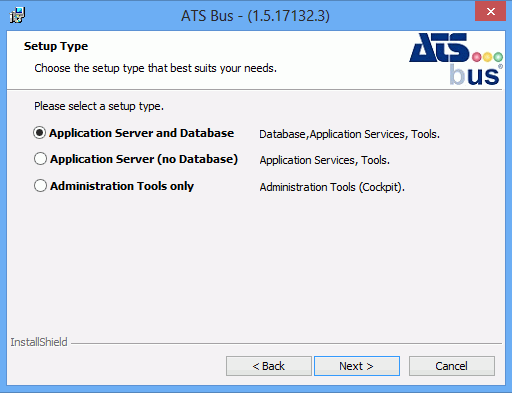
8. Select whether you want to install the application services, database and administration tools, the services and administration tools or just the administration tools.
9. Click Next.
The following screen will be shown even if you have chosen not to install a database as the administrative applications still need to know how to access the database.
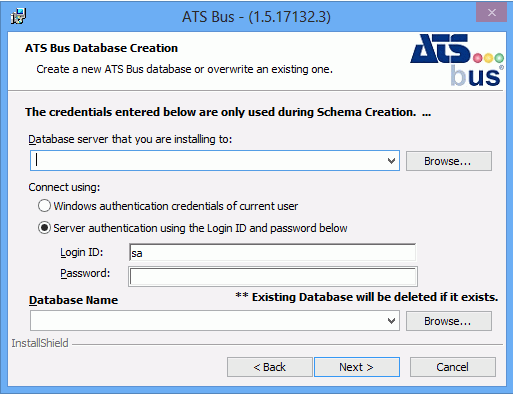
10. Select the database server to install to.
11. Select the authentication method.
12. Enter the login ID and password if required.
The authentication selected will be used by the installer to create the database. The user selected will also be set as the database owner.
Enter a user with Database System Administrator Rights.
13. Enter a name for the database or click Browse to use an existing name.
If an existing database name is used the database will be deleted and a new one created. All existing data will be lost.
14. Click Next.
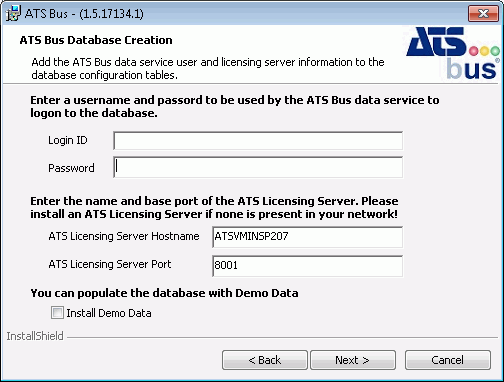
15. Enter the user name and password for the Data Service.
If the user doesn't already exist as a database server user it will be created.
If the user does exist then its password won't be overwritten if it's different.
The user is also set as a user of the database.
16. Enter the ATS License Server host name and base port.
By default the licensing port will be Net.tcp and the base port plus 1 (net.tcp://<servername>:8001/ATSLicensingServer/).
17. Enable Install Demo Data if required.
For more information on the demo data and the additional steps required to use it see below.
18. Click Next.
19. Enter the hostname of the NServiceBus audit node. This is a node in the network hosting the Particular NServiceBus monitoring software.
20. Enter the location of the NServiceBus DataBus file share. This is a shared directory that is used by the NServiceBus DataBus to store attachments that are in transit between the IT and OT bus stop. This directory must be accessible by all bus stops.
21. Click Next.
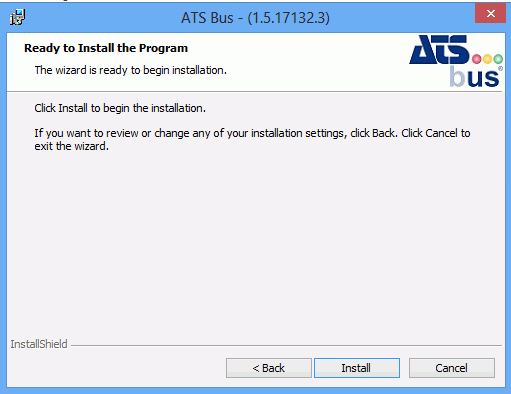
22. Click Install.
When the application has successfully installed the following screen will be shown.
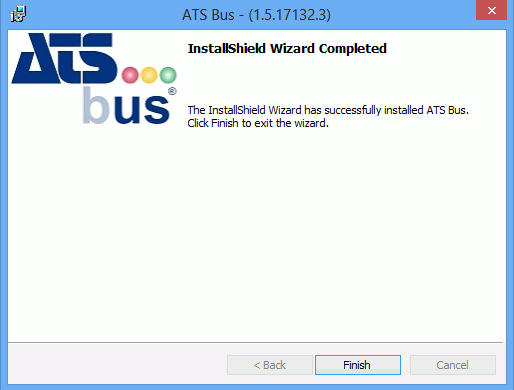
23. Click Finish to close the installer.
An ATS Bus user is created in the database as follows:
● User name: AtsBusDriver
● Password: AtsBus2015
All ATS Bus applications can be accessed using this login.
For security reasons, this login should be removed, using Security Manager, as soon as is convenient.
The Install demo data option installs a demo configuration in the ATS Bus database. This configuration consists of a:
● OT bus stop named OTBusStop containing an OPC channel
● IT bus stop named ITBusStop
● Archive bus stop named ArchiveBusStop.
This configuration works for the ATS Bus Winding simulation in the ATS ADOS simulator. Some additional configuration is required. The following has to be updated:
● ArchiveBusStop: the hostname of the bus stop and the archiving database configuration.
● ITBusStop: the hostname of the bus stop.
● OTBusStop: the hostname of the bus stop.
● IT XML channels: The directories pointed to by the configuration should be created.
To be able to use the winding simulation, the Kepware OPC configuration file provided by the ATS ADOS installer should be imported in Kepware and make sure to restart the ATS Bus data service and OT bus stop after importing the Kepware configuration.