button on the toolbar.
The clipping functionality in CM4D allows a view to be cut on an axis plane in order to display only a portion of the image while being able to view all of the feature points available. Clipping can be enabled or disabled within the View Properties dialog. A View must have the Clipping option enabled in the View Properties and be in Edit Mode in order to have access to the Clipping Manipulator button on the toolbar.
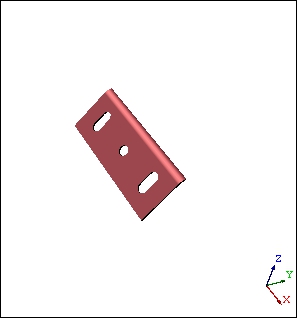
Show/Hide animation of an image being clipped
The Clipping Manipulator is the tool with which images can be clipped within a View. The components of the manipulator are:
· Primary Axis Bar: Moves the Clipping Plane forwards or backwards along the primary axis.
· Clipping Plane: The plane on which the image will be cut. Clicking and dragging the Clipping Plane, however, will move the manipulator within the view without resizing or rotating. The Clipping Plane may also be defined using the vector coordinates in the Clipping Plane Properties dialog.
· Plane Rotation Handles (axes lines): Rotate the clipping manipulator.
· Plane Resizing Handles (end cubes): Resize the clipping manipulator.
Show/Hide animated image of the Clipping Manipulator with a description of its components
The clipping manipulators movements are controlled by clicking on the various locations of the manipulator and dragging it in various directions. When a component of the manipulator is clicked and held with the mouse button, it will be highlighted to indicated that it is selected.
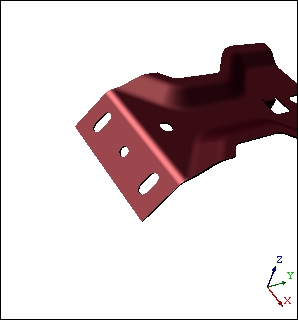
While standard clipping cuts an image only on one edge, using the Section Thickness functionality allows the image to be clipped on both sides. In other words, only a slice of the image will be displayed, according to the thickness specified in the View Properties. Section Thickness is set in millimeters.

To disable Section Thickness, enter zero (0) in the Section Thickness field.
The following images demonstrate the state of a View which has been clipped with a Section Thickness defined compared to standard clipping:

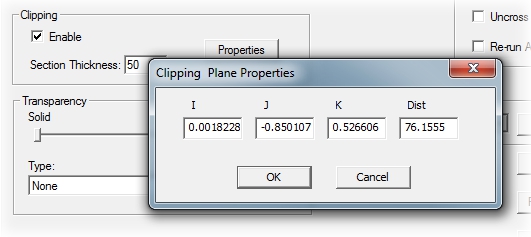
The Clipping Plane option allows you to clip a specific plane of the image using vector coordinates. When used in conjunction with the Section Thickness option, you have the capability to display a very specific slice of features and the image that goes with those feature points.
To set the plane you wish to clip, open the View Properties dialog and select the Properties button in the Clipping section of the dialog. In the Clipping Plane Properties dialog, enter the vector and distance information. Click Ok, then set the Section Thickness (in millimeters) if desired.
|
|
|
|
|
|
|
|
|
|