DataSmith does not automatically know what to do with highlighted data. You have to tell DataSmith how to identify the information in the data file by assigning it an Association. For example, once all of the feature labels have been highlighted, you can assign the association Feature Label to them. Then, when the data is processed, the Feature Labels will go into the database as Feature Labels.
One of the simplest ways to prevent problems while outputting your data is to check that your characteristics have associations, and that those associations are correct. For example, if you do not have a characteristic with an association of Feature Label, your data probably will not reach your database because DataSmith will not know where to put it.
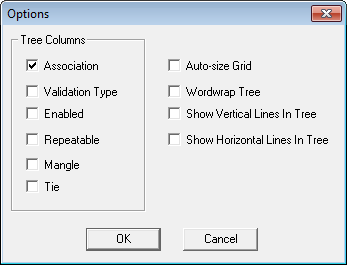
To view all of your associations in the tree, select View from the menu bar, then select Options. Within the Options dialog, select Association. Click OK.
The Associations for each characteristic will be shown to the right of characteristic.
1. Right click on any characteristic within the tree and open the Properties dialog.
2. Click the Associate button.
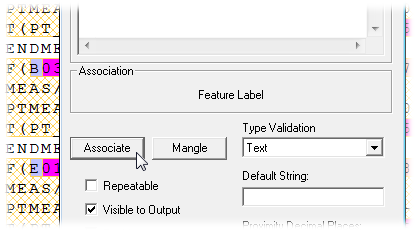
3. Within the Associations dialog, expand the tree to locate the association you wish to select.
4. Click the association to select it. The name of the association will appear under Association Selected.
5. If an association has already been selected, it will be shown under Association Assigned.
6. Click OK or double click on the association to assign it to the characteristic.
