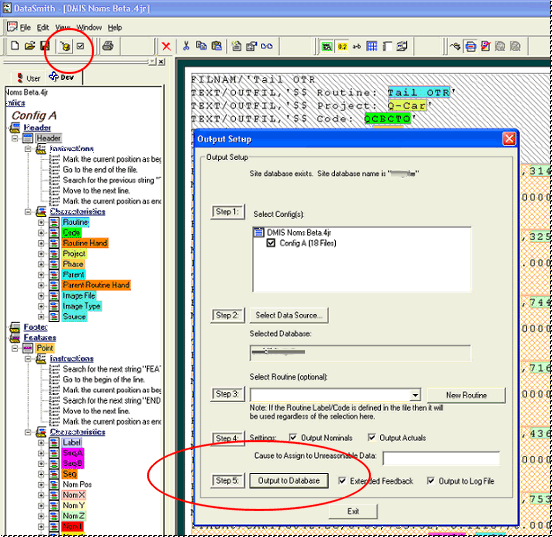
Follow the simplified steps below to configure your DataSmith Batch settings:
1. Confirm that you have a valid connection to the Database into which you will be loading your data. You can do this by opening the DB Connect application and testing the connection. If you do not know your connection information, please contact your system administrator.
2. Nominal information is loaded into the Database manually using DataSmith, and Routines are created at the same time.

3. Locate the 4datasmith file(s) that the Batch processor will be using to translate your data. In this example, separate translators are used for LMI data and DMIS data.
4. Create a Batch folder to indicate your primary Batch domain, which will contain the hierarchy of all your Batch processing folders. Since two data types are being used in this example, it may be useful to create a second tier of Batch folders (in some instances, these will be plant names), which will allow you to differentiate between the types of data that is being processed.
a. For this example, a top-level folder named "!Batch" may be created (this is not actually the "Batch Folder, however). Within that folder, three subfolders are added with the labels "Plant A", "Plant B", and "Plant C". When jobs are created within the Batch Manager, the so-called "Plant" folders would be those designated as the Batch Folder for each batch job.
The Inbox, Out Box, and Error Box folders can be created anywhere on a local or network drive. For this specific example, these three folders had been left with the default setting to be created as relative folders to the Batch Job folder. See the topic DataSmith Batch Manager for details on these settings.
5. Open DataSmith Batch Manager.
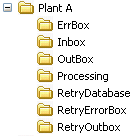
6. Once the Batch Jobs have been set up, the DataSmith Batch service needs to be started. This can be accessed through the Administrative Tools Services  . When the Batch service initiates, the appropriate folders will be propagated within your main Batch folders:

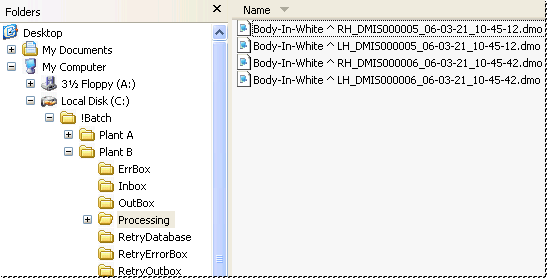
7. As soon as the measurement machines send data to the Batch Inbox, the data will be transferred to the Processing folder and processed accordingly.

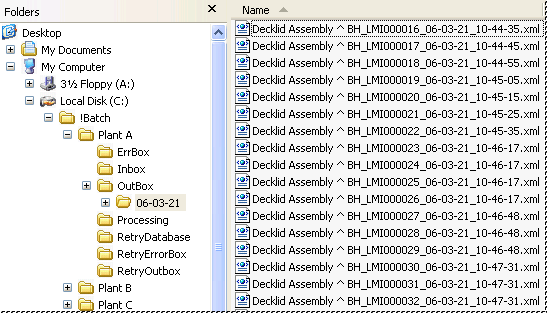
8. Once the data has been processed by DataSmith Batch, the files will then be sent to the appropriate folders (i.e., OutBox, ErrBox, etc.).
