 ) on the
toolbar.
) on the
toolbar.This tutorial describes how to create a DataSmith translator for a DataMyte measurement file. Although the file in this example is a .dat file type, the methods used to create this translator may also be applied to similarly formatted tab delimited files.
DataSmith concepts demonstrated:
· Repeating Characteristics
· Validations
To complete this tutorial:
1. Download the data file here. Save the zip file and extract the file.
2. Run DataSmith.
3. Create a new translator file.
4. Follow steps 1-6 below.
When you are finished, compare your result with the screen shots shown in the Review section at the end of this topic.
1. Create a new Config.
a. Modify the Config properties.
i. Change the Label to "DataMyte".
ii. Leave all other options with the default settings.
iii. Click OK.
2. Save the translator file as "DataMyte Tutorial.4Datasmith". Save periodically from this point onward to avoid losing your progress as you make changes to the translator.
3. Select
“Add Files” from the “File” menu or click () on the
toolbar.
4. Select and open the file DataMyte Data.dat.
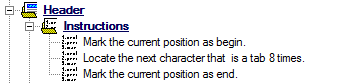
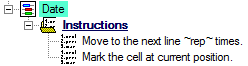
1. Locate and expand "Header".
2. Locate and expand the “Instructions” node under “Header”.
3. Define the instructions as:
§ Mark > current position as begin
§ Locate > next > tab > 8 > do not constrain to line
§ Mark > current position as end
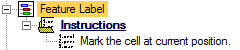
1. Locate the feature node labeled “Feature A” under the “Features” node.
2. Double-click the feature label to open the “Feature Properties” dialog.
a. Change the feature label to “Feature”.
b. Check the box “Allow Repeat Characteristics”.
c. Change the color (optional).
i. Click on the color area of the dialog.
ii. Select the radio button to the left of the color you want to set.
iii. Click OK.
d. Click OK.
3. Define the instructions as:
§ Move to > next > character > 1 time
§ Mark > current position as begin
§ Go to > end > file
§ Mark > current position as end
§ Go to > begin > mark
§ Locate > next > tab > constrain to line
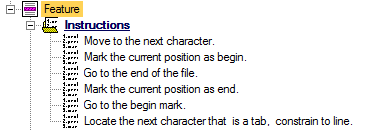
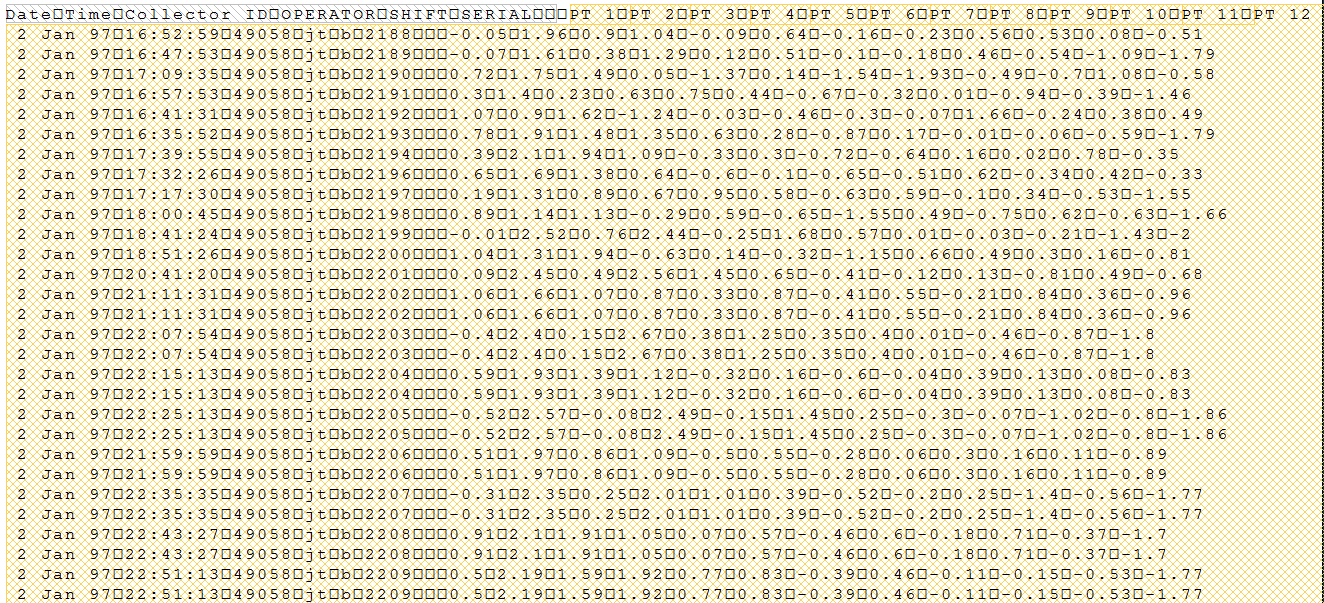
The file should now look like this:
1. Locate the “Characteristics” node under the “Feature” node.
2. Right-click on the “Characteristics” node.
3. Select “New Characteristic”.
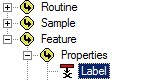
4. Locate the new characteristic node (labeled “Characteristic A”) under the “Characteristics” node.
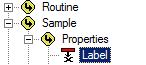
5. Double-click the characteristic label to open the “Characteristic Properties” dialog.
a. Change the characteristic label to “Feature Label”.
b. Change the color (optional).
c. Click the Associate button.
i. Select the association Feature > Properties > Label.
ii. Click OK.
d. Click OK.
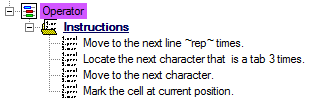
6. Define the instruction as:
1. Create a new Characteristic for "Feature".
2. Locate the characteristic node labeled “Characteristic A” under the “Characteristics” node.
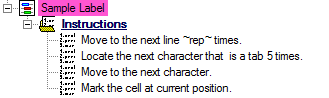
3. Double-click the characteristic label to open the “Characteristic Properties” dialog.
a. Change the characteristic label to “Sample Label”.
b. Change the color (optional).
c. Select the check box “Repeatable”.
d. Click the Associate button.
i. Select the association Sample > Properties > Label.
ii. Click OK.
e. Click OK.
4. Define the instructions as
1. Create a new characteristic.
2. Double-click on the new characteristic to open the Characteristic Properties.
a. Change the characteristic label to “Date”.
b. Change the color (optional).
c. Select the check box “Repeatable”.
d. Click the Associate button.
i. Select the association Sample > Create > Date.
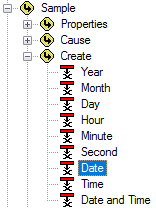
ii. Click OK.
e. Click OK.
3. Define the instructions as:
1. Create a new Characteristic.
2. Modify the Characteristic Properties.
a. Change the characteristic label to “Time”.
b. Change the color (optional).
c. Select the check box “Repeatable”.
d. Click the Associate button.
i. Select the association Sample > Create > Time.
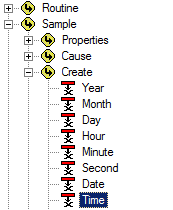
ii. Click OK.
e. Click OK.
3. Define the instructions as:
1. Create a new Characteristic.
2. Modify the Characteristic Properties.
a. Change the characteristic label to “Operator”.
b. Change the color (optional).
c. Select the check box “Repeatable”.
d. Click the Associate button.
i. Select the association Sample > Filters > O.
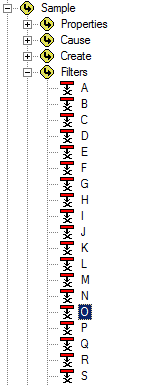
ii. Click OK.
e. Click OK.
3. Define the instructions as:
1. Create a new Characteristic.
2. Modify the Characteristic Properties.
a. Change the characteristic label to “Dev”.
b. In the “Type Validation” dropdown, select “Real (decimal value)”.
c. Change the color (optional).
d. Select the check box “Repeatable”.
e. Click the Associate button.
i. Select the association Feature > Characteristics > Position > Deviation.
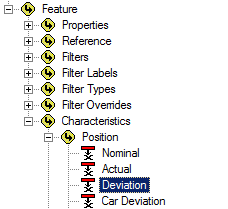
ii. Click OK.
f. Click OK.
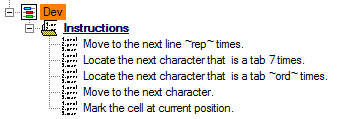
3. Define the instructions as:
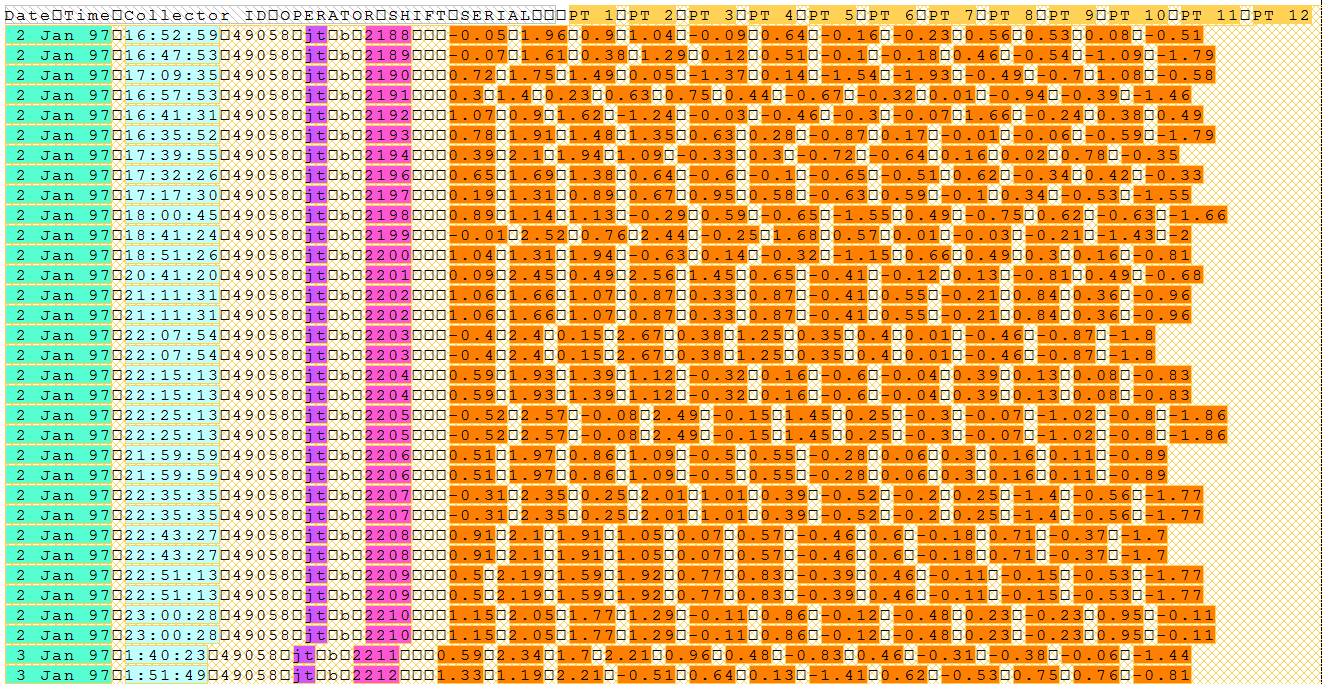
The file should look like this.
1. Locate the validation node labeled “Validation A” under the “Validations” node.
2. Double-click the Validation label to open the “Modify Validation” dialog.
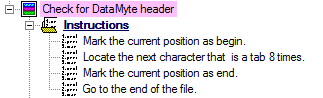
3. Change the label to “Check for DataMyte header”.
4. Change the color (optional).
5. Make sure the “Type” is set to “Generate Errors”.
6. Click OK.
7. Define the instructions as:
8. Click the “View” menu and
select “Validation Highlight”, or toggle the Validation Highlight ( ) button on the toolbar.
The file should now look like this:
1. Locate the “Characteristics” node under the “Check for DataMyte header” validation node.
2. Right-click on the “Characteristics” node.
3. Select “New Characteristics” from the pop-up menu.
4. Modify the properties of the new validation characteristic.
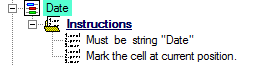
a. Change the validation label to “Date”.
b. Change the color (optional).
c. Change the “Occurrence Count” to “Only One”.
d. Click OK.
5. Define the instructions as:
1. Create a new validation characteristic.
2. Modify the properties of the new characteristic.
a. Change the color (optional).
b. Change the “Occurrence Count” to “Only One”
c. Click OK.
3. Define the instructions as
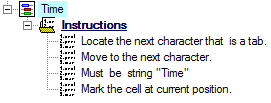
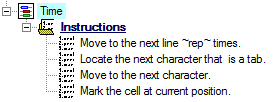
1. Locate the “Time” node that was just created.
2. Right-click on the “Time” node.
3. Select “Duplicate Characteristic” from the menu.
4. Double-click the characteristic label “Copy A of Time” to open the “Characteristic Properties” dialog.
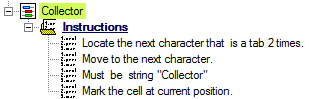
a. Change the validation label to “Collector”.
b. Change the color (optional).
c. Click OK.
5. Define the instructions as:
1. Locate the “Collector” node that was just created.
2. Right-click on the “Collector” node.
3. Duplicate the "Collector" validation characteristic.
4. Modify the properties of the copy.
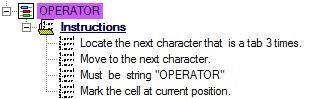
a. Change the validation label to “OPERATOR”.
b. Change the color (optional).
c. Click OK.
5. Define the instructions as:
1. Locate the “OPERATOR” node that was just created.
2. Right-click on the “OPERATOR” node and select Duplication Characteristic.
3. Modify the properties of the copy.
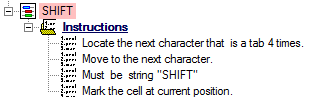
a. Change the validation label to “SHIFT”.
b. Change the color (optional).
c. Click OK.
4. Define the instructions as:
1. Locate the “SHIFT” node that was just created.
2. Duplicate the "SHIFT" validation characteristic.
3. Modify the properties of the copy.
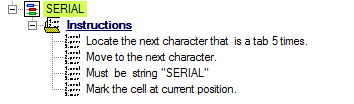
a. Change the validation label to “SERIAL”.
b. Change the color (optional).
c. Click OK.
4. Define the instructions as:
The file should now look like this:

With Toggle Scanning ( )
Enabled:
)
Enabled:
With Validation Highlight ()
Enabled: