Once Parts have been associated to Locations (creating Components) they can be associated to a default Assembly Point which is a Production Area and Cell.
The association is used to assign the assembly area/cell to defects. This happens automatically in the stored procedures that insert defects into the database. These fields are then available as criteria (parameters) in a variety of report in Classic.
The following is an example of how this information might be used:
Wipers are normally installed at Area = x, Cell = y. Due to a part shortage, the wipers are not available at the normal point of installation. The vehicles are parked outside the assembly plant awaiting the missing parts.
Once the parts arrive, they are installed outside. Let’s call that Area = z, Cell = a. The quality manager knows that installing the parts outside their normal area leads to increased defects so he wants to see the number of defects for wipers over a time period.
He can run a report setting the assembly area to x/y and then to z/a and compare the results.
A Part does not have to have a Location associated to it to be associated to an Assembly Point.
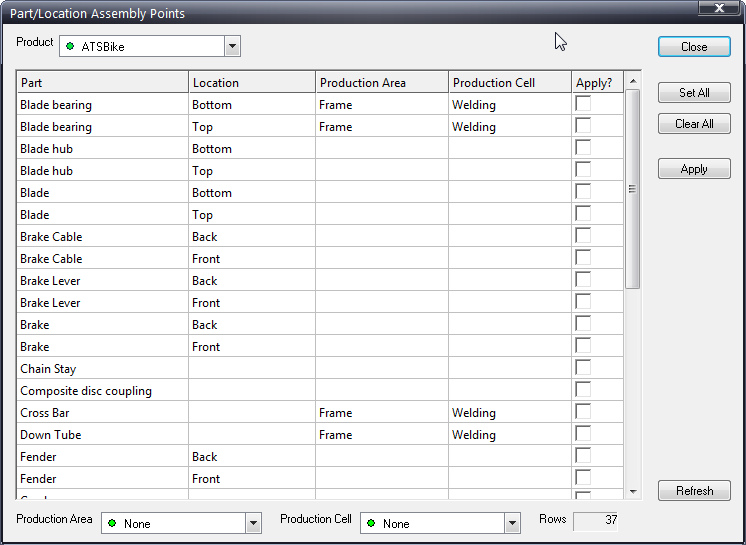
1. Click Defects > Default > Part/Location Assembly Points.
2. Select a Product from the drop-down list at the top of the window.
3. Select the Production Area and Production Cell at the bottom of the screen.
4. Enable the Apply check box for the Part/Location combinations that you wish to associate to the selected Area and Cell.
5. Click Apply.
The Parts/Locations are now associated to the selected Area and Cell.
6. Repeat the steps for all other required associations.