1. To begin adding images to Inspect, click Views > Images.
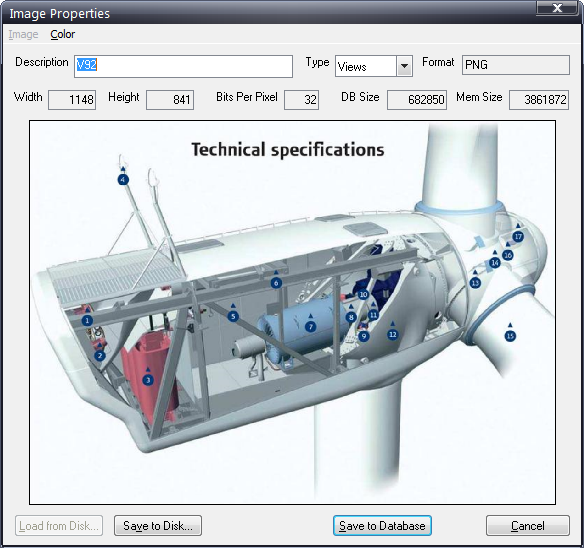
2. Click Add – the Image Properties dialog opens.
3. Use the Description field to enter a description of the image.
4. Click the Type arrow and select the intended use of the image:
Views – The image will be displayed as a large image in the main Data Collect window, allowing the inspector to apply concerns to it.
Controls – The image will be displayed on a button control. Images are placed on controls through the Layout Manager.
Steps - The image will be available for use when adding Steps in Cockpit.
5. Click Load from Disk.
6. Click Browse and navigate to the folder where your image is stored.
7. Highlight the desired image.
8. Click Open – the image you selected opens in the Image Properties dialog box.
9. Click Save to Database to save the image into the Inspect database. (Save to Disk may be used to save a copy of the image to a specified location.)
10. Repeat these steps as needed until all desired images are saved to Inspect.