A station print group controls which views or parts appear on a travel ticket. Travel tickets are used when a repair person requires hardcopy reference to perform repairs, usually because there is no Data Collect station present.
1. Click Stations > Print Groups > Groups.
2. Click Add.
3. Type the unique print group name.
4. Click OK – the dialog remains open so you can add other print groups as needed.
5. When finished, click Done.
6. Click Close.
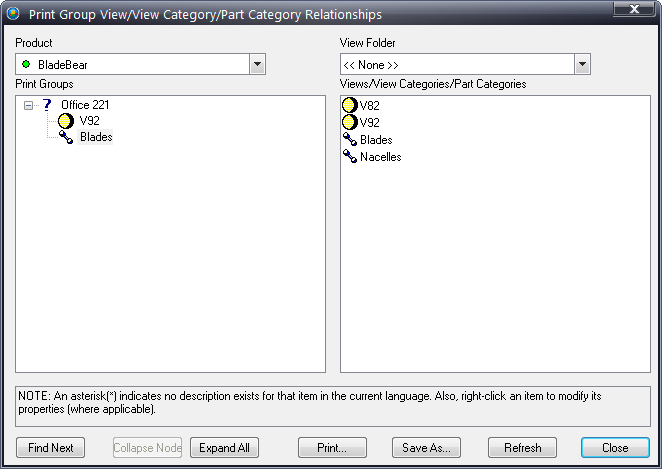
1. Click Stations > Print Groups > Views, View Categories & Part Categories.
2. Use the Product field to select a product.
3. Use the View Folder field to select a view folder.
4. Click the View Folder arrow and choose a view.
5. Select and drag views, view categories or part categories from the right side onto the desired print folder in the left side.
6. Repeat as necessary.
7. When finished, click Close.
8. The Print Group must now be assigned to a station in the station's Property tab. See here.