A tracking point is a physical location where unit information, such as job number, serial number or product/model number, is captured. You need to set up these tracking point items:
● Tracking Point Type – a category for types of tracking points, such as bar code reader, transponder or manual entry.
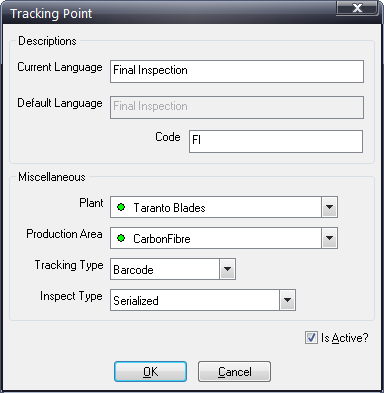
● Tracking Point – a physical location where unit information is collected.
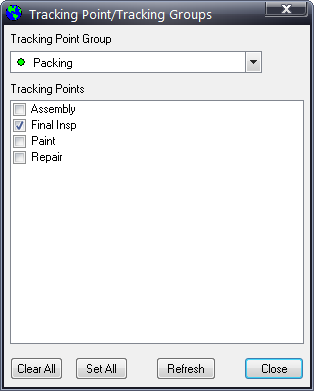
● Tracking Point Group – a collection of tracking points. You create tracking point groups to capture the sample size required for reporting. For example, if the assembly plant is building a model on two separate lines, it is possible to capture the entire sample size and all of the quality data from both lines through a tracking point group.
● Group/Point Relationship – a relationship assigning tracking points to a tracking point group.
Every inspection station must have a tracking point defined. Several stations may share the same tracking point. For example, a unit passes a bar code reader. This bar code tracking point is used to capture unit information and pass it along to the Inspect system. Thus, Inspect knows the specific unit that must be displayed to the inspector.
Note: Tracking
points are critical in the station configuration process; they are required
in order to obtain the correct reporting data. Any data reported in concerns
per thousand or defects per unit, for example, cannot return the correct
value without the correct tracking point (sample size).
Two simple rules should be applied; a tracking point should exist anywhere
a unit needs to be “tracked”, and before an inspection station if the
inspector needs to have the unit displayed automatically without typing
the unit identifier number.
Tracking Point Example
In the example pictured below, note that there are three tracking points displayed:
● Tracking Point 1 – This tracking point gets its data from a bar code reader that feeds Data Collect Stations 1 and 2.
● Tracking Point 2 – Since only some units go offline, in order to determine which units are in offline repair, Unit IDs are manually entered in Tracking Point 2.
● Tracking Point 3 – Some units continue down the line from Data Collect Stations 1 and 2 and are scanned into Tracking Point 3 using a bar code reader.
![]()