After individual recipients have been configured, you can assign individual recipients to a recipient group. Using groups makes it easy to send notifications to many individual recipients at one time.
1. In the navigation bar, click Configure Groups.
The main window displays a list of your configured groups.
2. Click New…
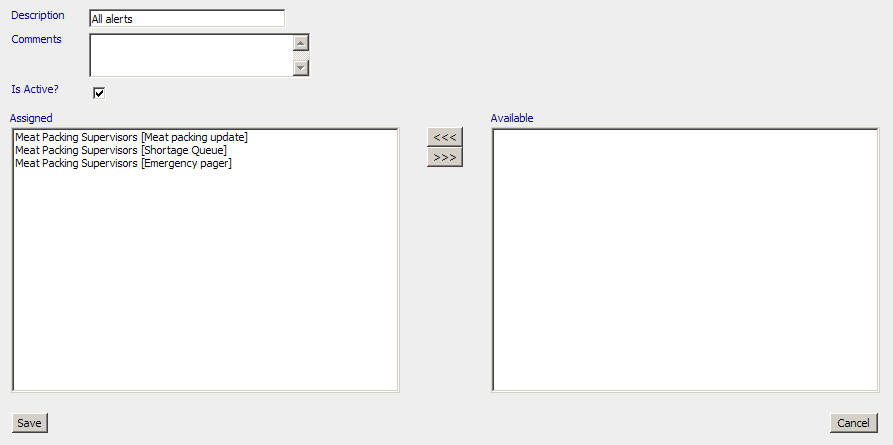
3. In the Description field, type the group name.
This is the name that will in the Group list.
4. In the Comments field, type any comments.
5. Ensure Is Active is enabled.
The Is Active option can be disabled if a group of recipients needs to be removed from the delivery list temporarily. This prevents having to delete and re-add recipients in this situation.
6. In the Available list, select the recipients you want to include in the list, and then click <<< .
The selected recipients then move to the Assigned list.
To remove a recipient from the Assigned list, click the >>> button. To select more than one recipient at a time, hold the Ctrl key down while selecting individual recipients.
1. Click the group link in the Description column.
2. In the next window, modify the group members as necessary.
3. Click OK to return to the list of groups.
1. Click the Delete button next to the group you want to remove.