When creating a layout you must first choose the screen type. A screen type determines the kinds of operations that a user can perform, so the controls available in a particular layout are dependent on the screen type you choose. Keep in mind that some controls are available in multiple layouts.
See the Layout and Control Reference section for a description of the screen types and the controls available in each.
There are dozens of screen types available. In general you will need to create layouts for the following screens as a minimum:
| Station Screens for Both Inspection & Repair Stations |
| Main |
| Defect |
| Overview |
| Log in (optional) |
| Repair (repair stations only) |
1. After starting Layout Manager, click Layout > New.
2. Choose a screen type and click OK – a blank layout appears.
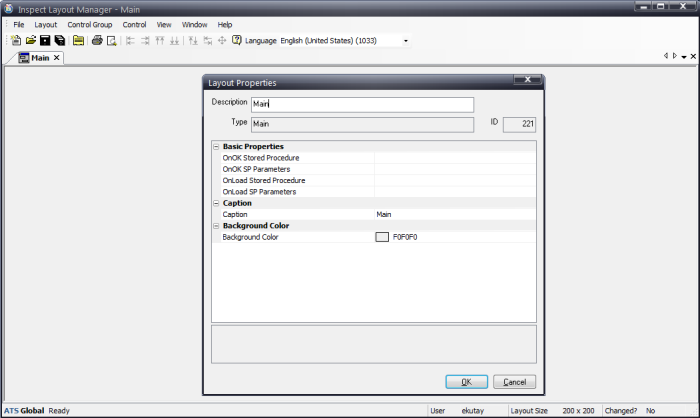
3. Right click the blank gray layout and select Layout Properties.

4. Use the Description field to enter a new name for this layout. This name is used inside Layout Manager to differentiate this particular layout from others.
5. In the Caption field of the Layout Properties, enter the caption for this screen – this is the screen title that the operator will see when viewing this screen in Data Collect.
6. Click OK. The layout window within Layout Manager is now displaying the Description text, whereas the gray layout itself now displays the Caption text.
Layout Manager has the concept of the 'canvas'. This is the allowable space in the screen where controls can be placed.
With the canvas, the size of the layout is not specifically set. Instead, the size of the layout is defined by the location of controls on it. The size of the layout will be set as the minimum area to include all controls on the canvas.
The current canvas size is shown in the status bar at the bottom of the screen. The measurements are taken from the top left corner whether there is anything there or not.
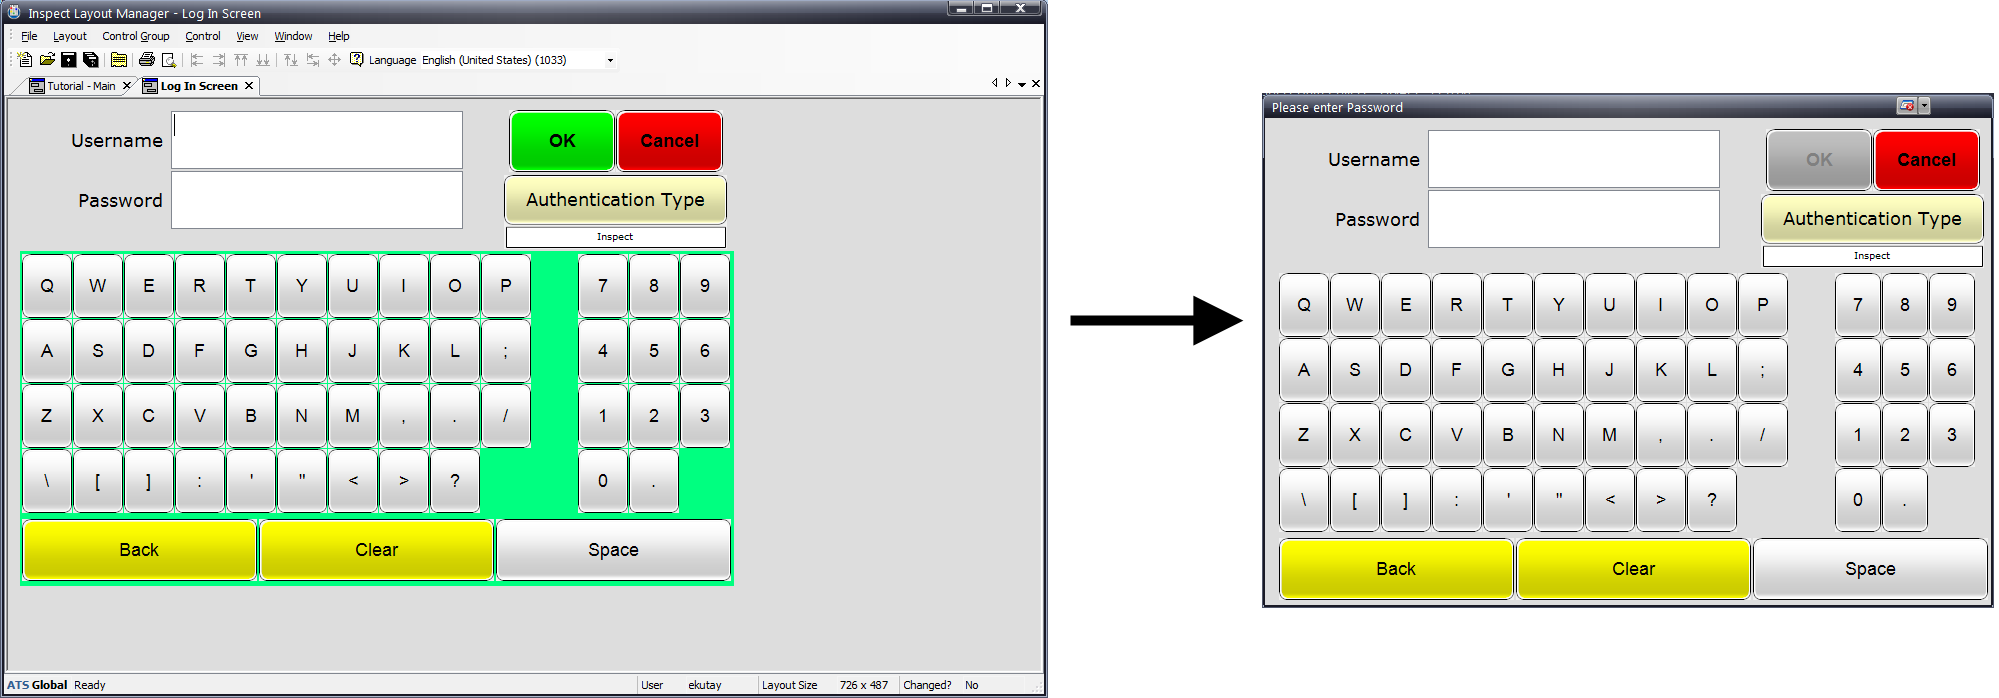
The example below shows how a layout in Layout Manager will appear in Data Collect.
