What is a Tracking Point?
A tracking point is a physical location where unit information such as the batch number or serial number of a unit is captured.
Every inspection station must have a tracking point defined but several stations may share the same tracking point.
Tracking points are required for three reasons:
o Tells a station which unit needs to be displayed. For example a unit passes a bar code reader tracking point. The bar code reader records the unit serial number and passes it along to the Inspect system. Inspect then knows the specific unit that must be displayed to the inspector.
o Records the last known location of a unit.
o Tells the system how many units have passed a given point on the production line in a given amount of time. It can then be used in reports to calculate the defects per unit during a given time span.
Inspection Types
Serialized
Serialized tracking points are used at stations where every single piece is inspected, so using it in a report will give you the correct sample size for all pieces, good and bad.
Batch (non Serialized)
Batch tracking points are used in places where either only some of the pieces are inspected, or the pieces are not identified with a unique identifier. In this case, you will need to manually tell the system how many total units were manufactured to give you the production counts (see here). When you use batch tracking points in reports, a (B) will follow the tracking point name, telling you the tracking point type.
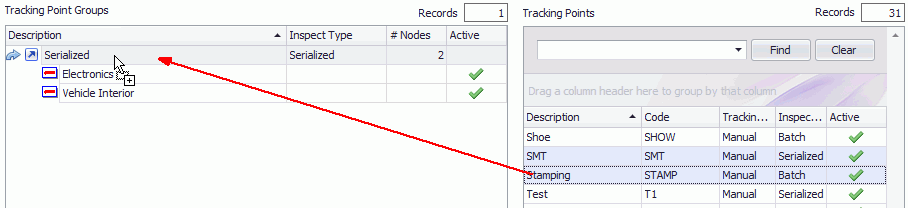
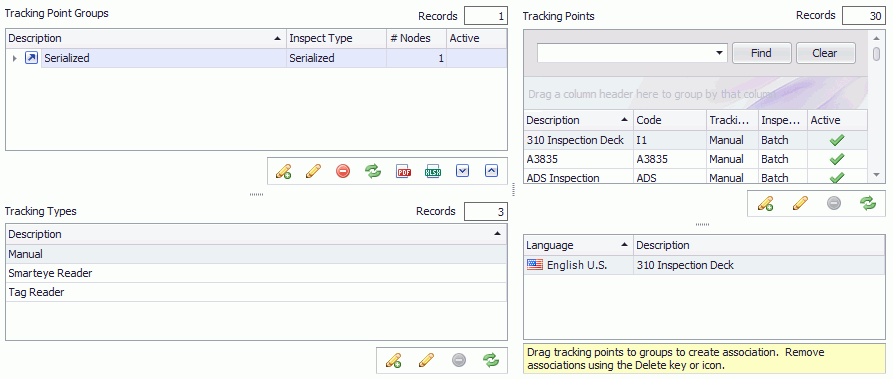
Tracking Point Groups and Types
It's important to understand the difference between tracking point groups and tracking point types.
● Tracking point group - a collection of tracking points. You create tracking point groups to capture the sample size over several tracking points. For example, if an assembly plant is building a model on two separate lines it is possible to capture the entire sample size and all of the quality data from both lines through a tracking point group.
● Tracking point type - this is used to specify the way in which the tracking point records which unit is passing by. For instance it could be a barcode scanner, RFID scanner or manual entry. This is for reference and reporting purposes only. It does not affect the way the tracking point works.
The graphic below shows how groups and types are used. Note that one or more stations are associated to each tracking point.
![]()
Example
In the example pictured below, note that there are three tracking points displayed:
● Tracking Point 1 – The tracking point gets its data from a bar code reader that feeds Stations 1 and 2. The unit scanned at Tracking Point 1 is shown on their screens.
● Tracking Point 2 – Some units continue down the line and are scanned into Tracking Point 2 which relays the unit ID to Station 3.
● Tracking Point 3 – Units diverted to the repair line pass Tracking Point 3 which relays the unit ID to Station 4.
![]()
 ) below the bottom-left