In this Topic Hide
The operator may be able to attach an image to the defect when it is entered. There are several reasons an image might be attached. The most common use is to attach a photo of the actual concern to the defect as it is entered.

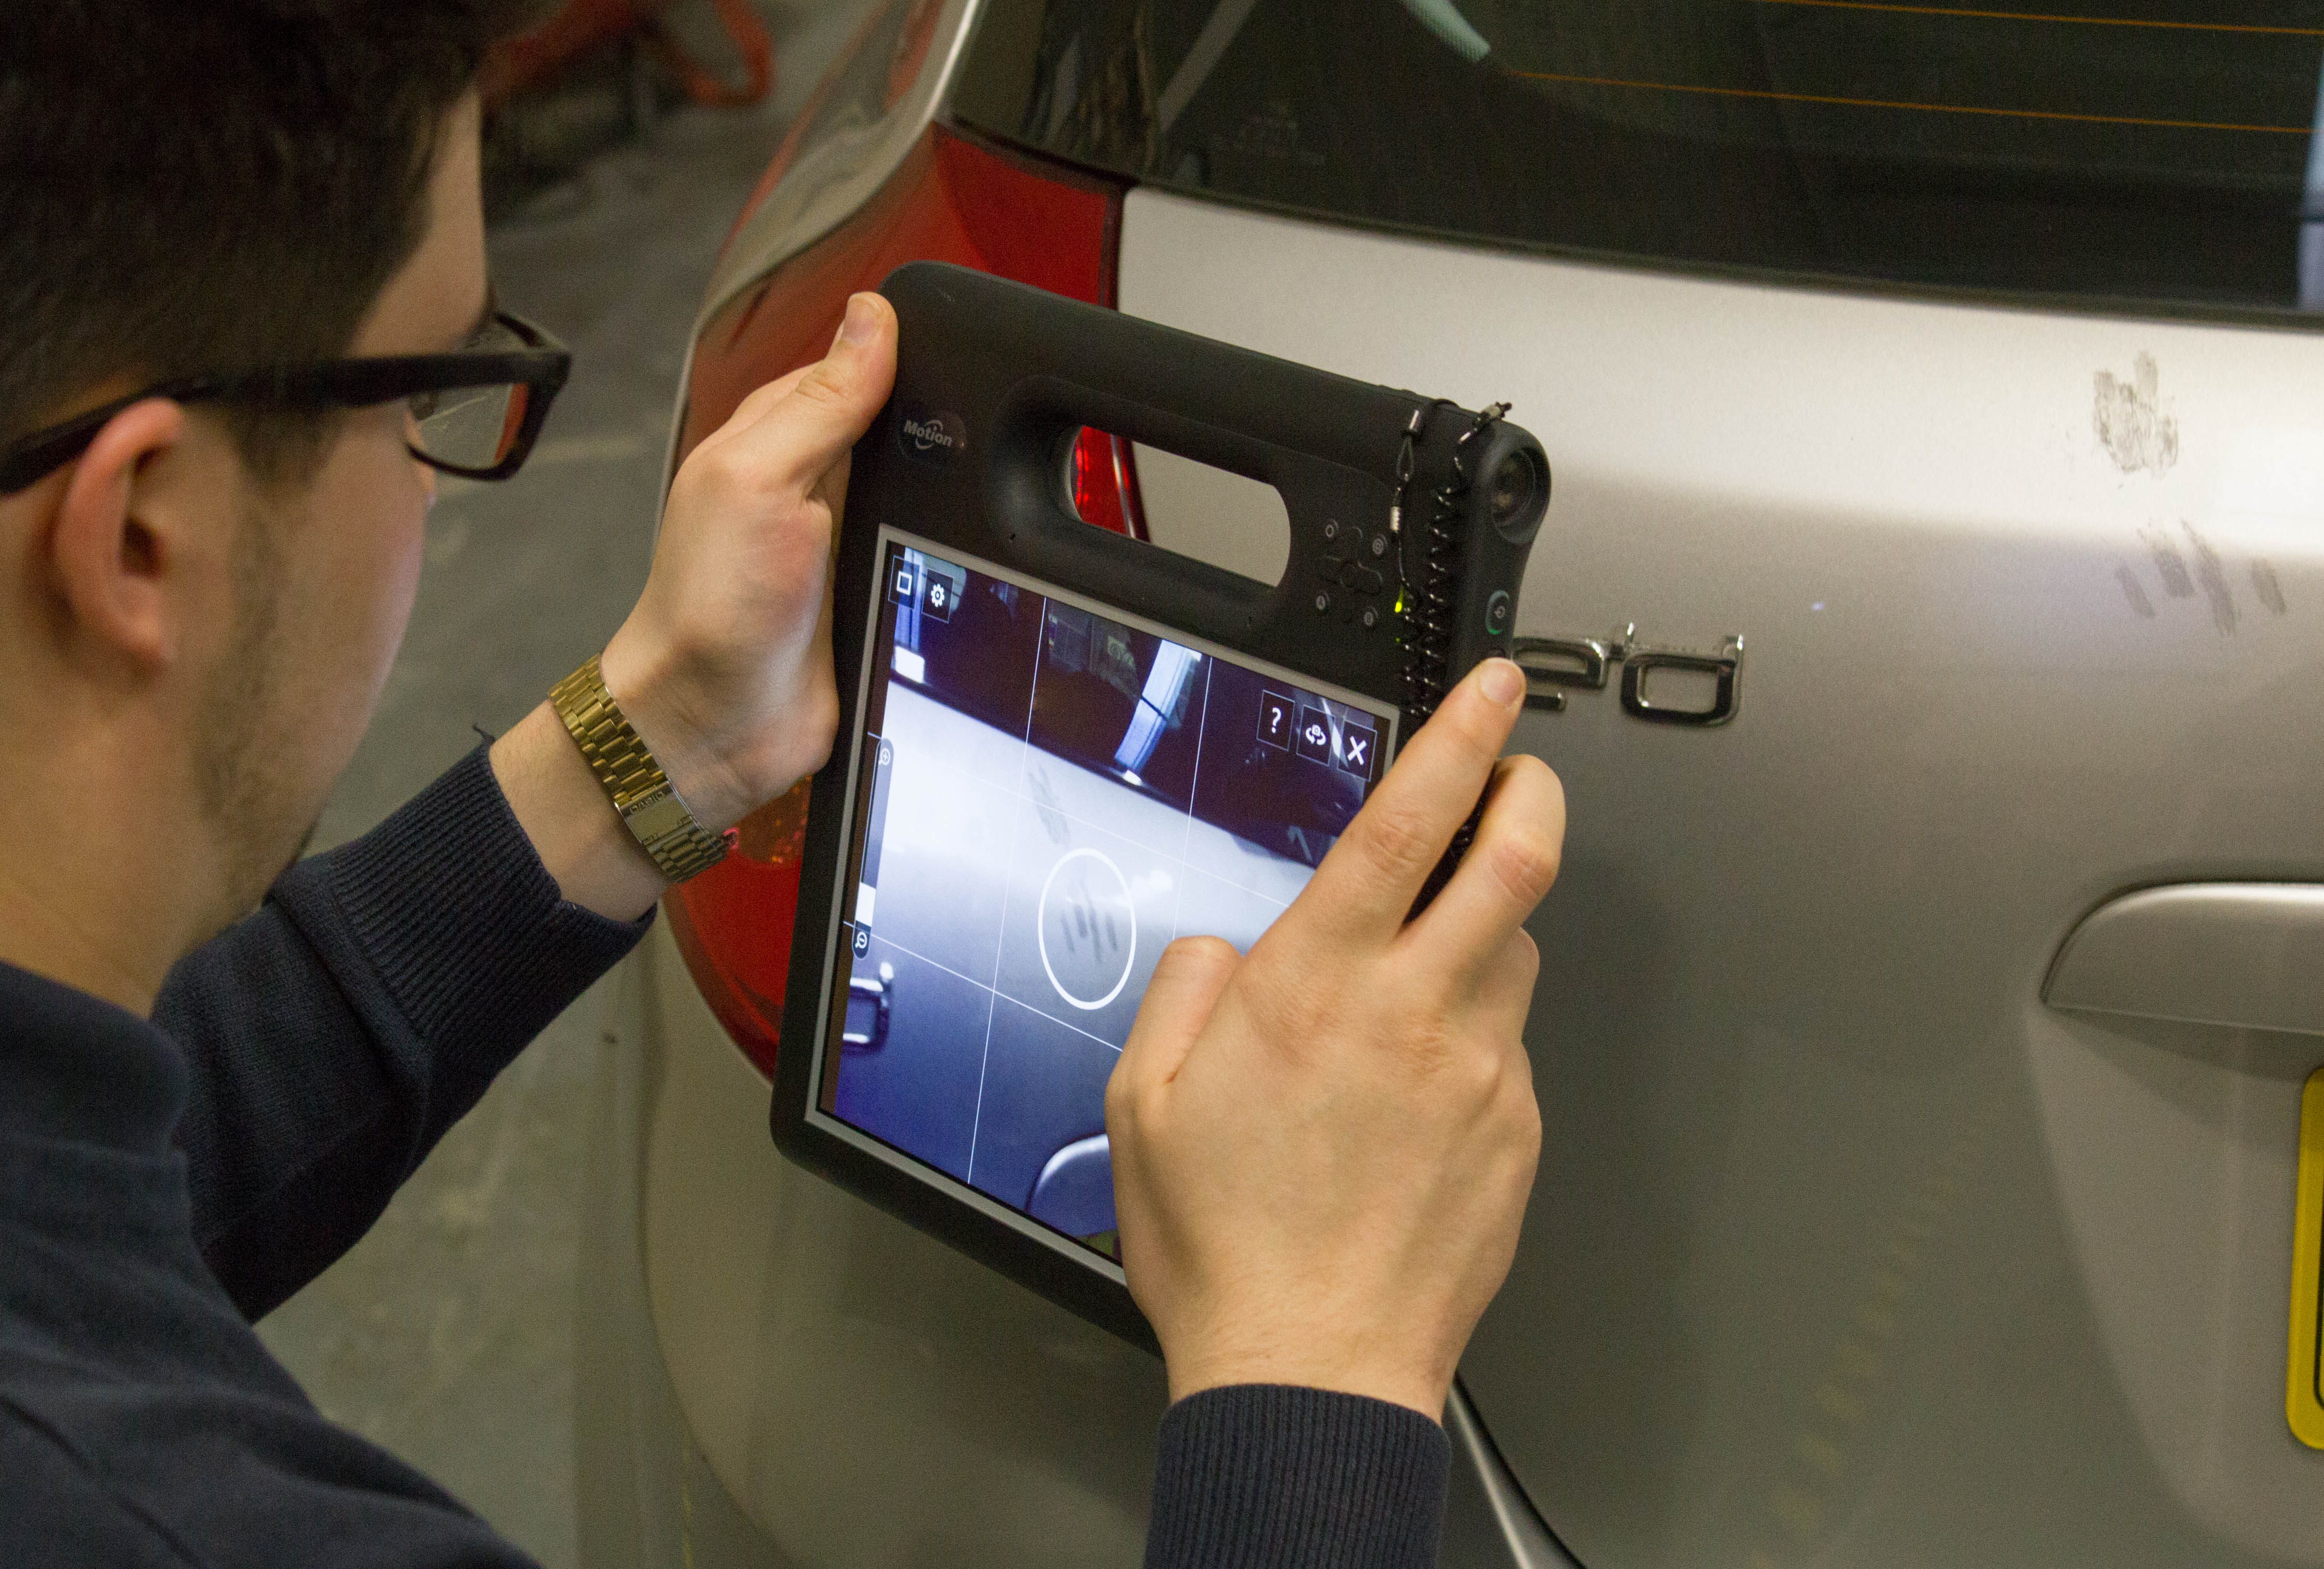
For example, an operator could take a digital picture of a heavily scratched area right at the inspection station and attach that image to the defect. Anyone viewing the defect later will be able to see the exact nature of the damage by viewing the picture.
The following sections explain how to attach an image to a defect from any source.
The process outlined below can be used for repairs as well as defects.
Data Collect uses Windows Image Acquisition (WIA) technology to acquire images from a digital camera. Most digital cameras support this technology.
Test various resolutions that are available on the camera until you find the lowest resolution that displays the image as detailed as needed when zoomed in. This will keep the file sizes as small as possible.
1. When
entering a defect, click the Manage
Images button ( ).
).
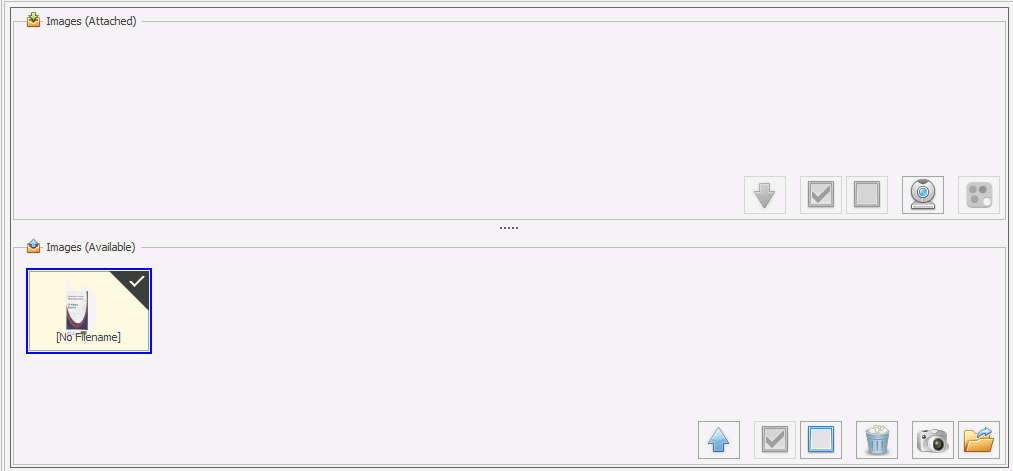
The image window opens.
2. Click the Add
WIA Images button ( ).
).
The image selection window opens.
3. Select the required source from the Source drop-down list.
4. Click the download button
( ).
).
The available images are displayed.
5. Select the image(s) you wish to attach to this defect.
6. Click the Add
Images button ( ).
).
The image selection window closes and the selected images are loaded to the Images (Available) pane.

7. Enable the images to be
attached to the defect (a tick will appear in their corners) and click
the up arrow ( ).
).
The images are attached to the defect.
You can attach an image stored on disk. The location of the images is pre-defined by the Inspect Administrator for each station. It is not possible to browse to a different location to select other images.
To set the location where Inspect will look for images you must modify the Path to Shared Image option in the Properties tab of the station (see here).
1. When
entering a defect, click the Manage
Images button ( ).
).
The image window opens.
2. Click the Add
from Disk button ( ).
).
If you click the Add from Disk button multiple times duplicate images will be added.
The images at the selected location are loaded to the Images (Available) pane.
3. Enable the images to be
attached to the defect (a tick will appear in their corners) and click
the up arrow ( ).
).
The images are attached to the defect.
You can take a photo with the webcam attached to your data collection device and attach it to a defect.
1. When
entering a defect, click the Manage
Images button ( ).
).
The image window opens.
2. Click the Add
from Webcam button ( ).
).
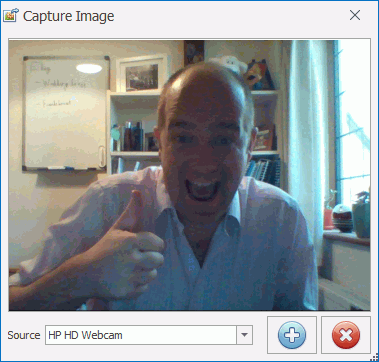
The Capture Image window opens and displays the currently selected webcam view.

3. Select the required webcam source from the Source drop-down list.
4. Click the Take
Snapshot button ( ).
).
The webcam takes a photo which is attached directly to the defect. The window remains open so that you can take more photos if required.
To close the window click the cancel
button ( ).
).
To unattach an image enable it (a tick will appear in its corner) and
click the Move Out button ( ).
).
The image will be unattached and will move to the lower pane.
To add markup to an image, such as arrows and shapes, select the image
in the upper (Attached) pane and click the Markup
button ( ). Make the required
markup and click the save button (
 ).
).
The required markup is saved.
You can specify the maximum width and height for a captured image of a defect or repair in Cockpit as follows.
1. Run Cockpit.
2. Select the Management tab.
3. Click Settings.
4. Select the Data Collection tab.
5. Select the Max Width and Max Height for captured images.
Images larger than the maximum width and height will be reduced when imported to the database.