
In this Topic Hide
When a model doesn't have a component tree you can create virtual components which the operator can then assign defects to. This is done by selecting different sections of the vector object and grouping them together as a single component.
Virtual components can only be created when a model is in Solid mode. This can be achieved by clicking Make Solid in the Design tab. Making a model solid will remove its existing component structure.
1. Select the Design tab.
2. If required, click Make Solid.
This will remove the existing component tree. It can be retrieved by clicking Make Non-Solid but you will lose any virtual components that have been added.
3. Click Virtualize Component.
4. Click on all the sections of the vector image that will be part of the component.
If you can only select one section at a time you need to enable the Multi-Select check box in the Design tab.
When you click on each section it will change color. If you click on a section by mistake you can click on it again to de-select it.
The Navigation Cube (see here) can be used to change the angle of the view when selecting some sections of the component.
5. Click Save in the Design tab.
The Parts/Locations selection window opens.
6. In the left-hand pane select a part, or part and location, for the component.
Expand parts in the left-hand pane to see the available locations. If you want to assign a location to a part you can drag and drop a location from the right-hand pane onto a part in the left-hand pane.
7. Click OK.
The component is created. If a location was selected with the part then it will be shown before the name of the part.
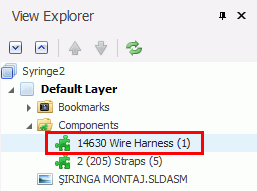
1. Select a component from the Components section in the View Explorer.
2. In the Design tab click Edit Component.
3. Select or deselect the sections of the vector graphic to be included.
4. Click Save.
The component is updated.
If you decide that you want to go back to using the component tree that was imported with the model you can do so by clicking Make Non-Solid in the Design tab.
Highlight virtual components by selecting Highlight Component in the Design tab. You can then see the properties of a component by clicking on it.