In this Topic Hide
Some vector graphics are imported with every component already included in the model. This can save a lot of setup time. However, before you can use the model you may need to make adjustments, such as renaming them.
If your model doesn't have any components associated to it you can create Virtual Components.
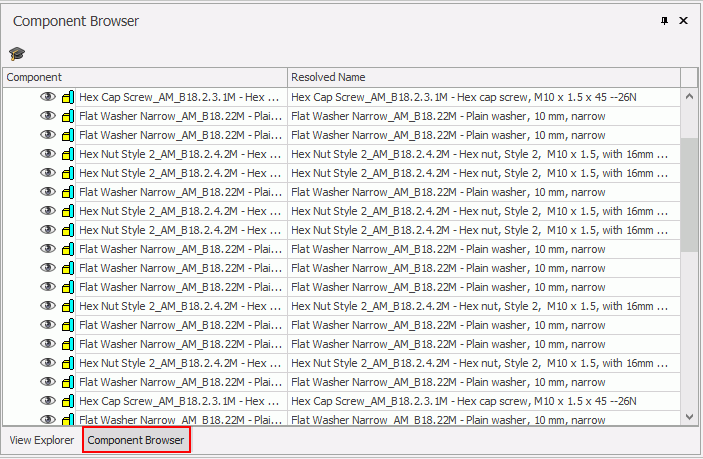
Imported components can be viewed by selecting the Component Browser window. By default this is the tab next to View Explorer.

In the basic view you will be shown the component hierarchy and the component name. Initially, the component name is the name given to the component in the model.
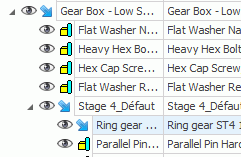
Click the down-arrow next to a component to view its sub-components.

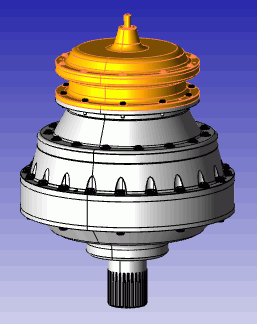
When you select a component it will be highlighted on the view.

Click the eye icon to hide/show that component:

When enabled ( ), the component browser shows the
structure of the CAD model down to the deepest level possible, giving
you ultimate control over the naming of the elements in the CAD model.
When disabled, the component browser only shows elements of certain types in the CAD model. This effectively gives you a higher level and shallower view of the model.
Depending on how the CAD model is structured either Deep or Shallow view will give you the best possible workflow for your CAD model.
There are a few tools that will help you to locate a selected component in the tree.
When you hover over a component on a model an arrow will highlight the component in the tree. If it's a sub-component arrows will highlight every branch above it.

If the Hot Track button ( )
above the component tree is enabled then the tree will jump to whichever
component you are hovering over on the model. It will only show the lowest
expanded branch.
If the Precise Selection button
( )
above the component tree is enabled then the tree will jump to whichever
component you click on the model. If the tree is collapsed it will expand
it down to the selected component.
Imported models may or may not have names associated to all of their components. If they don't have names they will be given new names according to their position in the hierarchy. For each level they get a new number and each number represents the components position at that level of the hierarchy. The first position at each level is 0.
For instance, if a component is 4 layers down and is in the first position in the hierarchy at each level it will be given the name 0.0.0.0 Unknown.
However, if a component is 4 layers down and is in the first position in the hierarchy at each level apart from the third where it is in second position it will be given the name 0.0.1.0 Unknown. Note that, as the positions start at zero the second position is number 1.

The model itself is not modified. The modified names are additional markup and won't affect the original model.
Imported components can be renamed by associating them to components in the system.
1. Click the Expert
Mode button ( ).
).
Two additional columns (Custom Name and Attributes) appear.
2. Click in the Custom Name field for the component that needs to be renamed.
3. Click  to open the Parts/Locations dialog.
4. Select a part and location for the component.
5. Click OK.
6. Click outside the field.
The new name is stored. The original name of the component
doesn't change and can be used again by clicking  to clear the custom name field.
1. Click on the Attributes field for the component.
2. Enable LockNameOnDescendants.

The name will be copied to all of the sub-components. Any changes to the custom name of the component will also be copied to the sub-components.
If LockNameOnDescendants has been enabled then all of a components sub-components will use the same name. However, there may be individual sub-components that you want to name differently.
1. Click on the Attributes field for the sub-component.
2. Enable IgnoreAncestors.
The sub-component will now use its original name or any custom name it is given.