The Repair Reset Wizard provides the ability to configure Repair Resets en masse. This is especially useful for customers with a large number of questions where the current functionality, described here, would be extremely time consuming.
Combinations of Product, Part, Location and Repair Type can be used to select the applicable Unit Checklist Questions to apply the Repair Reset. Results can be filtered by Checklist Category and Question Type to further refine the results, ensuring that the Repair Resets are applied only to the relevant Unit Question. The number of Repair Resets are calculated on each screen in the wizard.
Create Repair Resets
The steps below will describe the process of adding Repair Reset conditions to Unit Checklist Questions.
Select the Attribute tab.
Click Unit Questions.
Click the Repair Reset Wizard icon ( ).
).
The Repair Reset Wizard loads.
The following screen may be displayed. This screen can be automatically skipped by placing a tick in the Skip this page in the future check box.
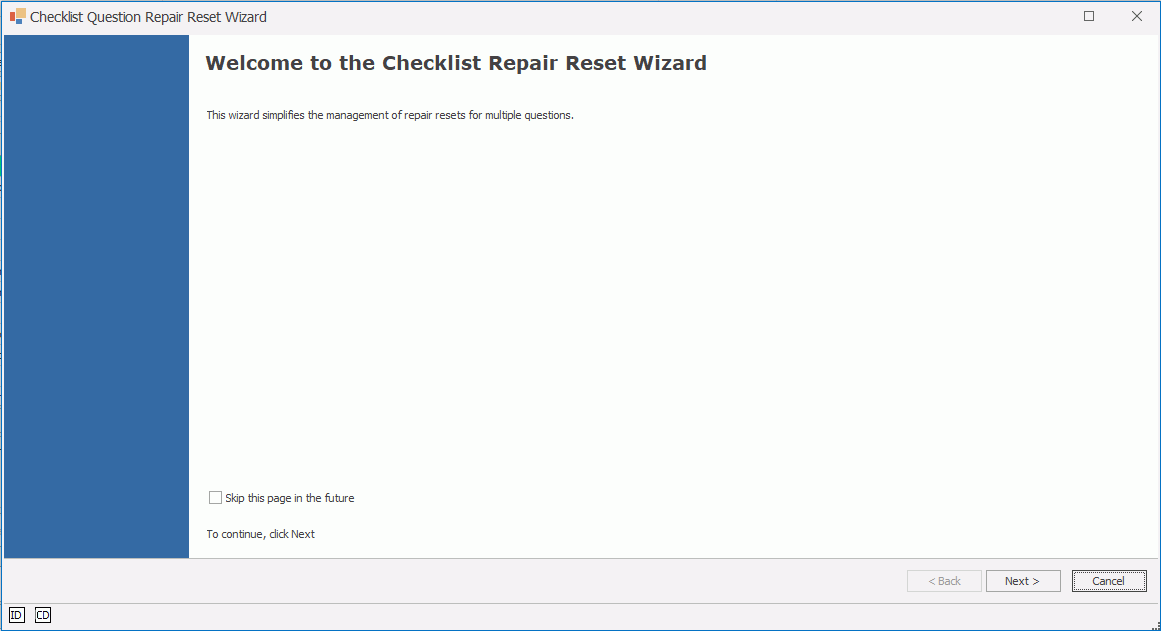
Press Next.
The following screen is displayed showing four lists. Products, Parts, Locations and Repair Types.
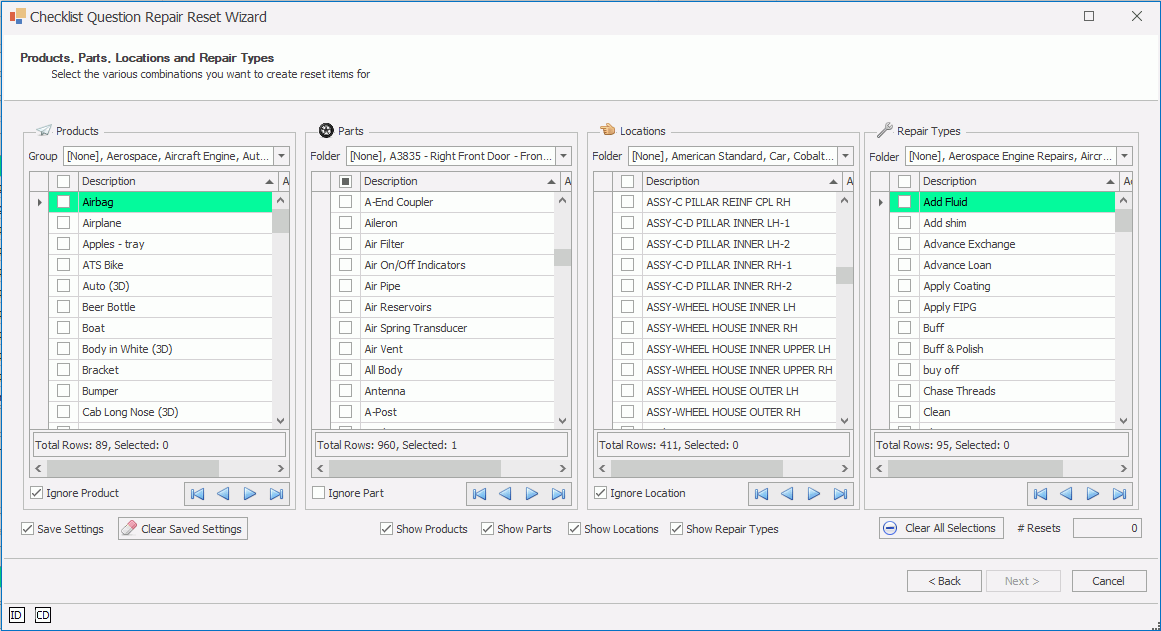
Columns can be hidden by removing the tick from the relevant check box i.e. Show Products.
Choose the selection criteria by ticking the relevant check boxes in the Products, Parts, Locations and Repair Types columns. Information can be filtered in several ways:
Group/Folder: Each column can filter data either by Group (Products) or Folder (Parts, Locations, Repair Types).
Show Find Panel: Right click Description in the desired column and select Show Find Panel. Items matching the term entered will be returned in the column.
Show Auto Filter Row: Right click Description in the desired column and select Show Auto Filter Row. Items can be filtered using comparison operators with the results returned within the column.
Users can search using an items ID or Code by pressing the  or
or  buttons respectively.
If a column is not required, place a tick in the relevant check box i.e. Ignore Product.
If no selections are required from a particular column, a tick must be placed in the relevant Ignore check box. If this is not done, the number of possible Repair Resets is not calculated.
Once all selections have been made, the number of possible reset repairs is calculated in the # Resets field. Press Next.
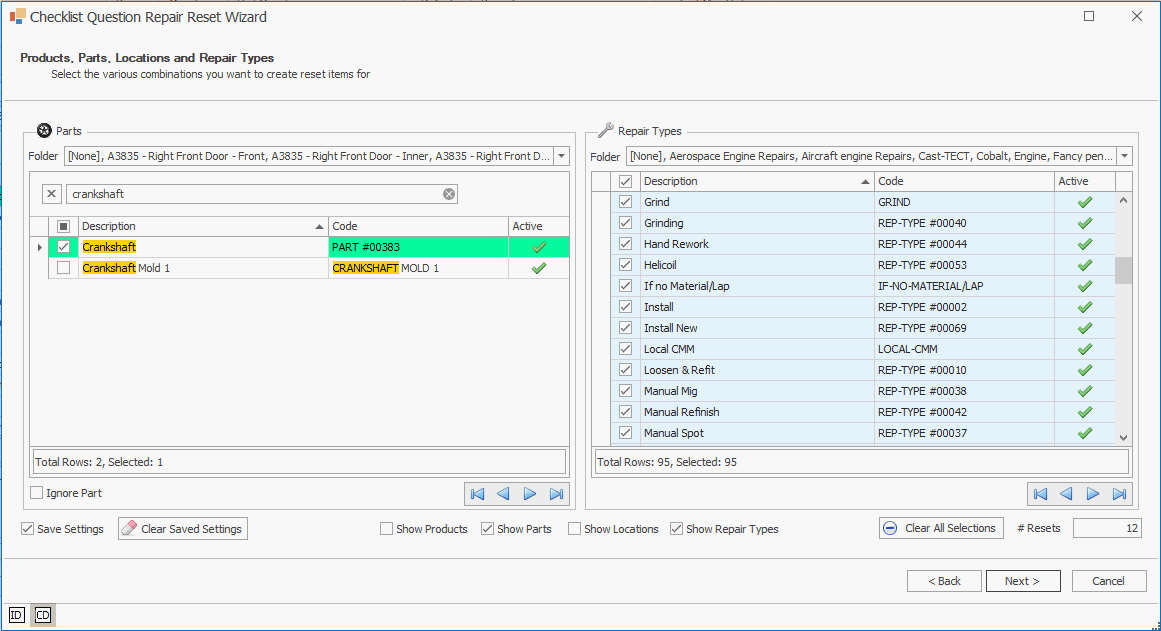
The # Results field reflects the number of Repair Types that apply to the selection criteria chosen from Products, Parts and Locations. Any Repair Types that do not apply are discounted.
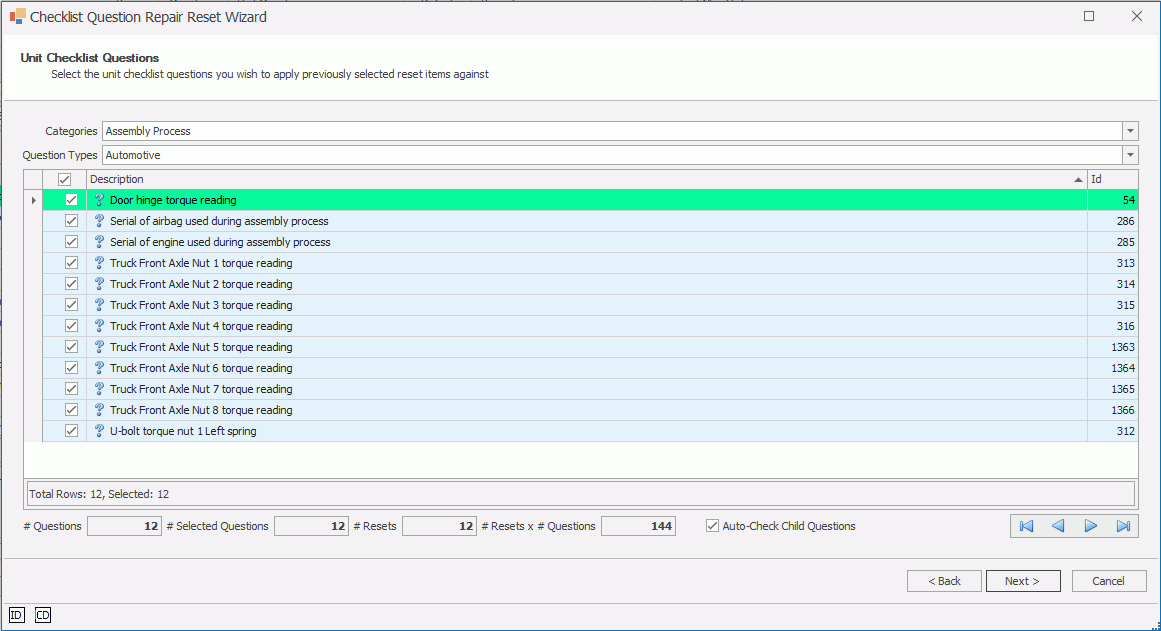
Select from the list of Unit Questions. The number of Unit Questions available is displayed in the # Questions field. Information can be filtered in several ways:
Categories: Select specific Checklist Categories or Select All from the drop down list.
Question Types: Select specific Question Types or Select All from the drop down list.
Show Find Panel: Right click Description in the desired column and select Show Find Panel. Items matching the term entered will be returned in the column.
Show Auto Filter Row: Right click Description in the desired column and select Show Auto Filter Row. Items can be filtered using comparison operators with the results returned within the column.
If a Unit Question has any number of Child Questions, then these can be reset automatically by placing a tick in the Auto-Check Child Questions check box.
If all top level items are ticked, all child items will be selected automatically. Selecting Units in the way overrides the Auto-Check Child Questions check box.
Once all selections have been made, the # Resets x #Questions field is calculated. Press Next.
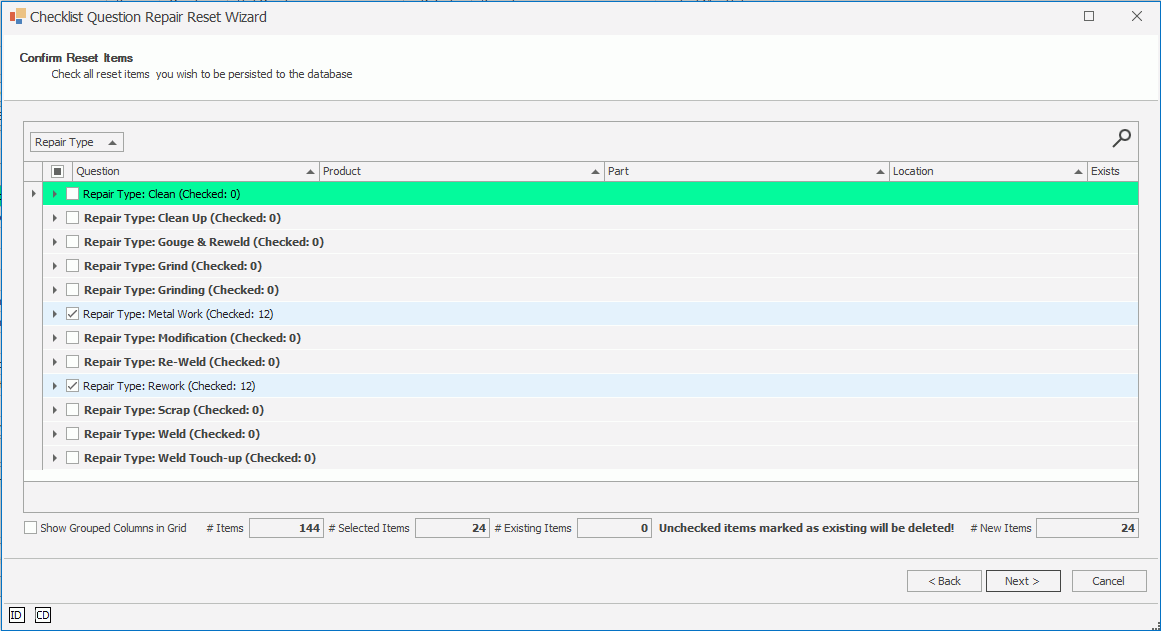
Select from the list of Repair Resets available. Data can be grouped by column heading by dragging the heading to the top bar. In addition, the information can be filtered in several ways:
Search: Press the Search ( ) button to search for a string in any cell of the table.
Show Find Panel: Right click Description in the desired column and select Show Find Panel. Items matching the term entered will be returned in the column.
Show Auto Filter Row: Right click Description in the desired column and select Show Auto Filter Row. Items can be filtered using comparison operators with the results returned within the column.
If there is an existing Repair Reset configured for the Unit Checklist Question, a tick will be placed next to the Repair Reset in the Exists column.
Once all selections have been made, the # New Items field is calculated. Press Next.
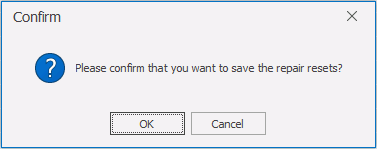
Press OK to confirm that you wish to save the selected Repair Resets.
Press Finish.

Remove Repair Resets
The process for removing Repair Resets that have been previously created is as simple as running through the steps used to create them.
Complete steps 1 - 10 in the previous section.
All items that have a Repair Reset assigned are indicated by a green tick in the Exists column. Untick the selection check box next to each Unit Question. The number of Repair Resets to be removed is calculated in the # New Items field. Please note the minus next to the number, indicating that these items are to be removed.
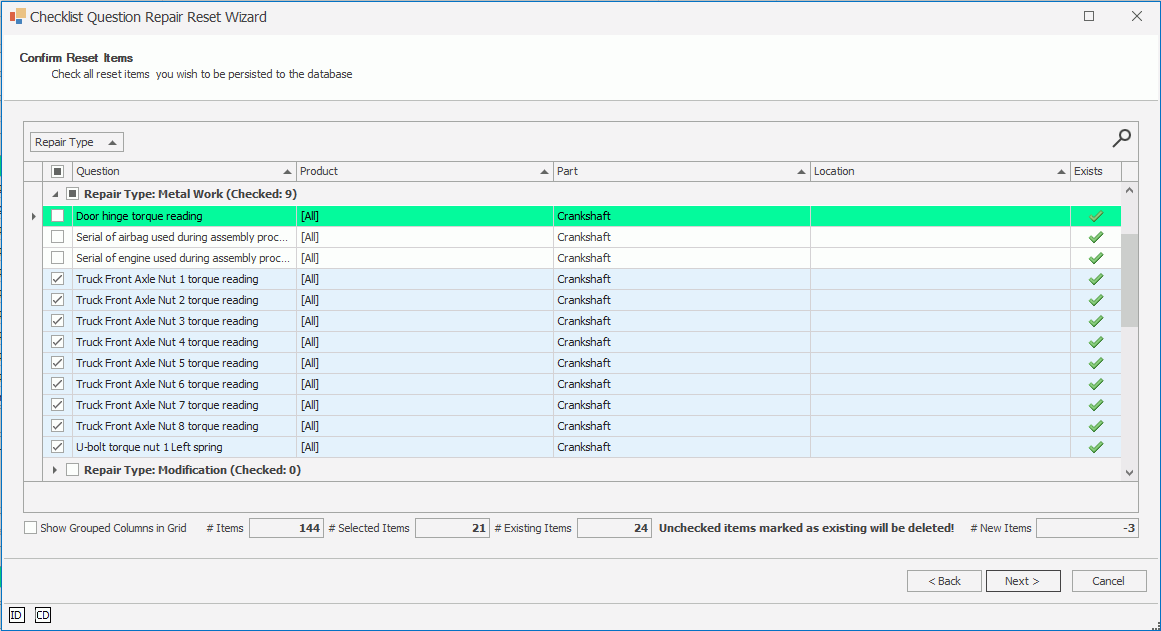
The # New Items field reflects the number of new repair resets to be created minus any that are selected for removal. Items can be created and removed simultaneously when using the Repair Reset Wizard.
Once all items to be removed have been unticked, press Next.
Press OK to confirm that you wish to save the selected Repair Resets.
Press Finish.