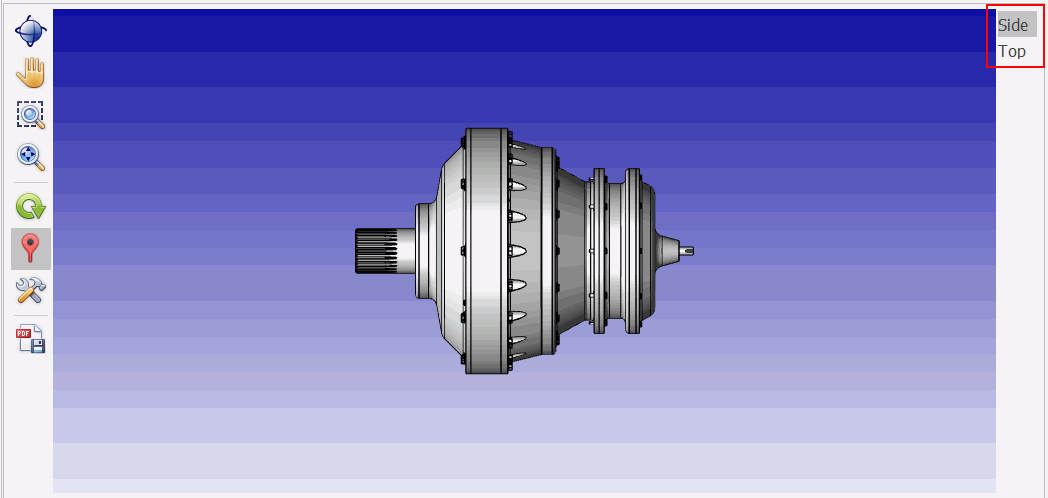
What are Bookmarks?
Bookmarks can be used in Data Collect to jump to pre-defined perspectives. It can also show or hide a selection of components or display a cut-through of the product. This can be useful if the operator needs to place a defect on a component that's hidden beneath other components.

Add a Bookmark
Select the Design tab at the top of the screen and click Add Bookmark.
Enter a name for the bookmark and click OK.
The bookmark is added to the view.
Hide/Show Imported Components
In the Design tab click Modify Visibility Set. You can then click the eye icons in the Component pane to hide/show specific components:

Clicking Apply saves the visibility selection for the current bookmark.
Add Cutting Planes
Cutting planes are associated to a bookmark and allow you to display a cross-section of the product. They can either be added in the x, y or z plane or perpendicular to a surface.
Adjust Orientation of View
Rotate the view to the angle you want displayed.
Zoom in/out as required.
Click Store Current Orientation in the Design tab. The orientation will be saved for the selected bookmark.
Renaming Bookmarks
Select the bookmark in the View Explorer.
In the Properties window click the down-arrow next to Descriptions.
Enter a new description. This will be the name displayed for the bookmark.
Capping
Select the bookmark in the View Explorer.
In the Properties window click the down-arrow next to Capping.
Select one of the following options:
Off: Faces will not be used for capping.
On: Faces will be used for capping generation.
Visibility: Faces will be used for capping generation if they are visible.