In this Topic Hide
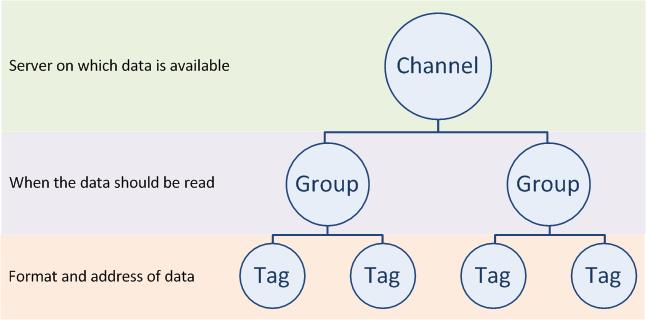
OPC Channels are used to create named connections to the shop floor via an OPC Server. These connections are called tags. In order to create a tag you need to specify the server on which the data exists, the format of the data, when the data should be read and the address of the data.
This information is specified in different layers as shown below where the channel contains groups which contain the tags:

1. Select the Automatic Collection tab.
2. Click OPC Channels.
A list of the existing OPC channels is displayed.
3. Click the add icon ( ).
).
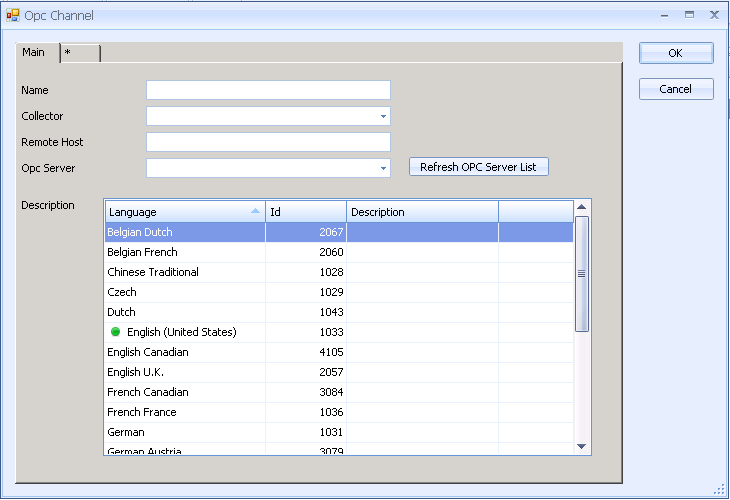
4. In the Main tab enter a name and description.
5. Select a Collector from the drop-down list.
6. Select a Remote Host if you are using a DCOM connector.
If using a DCOM connector additional security settings may be required. Refer to your OPC server documentation for further information.
7. Select an OPC Server from the drop-down list. If required, click Refresh OPC Server List.
Groups are used to collect together tags that have the same acquisition type. For example, a group could contain all the tags that need updating every 30 seconds.
8. Create an OPC channel group by selecting the next tab with an asterisk (*) in it.

The new channel is created.
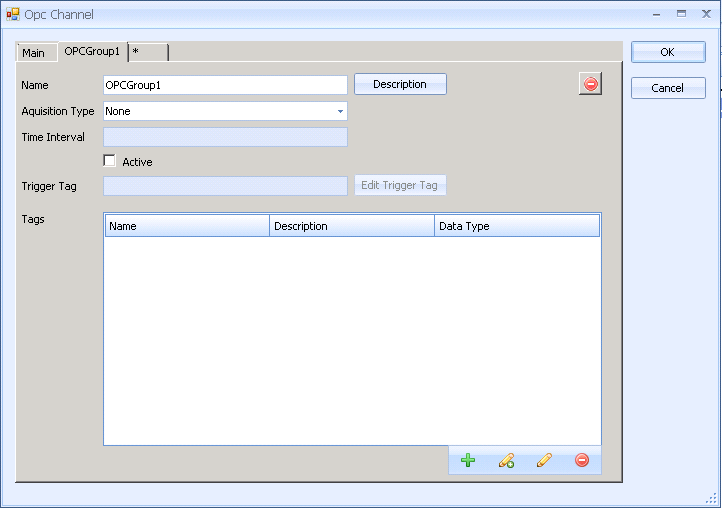
9. Enter a name for the group.
10. Select an Acquisition Type from the drop-down list.
o None:
o Time Interval: Data from the tags listed in the main pane is recorded at regular intervals. If selected, enter a Time Interval in milliseconds.
o By Trigger Tag: Data from the tags listed in the main pane is recorded when the selected trigger tag changes value.
(1) Click Edit Trigger Tag.
(2) Enter a Code and Description.
(3) Select the Data Type.
(4) Enter an Access Path. Click Browse OPC Tags to look for an existing OPC tag.
(5) Click OK to save the trigger tag.
o On Change: Data from the tags listed in the main pane is recorded whenever they change value.
You now need to add the OPC tags that will be read.
11. Click  .
.
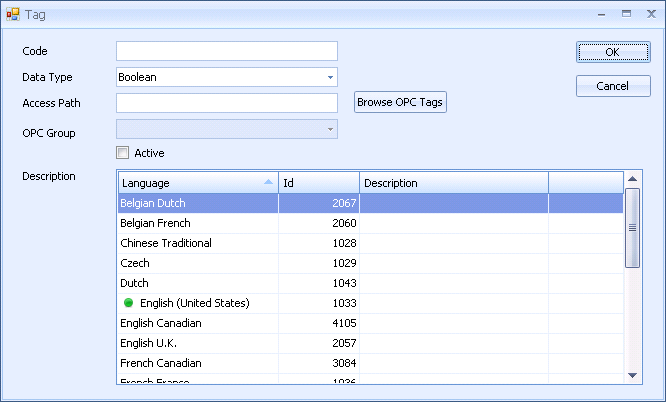
12. Enter a Code and a Description.
13. Select a Data Type.
14. Enter an Access Path or click Browse OPC Tags to select one directly.
15. Click OK.
The tag is added to the list.
16. Click  .
.
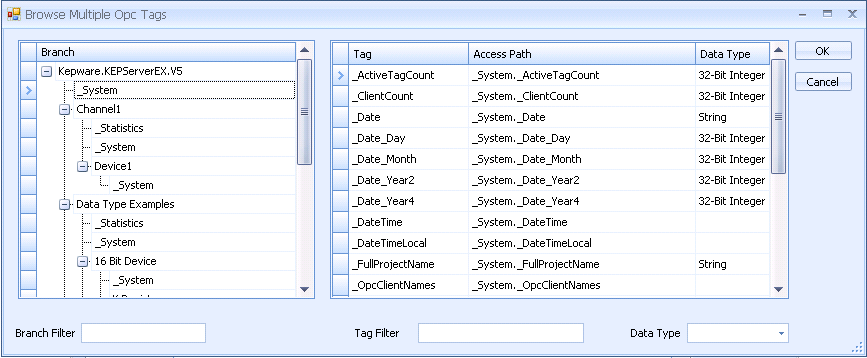
17. Select the required branch.
The available tags are listed in the right-hand pane.
18. Hold down the Ctrl key and select multiple tags.
19. Click OK.
The tags are added to the list.
20. Edit the tags individually to modify them.
21. Click OK. The OPC channel is saved.