Before installation check the system requirements and prerequisites here.
During the installation you will require the a username and password for the database server with administrative rights.
This section describes the ATS Intelligence installation process. Should a previous version exist, it must be uninstalled before proceeding.
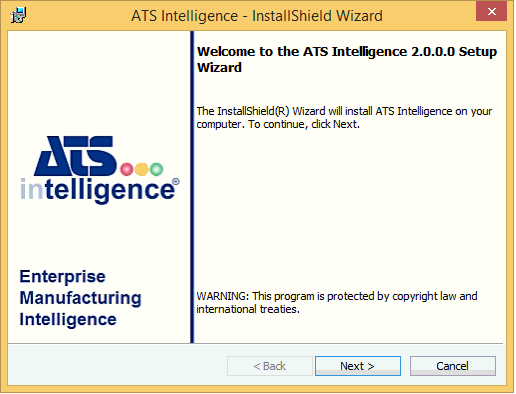
When you run the executable the following screen will be displayed.

1. Click Next.

2. Select “I Accept the terms in the License Agreement”.
3. Click Next.
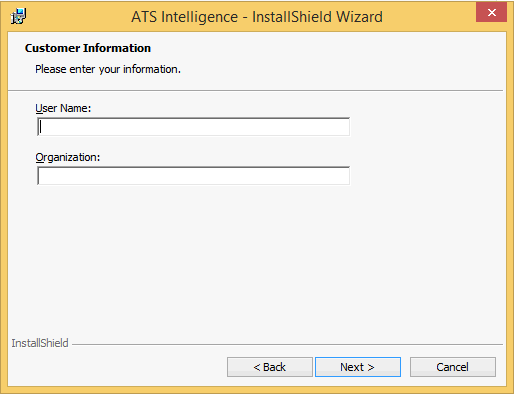
4. Enter a user Name and Organization.
5. Click Next.
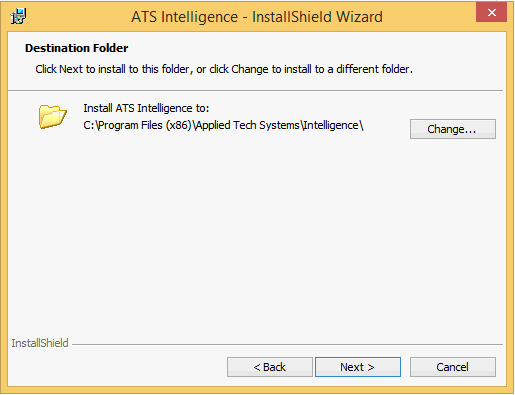
6. Select the installation Destination Folder. Select Change to choose different location.
7. Click Next.
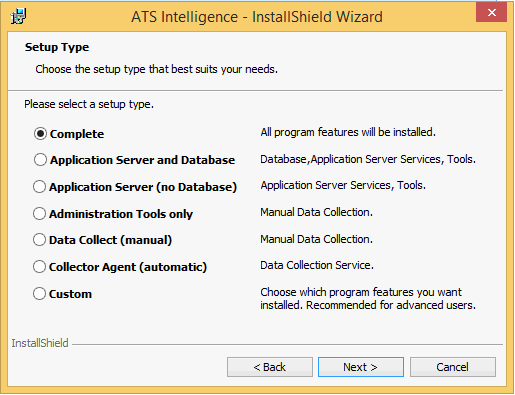
8. Select the required installation type.
9. Click Next.
If you selected the Custom option the following screen will be displayed.
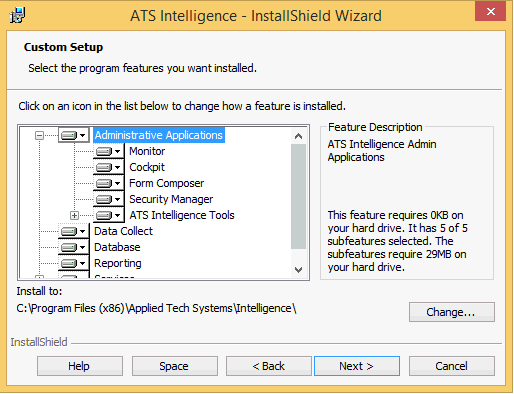
10. Select the required components from the following:
o Administrative Tools
§ Monitor: Used by administrator to view automated data being received by the system.
§ Cockpit: Used by administrator to define the information required to record OEE in the plant.
§ Form Composer: Used by administrator to configure the screens that will be seen by the operator.
§ Security Manager: Used by administrator to configure security settings.
§ Tools
• Settings Editor: Allows you to modify the connection settings for each of the applications and services.
• Line Simulation: The line simulator is graphical representation of a production line that generates realistic demo data.
o Data Collect: Used by operator to record shifts and downtime on equipment..
o Database:Creates the database required by ATS Intelligence.
o Reporting: Used by managers and foremen to review recorded OEE data.
o Services:
§ Import Service:Receives data from the Collector Service and passes it on to the Data Service.
§ Collector Service: Gathers production data directly from the shop floor and then pushes the information to the Importer Service
§ Data Service: Updates the database.
11. Click Next.
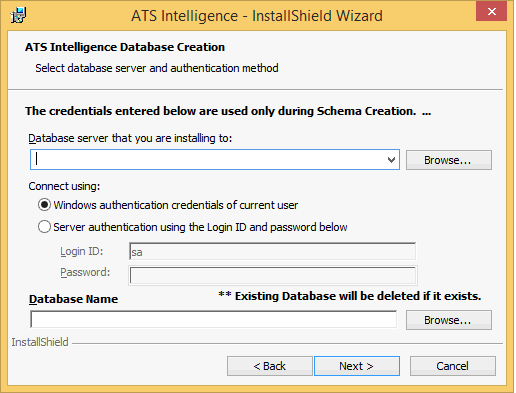
12. Select the database server to install to.
13. Select the authentication method and username and password, if required.
The authentication selected will be used the installer to create the database. The user selected will also be set as the database owner.
Enter a user with Database System Administrator Rights.
14. Enter a name for the database to be created or click Browse to use an existing name.
If an existing database name is used the database will be deleted and a new one created. All existing data will be lost.
15. Click Next.
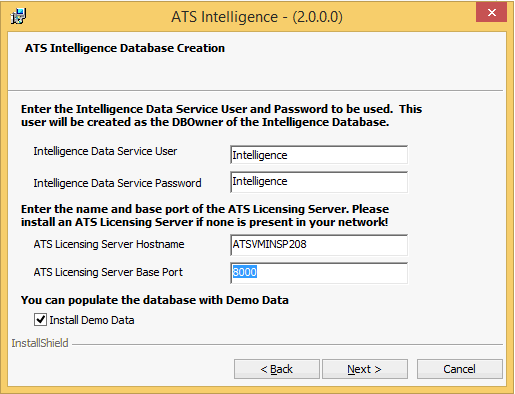
16. Enter the user name and password for the Data Service.
If the user doesn't already exist as a database server user it will be created.
If the user does already exist then its password won't be overwritten if it's different.
The user is also set as a user of the database.
17. Enter the ATS License Server host name.
18. Enter the ATS Licensing Server base port.
If you are using ATS Licensing 2.1 and upwards
the port will be Net.tcp and the base port plus 1 (the default is
net.tcp://<servername>:8001/ATSLicensingServer/) by default.
If you are using ATS Licensing 2.0 you will need to modify the licensing
endpoint in the database (see here ).
).
19. Enable Install Demo Data if required.
20. Click Next.
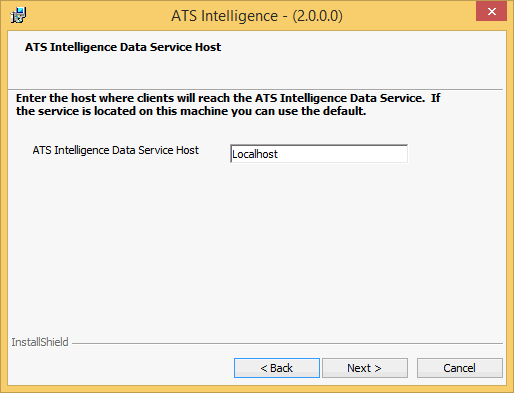
21. Enter the host for the data service. This won't be required if selected a Complete installation.
22. Click Next.
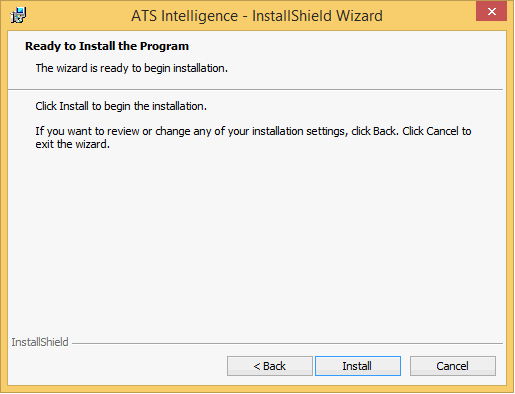
23. Click Install.
When the application has successfully installed the following screen will be shown.
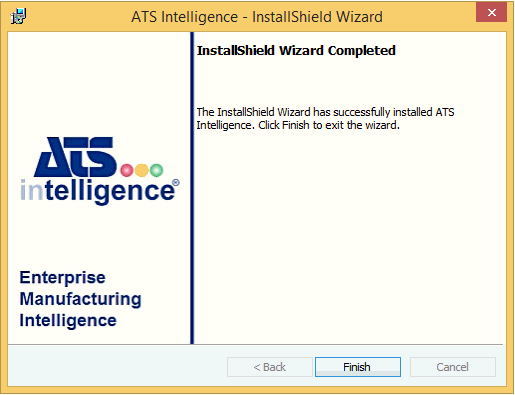
ATS Intelligence Data Service must be started once installation is complete.
An ATS Intelligence user is created in the database as follows:
● User name: Intelligence
● Password: Intelligence
All ATS Intelligence applications can be accessed using this login.
For security reasons, this login should be removed, using Security Manager as soon as is convenient.
For information on how to start the ATS Intelligence applications see here.