In this Topic Hide
Installation of ATS Security and Configuration manager
Self-hosted version of ATS Security and Configuration manager
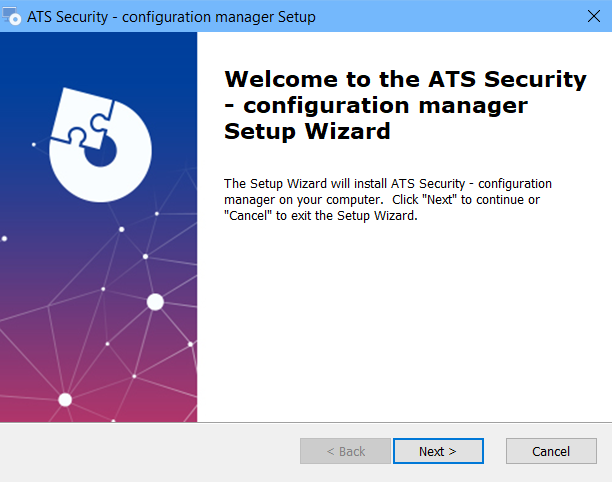
The installer for ATS Security and Configuration manager installs ATS Security with ATS Configuration manager including the ATS Security configuration plug-in.
This section describes the installation process. Should a previous version of ATS Security and Configuration manager exist, it must be uninstalled before proceeding.
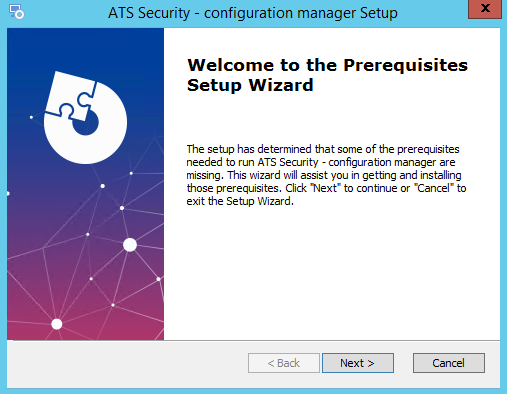
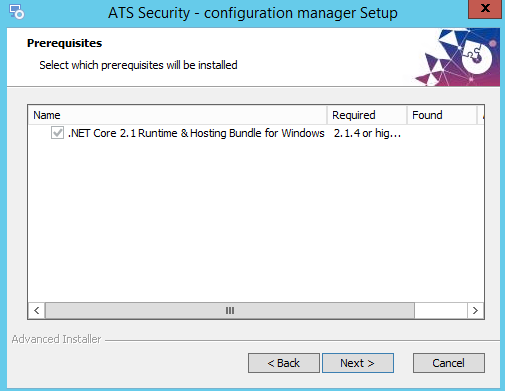
Download and unpack the setup for ATS Security and Configuration manager.
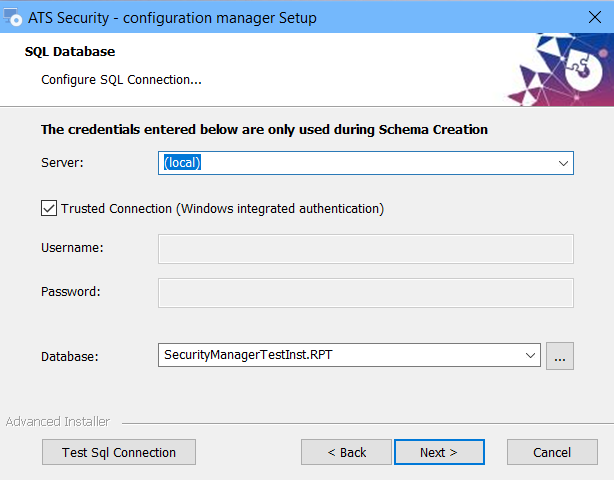
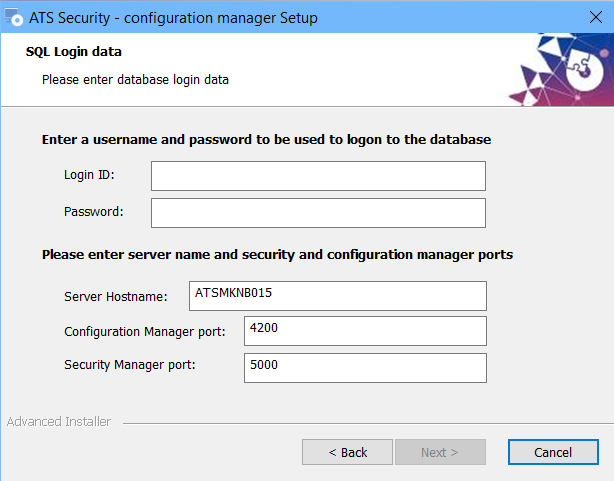

The ATS Security and Configuration manager is configured to run as a self-hosted application.
To verify this, you can check in the Services section where they are registered as "ATS Security Manager Service" and "ATS Configuration Manager Service".
For improved security it is recommended to setup the ATS Security Manager to run with trusted certificate.
In order to do that follow the following steps:
1. Make sure there is trusted certificate on the machine. Using a self-hosted certificate will not work
2. Obtain the thumbprint for the certificate. You can find this under properties of the certificate

3. Open powershell console
4. Use the following command to add the certificate to the application "http add sslcert ipport=ipaddress:ipport certhash=thumbprint appid={30ac3241-41c8-4ab0-8c3b-f1a02e8993ff}" | netsh
Where ipaddress is the local ip address
Ipport is the port you want to associate the https to work on (Default https port is 443)
Thumbprint is the thumbprint of the certificate
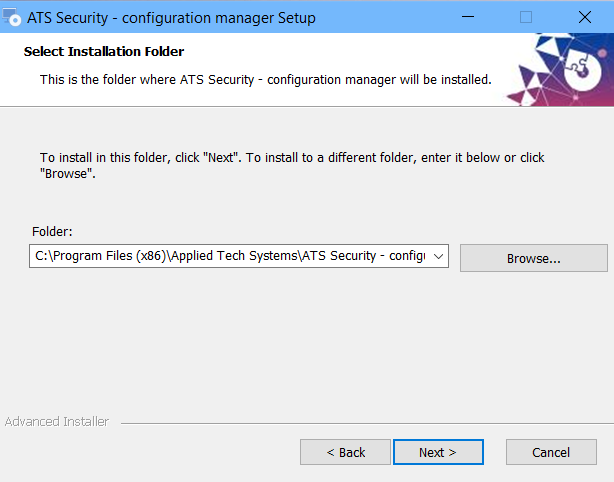
5. Navigate to the ATS.SecurityManager folder, this should be in c:\Program Files (x86)\Applied Tech Systems\ATS Security - configuration manager\ATS Security Manager\ and open the appsettings.json file
6. Edit the following properties:
Section ATSSecurityManager
Change Authority to be with the new configured address, for example if the current address is http://ATSUN020:5000/ then it should be https://ATSUN020:ipport/ where ipport is the port configured in the step 4.
If IssuerUri is configured to a specific address change to use https and the ipport from step 4.
7. Open c:\Program Files (x86)\Applied Tech Systems\ATS Security - configuration manager\ATS Configuration Manager\appsettings.json file
In the Configuration section edit the values for
ATSSecurityManager – set the value that is specified in step 6 for Authority
8. Restart both services “ATS Security Manager Service” and “ATS Configuration Manager service” and try to open ATS Configuration Manager.