For computers that require the Travel Print Service only, a separate installer is provided. Should a previous version exist, it must be uninstalled before proceeding.
You must run the Inspect installation with administrative rights. In Windows 10 and above you must also have elevated rights.
Install the latest ASP.NET Core Runtime 9.0.0 x64 and .NET Desktop Runtime 9.0.0 x64 executables.
Run the ATS-Inspect-Travel-Print-Service-x.x.x.x.exe. The following screen will be displayed.
Click Next.
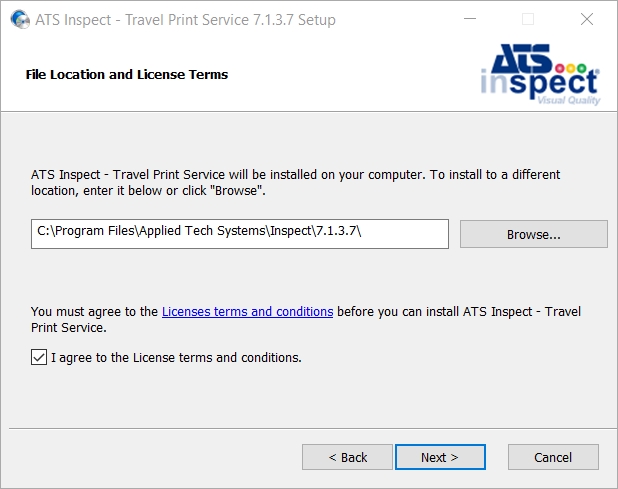
If required, change the installation location.
Select “I agree to the License terms and conditions" and click Next to proceed.
Enter the endpoint for the Travel Print Service.
Enter the endpoint for the Travel Service.
Enter the endpoint for the Data Service.
The format of the endpoints must be https://machine.domain:portnumber.
Press Next.
Press Install.
When the installation is complete, press Finish to close the installation program.
The following command line options can be specified when running the Inspect Client installer from the command line. Their values will be written to the .config files of the relevant applications and will be used when running the application:
Option |
Description |
Default Value |
DATASERVICE_ENDPOINT |
The hostname/IP that Data Service will run on. |
localhost |
DATASERVICE_PORT |
The port that Data Service will run on. |
8500 |
TRAVELSERVICE_PORT |
The port that Travel Service will run on. |
8600 |
SUPPRESS_LICENSE_CERT |
Suppress the installation of the license certificate. |
False |
To perform an unattended Inspect Client installation, run the following command line as an administrator:
"ATS-Inspect-Travel-Print-Service-x.x.x.x.exe" /qn DATASERVICE_HOST="192.168.0.1" DATASERVICE_PORT="8500" TRAVELSERVICE_PORT="8600"
Replace the values in the above example to match your configuration.
For further information on command line options, please click the link .
In addition to the options listed above, the ADDLOCAL property can be used to allow users to select which features to install. The table below details the values to be used, which can be separated by commas.
Identifier |
Description |
TrvSvc |
Travel Service |
TrvPrntSvc |
Travel Print Service |
For example, to install the Travel Print Service, the following command could be executed:
"ATS-Inspect-Travel-Print-Service-x.x.x.x.exe" /qn SERVER_PROP="192.168.0.1" DATABASE_PROP="Inspect" USERNAME_PROP="sa" PASSWORD_PROP="pwd" ADDLOCAL="TrvSvc, TrvPrntSvc"
In the instance where a customer wishes to use their own certificate and leverage the SUPPRESS_LICENSE_CERT command during installation, a couple of configuration changes are required.
The wcf_license_svc_endpoint in the global_settings table in the Inspect database needs to be appended with |certificate subject.
net.tcp://INSPECTAPPSERVER1.domain.local:8011/ATSLicensingServer/Licensing|INSPECTAPPSERVER1.domain.local
Load SQL Managment Studio and login.
Browse to Databases, the Inspect Database, Tables and load the global_settings table.
In the wcf_license_svc_endpoint field append the certificate subject.
Tab to the next line to apply the changes.
The LicenseServiceHost.exe.config file has to be updated to include the server name.
Browse to C:\Program Files (x86)\Applied Tech Systems\ATS Licensing Server\ATS Licensing WCF Communicator.
Open the LicenseServiceHost.exe.config file.
Browse to the following section.
<setting name="CertificateName" serializeAs="String">
<value>ATS Licensing</value>
</setting>
Change the text between the value tags to the server name (FQDN).
<setting name="CertificateName" serializeAs="String">
<value>servername.domain</value>
</setting>
<setting name="CertificateName" serializeAs="String">
<value>INSPECTAPPSERVER1.domain.local</value>
</setting>
Save the file.
Can we improve this topic?