Register ATS Inspect in ATS Security
Before starting the installation, ATS Inspect needs to be registered in ATS Security.
ATS Inspect 7.1 requires ATS Security v1.9 or above.
Browse to the ATS Security URL and login with a user that has rights to edit applications.
Click the Security card and press Open.
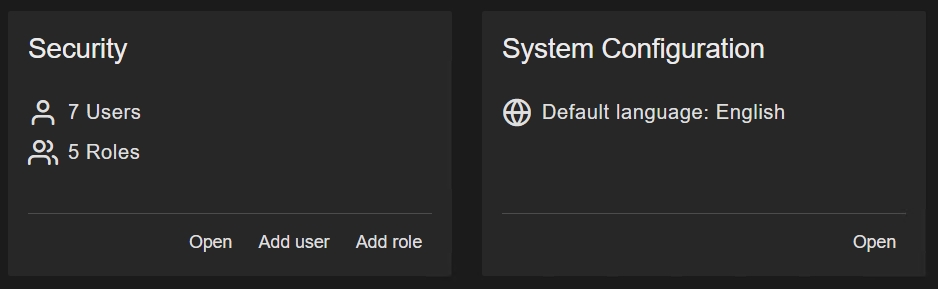
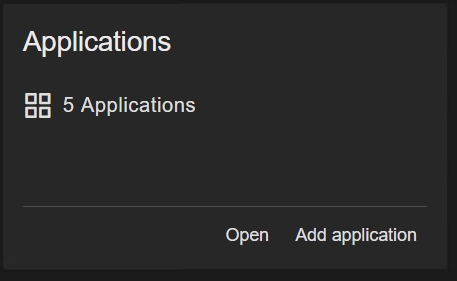
Click the Applications card and press Add Application.
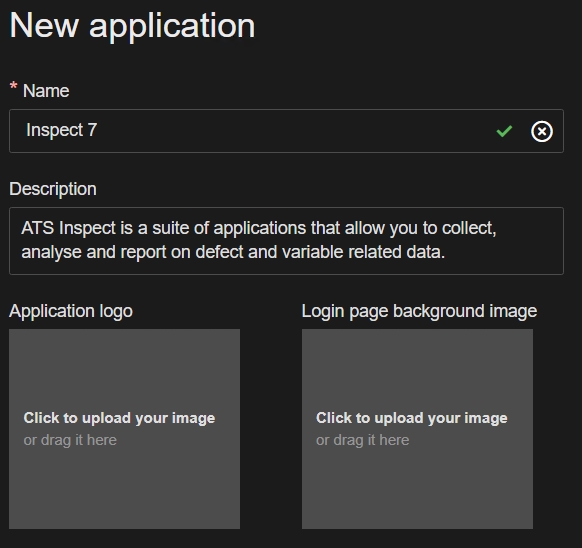
Enter the following information about the new application:
Name: Enter a name for the application, for example ATS Inspect.
The name assigned to the application must be unique within ATS Security.
Description (optional): Enter a description for the application that can be seen in the applications grid card.
Application logo and/or background image (optional): Upload a logo image and/or background image for the application.
Press Add and edit.
If the application was added successfully, the pane will refresh and feature a new Application Id field and the Application status field will display Created.
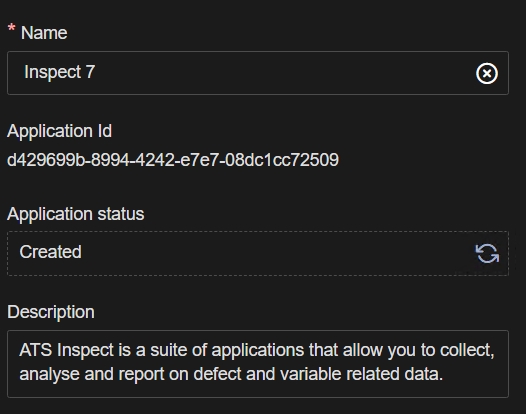
Acquire Application ID for ATS Licensing application
During the installation of the ATS Licensing Server services, an Application ID is required. To obtain the Application ID, hover over the Application Id field and copy the string by pressing the the copy  icon.
icon.

Install ATS Inspect - Data Service Wizard
This section describes the installation of the ATS Inspect Data Service. This installs the required services as well as the Connectivity Kit which allows you to create and update databases.
Should a previous version exist, it must be uninstalled before proceeding.
You must run the Inspect installation with administrative rights. In Windows 10 and above you must also have elevated rights.
Install the latest ASP.NET Core Runtime 9.0.0 x64 and .NET Desktop Runtime 9.0.0 x64 executables.
The Inspect Data Service will not start without installing .NET 9.
Run the ATS-Inspect-Data-Service-x.x.x.x.exe
Press Next.

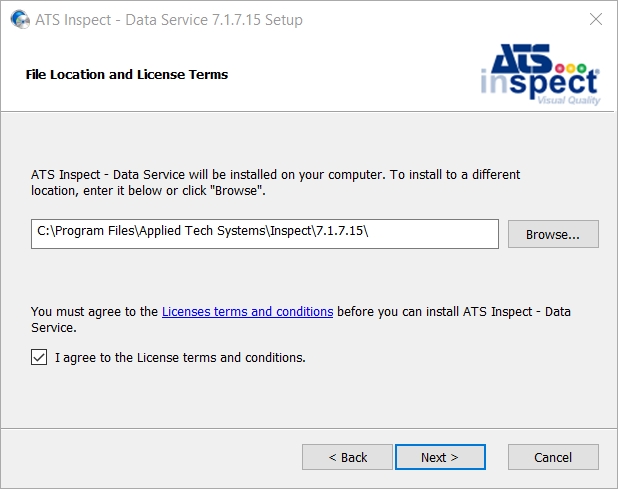
Select I Accept the terms in the License Agreement and click Next to proceed.
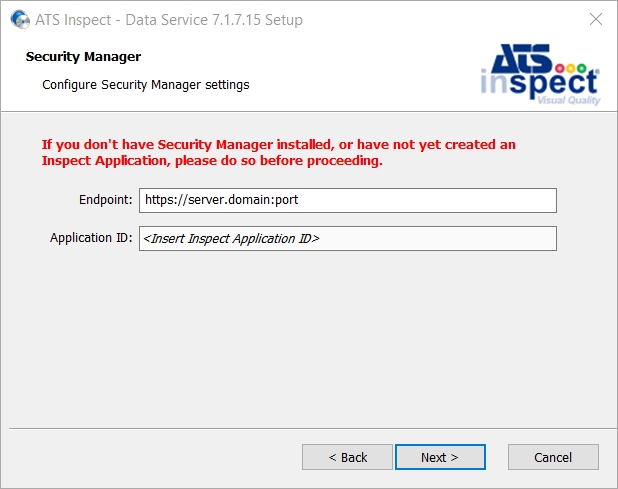
Enter the Security Manager endpoint in the Endpoint field using the full FQDN and port number. I.e. https://hostname.domain:5000.
Enter the Application ID.
See section Acquire Application ID for ATS Licensing application.
Press Next.
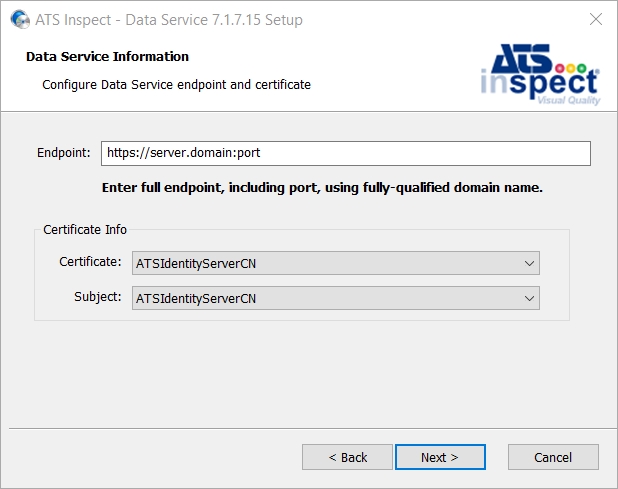
Enter the Data Service endpoint in the Endpoint field using the full FQDN and port number. I.e. https://hostname.domain:8500.
Select a certificate to enable the encryption of traffic in the Certificate field. The Subject field will automatically populate with the subject from the certificate.
For further information on certificates, please refer to Create and register certificates for TLS/SSL.
Press Next.
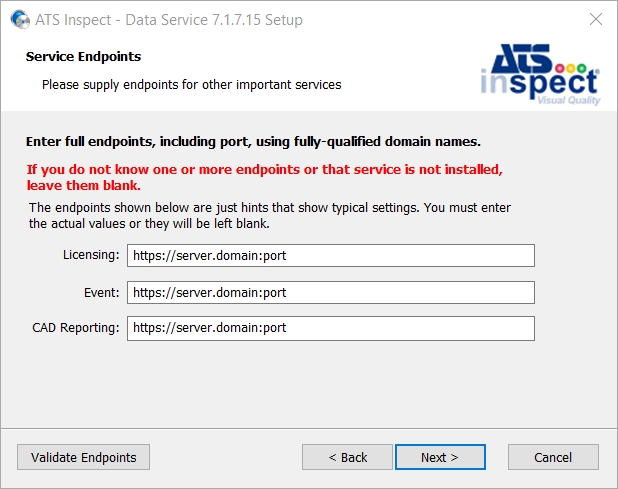
Enter the Licensing endpoint in the Licensing field using the full FQDN and port number. I.e. https://hostname.domain:44335.
Enter the Event Service endpoint in the Event field using the full FQDN and port number. I.e. https://hostname.domain:9000.
Enter the CAD Reporting endpoint in the CAD Reporting field using the full FQDN and port number. I.e. https://hostname.domain:8800.
If the services have not been been installed or the endpoints are not known these fields can be left blank.
All entered endpoints can be validated by pressing the Validate Endpoints button.
Press Next.
The Inspect Database configuration screen is displayed.
Enter the required details.
Server: Name of the Server where Inspect Database resides (e.g. ATSSERV022\SQL2022)
Database: Inspect Database Name
Username: Database Login
Password: Database Password
Press Next.

To enable Raygun, place a tick in the Enable check box.
Raygun Error Monitoring and Crash Reporting
Press Next.

Press Install.
Press Finish.
The application status of the Inspect application in Security Manager will change from Created to Configuration uploaded.
If you are using an existing database you will now need to update it so that it is compatible with this version of Inspect. For further information see here.
Configuration of roles for ATS Inspect
After the successful installation of ATS Inspect the status of the registered ATS Inspect application in ATS Security should be set to Configuration Uploaded. This indicates that the ATS Inspect application rights have been uploaded to ATS Security and can be assigned to ATS Security roles, which in turn can be assigned to users.
For a complete list of available security rights for Inspect, please click here.
For more information on creating and managing user accounts, please visit the ATS Security online help here.
Create an ATS Inspect role
Create a new role in ATS Security i.e. InspectAdmin. For further information on creating user roles, click here.
Select the Rights tab and expand the ATS Inspect application list.
Assign all permissions to the new role. For further information on editing roles, click here.
Assign the new role to a user that can authenticate through ATS Security such as an admin user. For further information on editing users, click here.
Alternatively, assign all permissions to an existing admin role.
Users assigned with the new permissions are required to log out and sign in again for the changes to take effect.
The user and role configurations are completed. The user can log into ATS Inspect using the Admin account.