About Grids
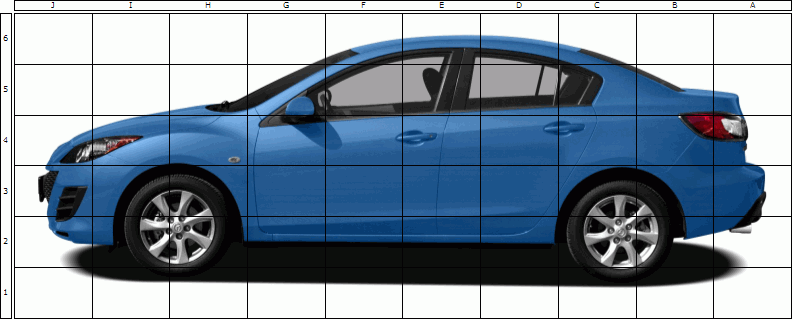
A grid is a series of labeled horizontal and vertical lines that overlay a view. These grids can help inspectors locate the correct zone on a complex part (such as A3 or D4) allowing inspections to be carried out quicker. If needed you can have more than one grid on a single view.
It's also possible to split components based on the zones of a grid that they fall within.
Add a Grid
Select the layer you want to add the grid to.
Select the Home tab in the ribbon.
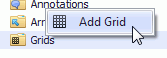
Click Add Grid. It's also possible to add a grid by right-clicking on the Grid item within the layer and selecting Add Grid from the context menu.
Click and hold on the view where you want the top left corner of the grid to be.
Drag to where you want the bottom right corner to be.
The grid is added to the view.
The grid properties are displayed at the right of the screen.
Click  next to Advanced in the properties. A new dialog opens.
Enter a Description for the grid.
Select the styles for the Label Border, Label Fill and Grid Line and Label Font.
Specify the numbers of rows and columns as well as other settings in the Settings tab.
If you've made modifications in the Settings tab click Create Labels.
Modify the row and column labels in the Customize tab.
Click OK.
Generate Components Based on a Grid
Existing components can be cut up into smaller components, based on the cells of a grid that they fall within. For each cell it creates a new component with the part associated to a location which is the grid coordinates. After creating the new components the original component will be deleted. Any areas of the component not covered by the grid will be lost.
Create a grid as described above.
Click Generate Components.
The Generate Components wizard opens.
Click Next.
Either select a specific grid from the drop-down list or disable Selected grid only. This will carry out the component generation on all components that are covered by any grid in the view.
Click Next.
The wizard starts to process the view. When it has finished it displays a list of all of the components it has created.
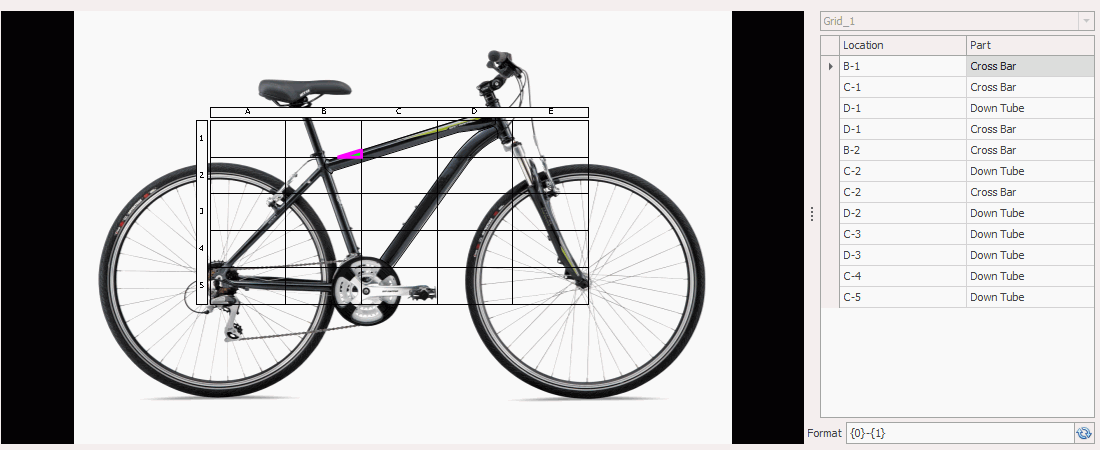
Select the name of each grid in the drop-down list to view the components that were created.
If needed modify the Format of the location. {0} represents the column and {1} represents the row. Any other text will be included as it is written. For example "Cell {0}{1}" could generate a location of "Cell A1".
Click the Fit and Center  icon to bring the view in to the centre of the design surface and adjust the zoom level to an optimal position.
Click Next.
The wizard asks for confirmation to delete the original component and create the new components.
Click Next.
The new components are created and the original one is deleted.
If a component was only partially covered by the grid then any part of it outside the grid will be deleted. Components not underneath the grid will not be affected.