Create Part Locations
A location is the position of the part in relation to the entire product. For example, in a motor vehicle a repair technician needs to distinguish between a left or right side fender. The part is the fender, while the location would be left or right.
-
The part and the location together are called a component. Not all parts require a location.
The same location can be used by several parts. For this tutorial you only need to specify the following locations:
|
Location |
|
Front |
|
Back |
|
Left |
|
Right |
Select the Products tab.
Click Locations.
A list of the existing locations and location folders is displayed.
Click the add icon (![]() ) below the right-hand pane.
) below the right-hand pane.
The location creation dialog opens.
Enter Front in the Description field. The Code field is automatically populated.
Click OK.
The location is added to the list.
Enter the remaining locations.
Associate Locations to Parts
A Part together with its Location (where applicable) is known as a Component. The following parts and locations must be associated:
|
Part |
Location |
|
|
Brake Lever |
Left |
Right |
|
Brake Pad |
Front |
Back |
|
Brake Cable |
Front |
Back |
Select the Products tab.
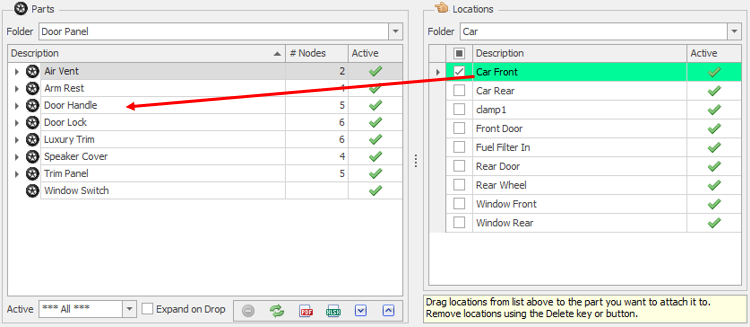
Click Parts/Locations.

A list of the existing part/location relationships is displayed.
Click and drag locations from the right-hand pane onto the parts in the left-hand pane to associate them.