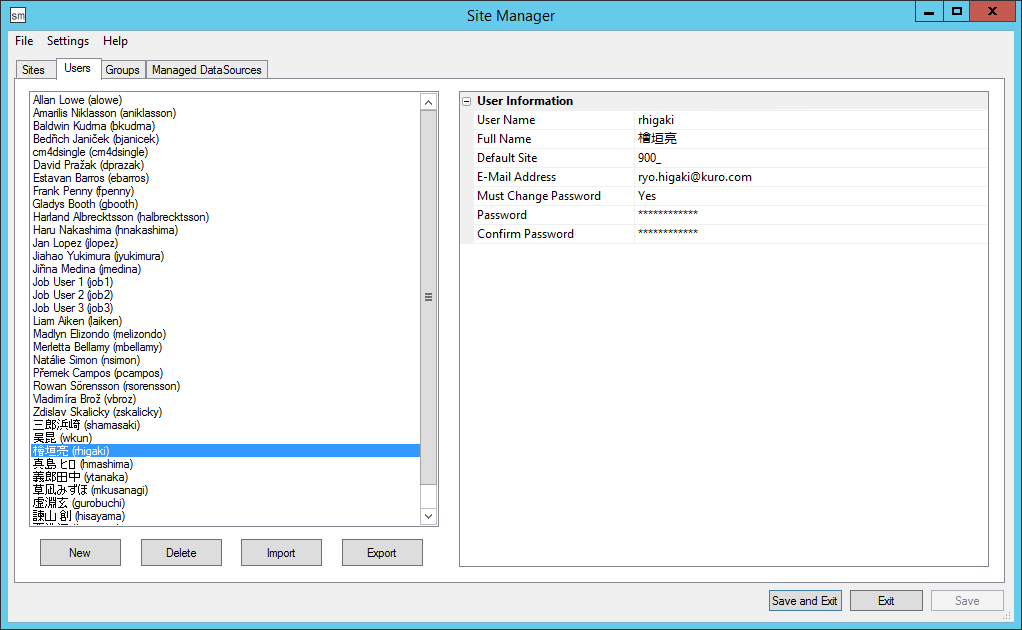
In the User tab of the Site Manager user interface you can create a new user, delete a user and modify an existing user's information. By default, you have already logged in using the default user, "cm4dsingle". You can now add additional users and change the password for cm4dsingle.
Selecting a user name from the list on the left will display information about that user in the User Information grid on the right.

To create a new User:
1. Click the New button on the bottom left corner of the Site Manager user interface
2. A default new user will appear called "New User (New User 1)" along with a grid of User Information on the right.
3. In the Grid, enter the following information:
· User Name: Enter the Windows user name login for the user you wish to add to the Site
· Full Name: Enter the user's full name
· Default Site: Select the Site you want the user to have as their default site
· E-Mail Address: If the user will be using event notifications, enter the email address that will be used. If the user is the CM4D Service user that runs the EventSmith SMTP services, the email entered may be used as the 'From Address' on EventSmith notifications. See here for details.
· Must Change Password: Set this to "Yes" if you require the user to change the password to something different from what you set it as
· Password: Enter a password for the user
· Confirm Password: Re-enter the password for the user
4. Click Save to apply and save the User Information.
Users may be added to the Site from an Excel spreadsheet (*.xlsx). The spreadsheet format/content must follow specific rules or the information will not be imported successfully. show/hide
· Column Headers are case sensitive
· Columns may be in any order
· Columns may be excluded entirely
· Only valid columns and values will result in success
· Blank cells in the user rows are acceptable
· Blank cells will be considered as empty or set to the default
· Existing users are updated with whatever values are provided, but changes to the User Name or Full Name will result in a new user entry
· The user “cm4dsingle” cannot be imported or exported
The following information may be included in the spreadsheet:
· User Name - enter the Windows User ID.
· Full Name - enter the full user name that corresponds to the Windows User Name.
· Group - assign the user to a Group; assigning the user to multiple groups must be done using separate lines in the spreadsheet.
§ Group Name - enter the name of an existing Group to add the user to the Group.
§ New Group Name - enter a new string to create the new group and add the user to the new group. If a new group is created, you must assign Privileges following the import.
§ <unassigned> - enter this string to remove the user from any Groups it is assigned to; the user will remain in the Site database.
§ <delete user> - enter this string to delete the user from the Site database.
· Default Site - enter the Site Code to set the default Site for the user.
§ Site Code - if you use more than one Site, enter the name of the Site to set it as the user's default site.
§ New Site Code - results in the default site being assigned to the user; new Sites cannot be created using this method.
§ Blank/Empty - results in the default site being assigned to the user.
· E-Mail Address - enter the email address of the user if they will be subscribing to EventSmith Event Notifications, or if it is an Administrator user that will need to receive CM4D Web user registration email notifications.
· Must Change Password - set whether or not a user will need to change their password from the one initially assigned.
§ Yes - assign this if the user will be assigned to a group with the Site Database Admin privilege, and you want them to change their password the next time they log in to the SiteManager application.
§ No - this is the default setting if this field is left blank, or if this column is excluded entirely.
· Password - this column is only used when importing users; enter a string to set a new password for the user. Encrypted password will overwrite unencrypted passwords if both are provided.
· Encrypted Password (do not modify) - this column is only used when a user list is exported; passwords that are assigned to users are only exported as encrypted strings. Do not modify this value when re-importing user information that already has an encrypted password. Encrypted password will overwrite unencrypted passwords if both are provided.
When you import a list of users, the Site database will be immediately updated with the new user information. There is no undo function. Modifications to existing users can either be made manually in SiteManager, or by updating your spreadsheet and re-import the new list. Rows are processed sequentially so a user can be listed on multiple rows for multiple operations for deleting, adding or changing users.
While you may choose to create the import template by scratch, an easy way to get a spreadsheet with the correct column headers is by first exporting one from SiteManager.
1. In SiteManager, go to the Users tab.
2. Select Export.
3. Name the file and save.
4. Open the exported file in Excel.
5. Add the Password column. show/hide
6. Add all user information as rows in the document.
7. Save the file.
1. Click Import.
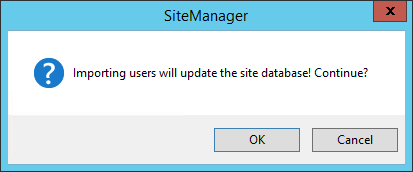
2. Click OK to continue.


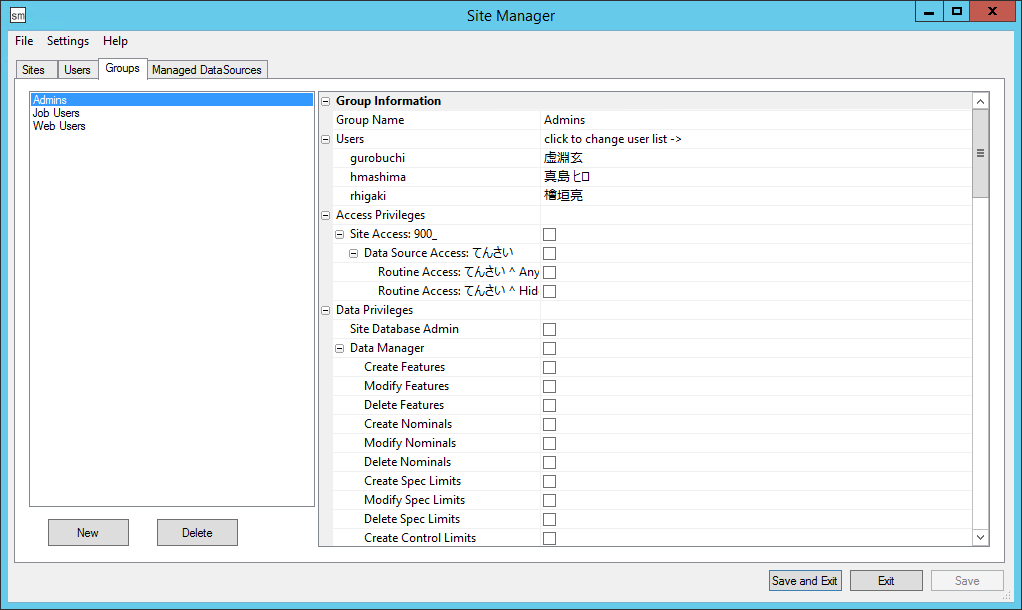
After importing users, if you have created new groups you must go to the Groups tab and assign access rights and privileges.

The list of Users in the Site and all user information can be exported to an Excel (*.xlsx) spreadsheet. All user/group information existing in the database will be included, except for the default 'cm4dsingle' user.
Passwords assigned in the Database will be exported as Encrypted strings.
Users may also be exported as a CSV file using the File > Export > Export User List menu option.
To delete a user, select the user from the User list on the left and click Delete. The user will be deleted.
If you delete a user by mistake but have not yet saved your changes, exit Site Manager and re-open to restore your previous settings.
To modify an existing user's information:
1. Select the user from the list of users on the right
2. In the grid on the right, make any necessary changes
3. After you have finished making changes, click Save
The cm4dsingle User Name and Full Name cannot be changed, but we recommend changing the default password for the cm4dsingle user after the first login.
Can this topic be improved? Send us your comments .