Projects
My Projects
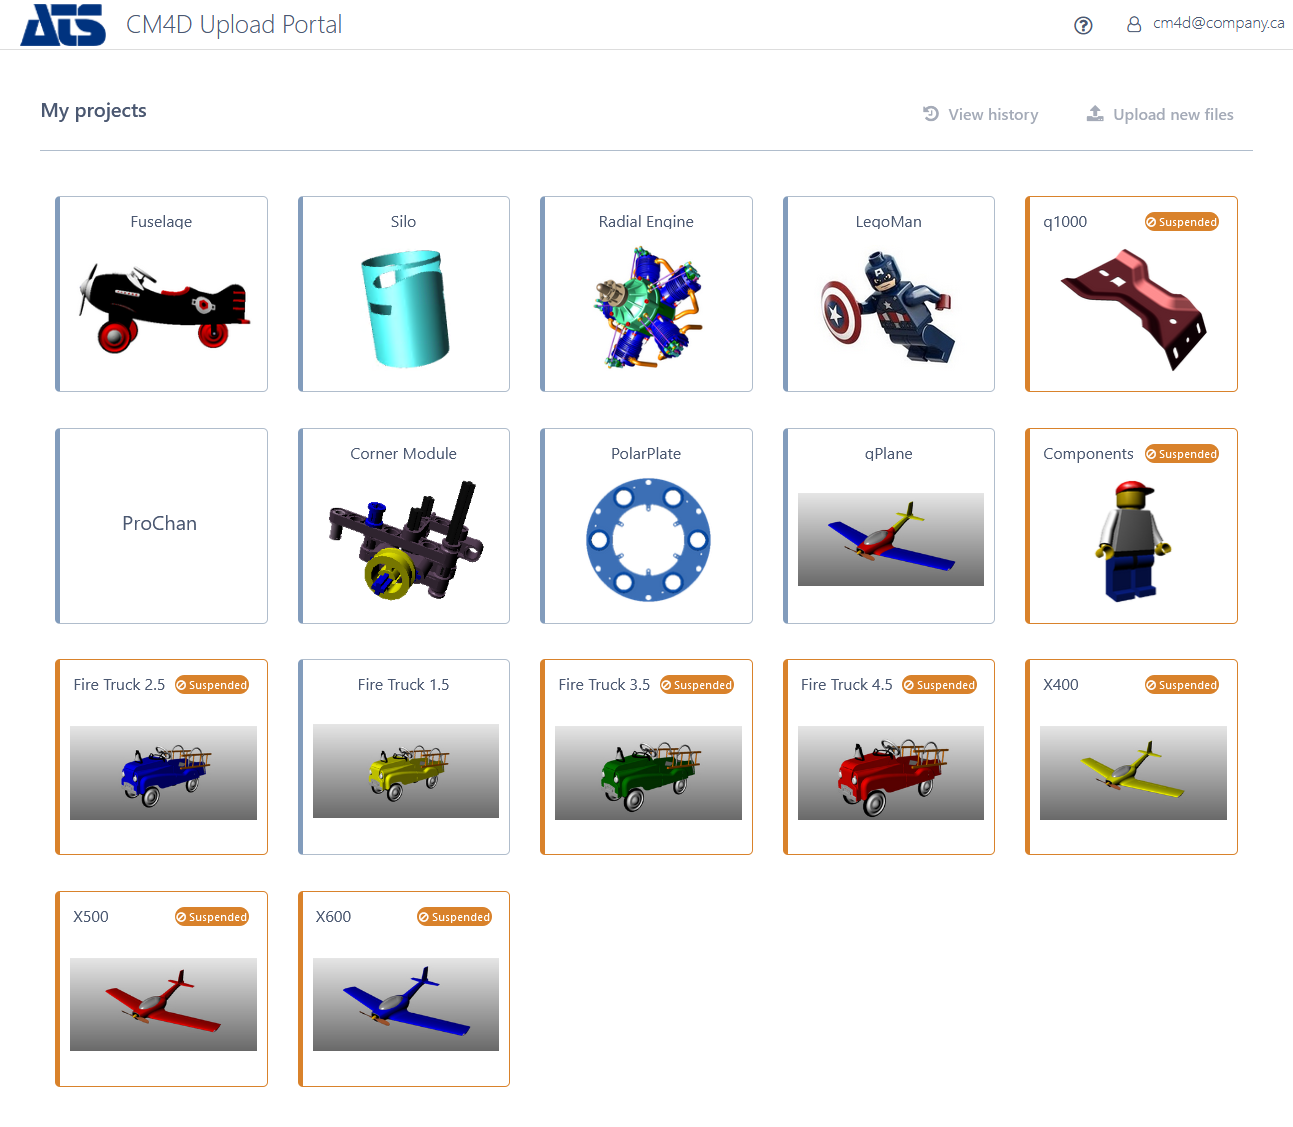
The main landing page of CM4D Upload Portal is the Project page. Available Projects are shown in tiles with either a title or a title and image to identify the project. Individual project availability is dependent on the logged in users' assigned role in ATS Security Manager.
Select a Project
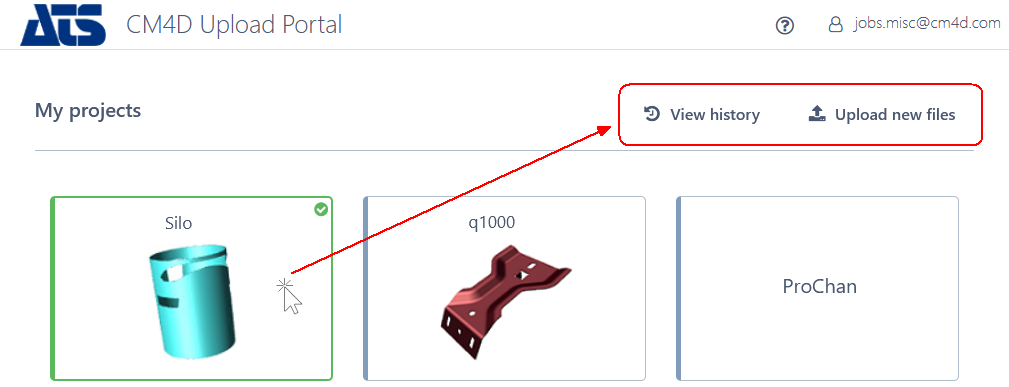
Click on a tile to select the project. Once selected, the tile border turns green and a check appears in the upper right corner.
Once a project is selected, choose one of two actions:
- Upload New Files - add one of more files for submission to the CM4D database
- View History - see the list of previously submitted files
View History
See here for more information.
Upload New Files
Once a Project is selected, select the data files to be uploaded. One or more files can be added for upload and processing into the CM4D database. Once a file is added, it will be run through a preliminary validation against the DataSmith Translator.
- Files with an invalid format cannot be previewed or submitted. However, users with special permissions may be allowed to submit files marked as invalid.
- Valid data files can be submitted for processing to DataSmith Batch service into the CM4D database.
See here for more details on uploading files.
Project Status
The project tile appearance indicates the status of a project. All projects for which you have permissions to access have a tile on the main landing page. Some conditions may effect what can be done with a project if you can upload a file immediately or if there may be temporary access restrictions.
 Available - view upload history, upload files for active processing
 Selected - project is selected for the next action
 Suspended - view upload history, upload files for later processing
 Unavailable - view upload history
See here for more details.
Can we improve this topic?