Adding a Document
Documents can be added to give extra information to the operators carrying
out inspections in Data Collect. These could be documents such as operator
instructions, process sheets, drawings or visual aids. For example, on
the Defect
screen, the operator can have visual indications of acceptable/non-acceptable
conditions on the selected part and on the Repair
screen, the repair person could access the repair standard procedure for
the selected defect. These documents are shown with an image and caption
and they can be individually zoomed (in the same way that images can be
zoomed when they are attached to defects or repairs).
The files that can be displayed are limited only by the available viewers
installed on the client machine. For example, if Adobe Reader is installed,
PDF files can be opened.
Here is an example of how the Defect screen will appear:

In the case of the Defect screen, the available documents are tied to
the selected part (chosen in the Master
View Control or one of the Defect spreadsheets) or a part/concern
combination. In the Repair screen the document is tied to a part/concern/repair
combination.
Procedure
1. Select the Inspection tab.
2. Click Document Library.
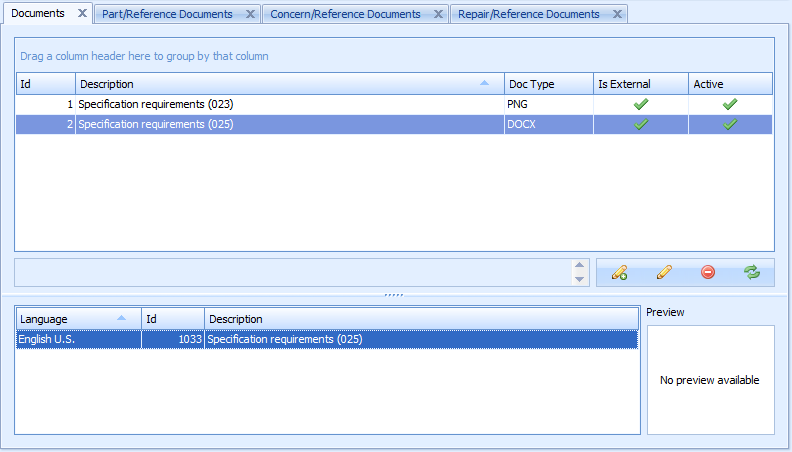
A list of the existing documents is displayed.
3. Click the add icon ( ).
).
The following popup appears:
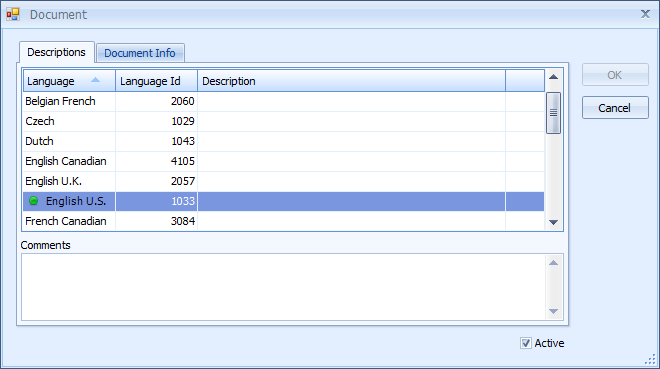
4. Select the Description field for the default language.
5. Enter a description and press return.
If required, you can also add descriptions in other languages.
6. Ensure that the Active checkbox is enabled. If it isn't, this document will not be available to the operator.
7. Select the Document Info tab.
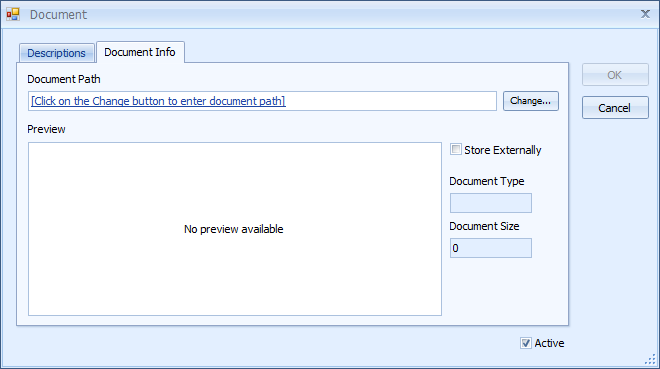
8. Click Change.
9. Select the document to be added.
10. If required, enable Store Externally. If selected the document will be retrieved from the Document Path given rather than copied to the database.
-
If a document is stored in the database a temporary file is created. If you are adding a lot of documents to the database you may wish to clean out the directory occasionally. To locate this directory:
1. Open a command prompt.
2. Type Set and press enter.
3. In the list that appears locate Temp. This is the folder where the files will be stored.
-
Store Externally should only be enabled if the document path is available to all inspection stations that require the document.
11. Click OK.
The document is added to the list as shown below.
You can view the language, language id and description of a document by selecting it.