Inspection steps are assigned to a station in the desired sequence. The operator must begin with the first inspection step assigned to the station, and cannot proceed to the next step until the previous step has been completed. Completion will be accomplished by answering all checklist questions assigned to the step.
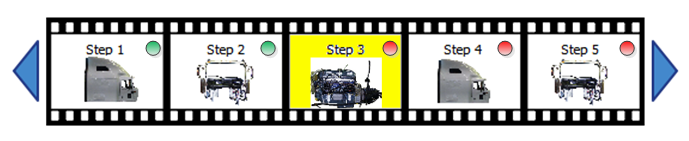
A filmstrip control helps the user to visualize where they are in the overall inspection process.
Inspection steps have a visual indicator to describe status: completed (green) and incomplete (red). If the Inspection step contains an image, it will be displayed in the control.
Inspectors may logout at any point during the inspection process and the current inspection step will be saved. Any inspector will be able to login and pull up the same unit and continue the inspection at the point where the previous inspector left off.
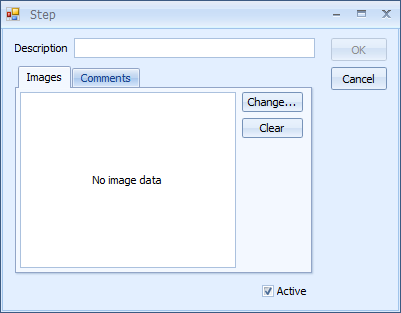
Each inspection step may include checklist questions, views, view categories and part categories.
 ).
).