Images are stored within a layer. It's possible to have multiple images in a layer and together they will form a single image that will be presented to the operator at the data collection station.
Images within a layer overlap each other in the same way as layers so that the first image in the list is on the top and the last image is on the bottom, underneath all the others.
View Boundaries
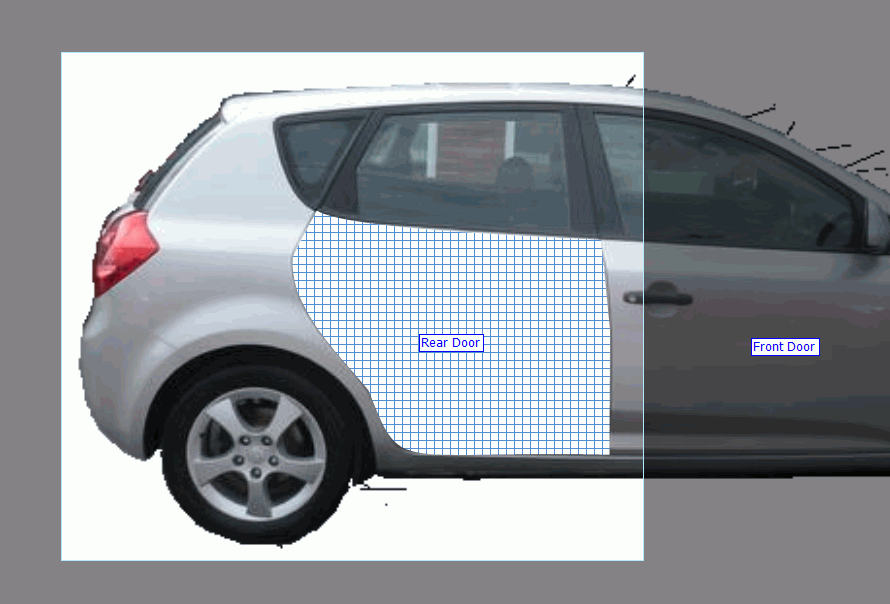
if an image crosses over the edge of the view then it won't be seen by the operator entering defects. This also applies to components.
In the image below the white square in the middle is the area of the view. The front of the car outside of the view will not be shown to the operator.

Adding an Image
Select the layer you want to add the image to.
Select the Design tab in the ribbon.
Click Add Image.
The image selection popup opens.
Select an image from the list.
Click OK.
The image is added to the layer.

It's also possible to add an image by right-clicking on the Images item within the layer and selecting Add Image from the context menu.

Moving and Resizing Images
Select the image to be moved in the View Explorer.
Images cannot be selected on the view itself. They can only be selected in the View Explorer.
The selection of the image in the View Explorer is to prevent accidental moving or resizing of images in the view.
Click and drag the image in the view to move it.

Click and drag the handles on the sides and corners of the image to resize it.

Alternatively, the location and size of the image can be set using the Properties pane.
Re-Ordering Images
Multiple images can be added to a single layer. If they overlap then the first image in the list will be on the top and the last image will be on the bottom.
Change the order of the images as follows:
Select an image in the View Explorer.
Click the Move Up ( ) or Move Down (
 ) buttons.
The image changes its position.
Show/Hide Images
An image can be hidden by clicking on the eye icon next to it. It can be re-enabled by clicking on the eye icon again.
When an image is hidden it won't be seen by the operator and defects cannot be created on it.

Image Properties
Each image has several properties which you can modify.
|
Property Name |
Description |
|
Alpha |
The transparency of the image. 255 is opaque and 0 is completely transparent. |
|
Angle |
The angle of the image in the view. |
|
Is Visible |
Disable it if you don't want the image to be shown to the operator. |
|
Location |
The x,y coordinates of the top-left corner of the image. |
|
Size |
The width and height of the image. |
|
Is Frozen |
Enable it to prevent changes being made to the image's size and location. |