Using Cutting Planes
Cutting planes allow you to display a cross-section of the product. They can either be added in the x, y or z plane or perpendicular to a surface.
Cutting planes are associated to a bookmark.
Adding a Cutting Plane in the X, Y or Z Plane
Select a bookmark in the View Explorer.
The Cutting Section controls are displayed.
Click Add plane on x, y or z-axis.
The Axis Triad (see here) can be useful to show which axis the plane will be aligned to.
The cutting plane appears and slices off everything on one side of the plane.
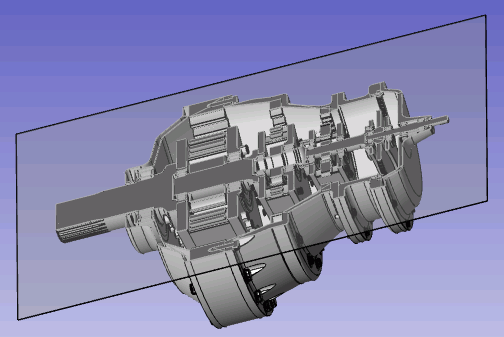
Click and drag the cutting plane into position. You may need to rotate the view to do this more effectively which you can do by clicking and dragging outside of the plane.
Double-click on the cutting plane to reverse the side that is cut off.
Click Apply to confirm the changes.
Adding a Cutting Plane Parallel to a Surface
Select a bookmark in the View Explorer.
The Cutting Section controls are displayed.
Click Add plane from face.
Move the mouse over the model.
A marker appears that follows the outer surface of the model. The marker points in the direction of the axis along which the cutting plane will be placed.
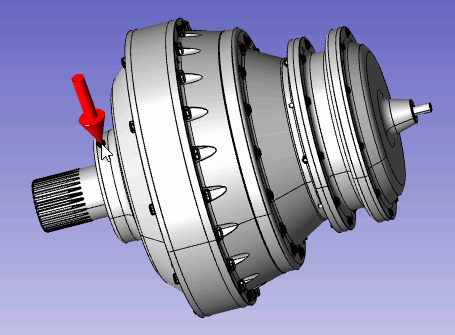
Click where the marker should be placed.
A cutting plane is placed parallel to the surface.
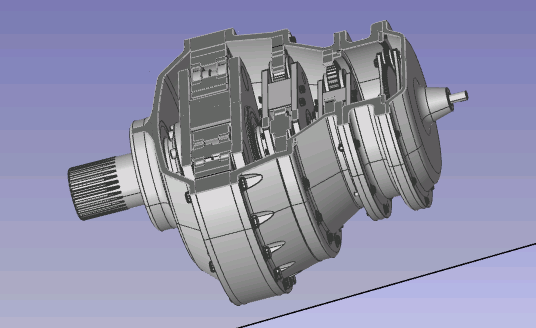
Click and drag the cutting plane into position. You may need to rotate the view to do this more effectively which you can do by clicking and dragging outside of the plane.
If required, double-click on the cutting plane to reverse the side that is cut off.
Click Apply to confirm the changes.
Moving a Cutting Plane
Select the bookmark containing the cutting plane.
Click Modify in the Cutting Section area of the ribbon.
Move the mouse over the cutting plane. Its border will turn yellow.
Click and drag the cutting plane into the desired position.
Click Apply to confirm the changes.
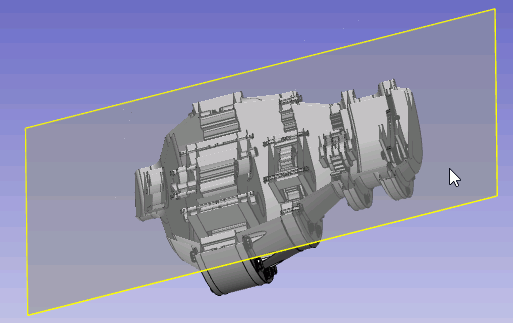
Switch Cutting Plane Side
You can switch the side of a cutting plane that is cut away by double clicking on the cutting plane. For example:
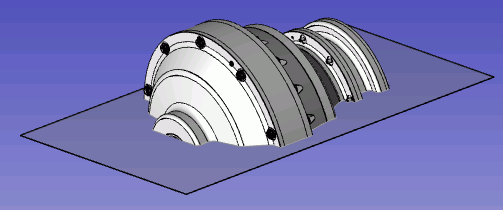
becomes
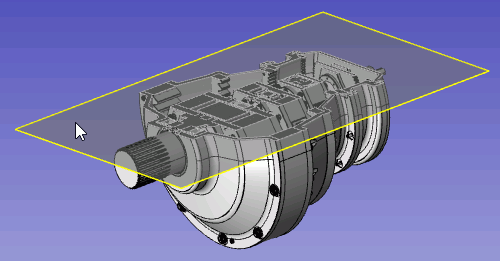
Showing/Hiding Cutting Planes
You can show or hide planes while editing them by enabling/disabling Toggle Visibility.
The cutting effect of the plane will still be used even when the plane isn't shown.
Deleting Cutting Planes
Select a cutting plane in the View Explorer.
Click Delete.
The cutting plane is deleted.
Using Multiple Cutting Planes
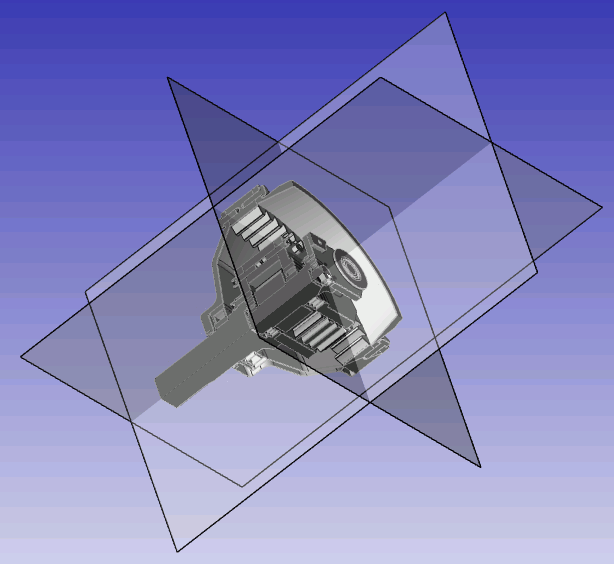
Combining more than one cutting plane is fairly straightforward. The intersections of the cutting planes define what is shown and hidden. The method used depends on whether the Toggle Cutting Section checkbox is enabled or disabled.
The Toggle Cutting Section option becomes available when you're modifying cutting sections.
When you add multiple cutting planes and click Toggle Cutting Section, the nearest section that is cut off by the intersecting cutting planes is hidden. as shown below.
If you rotate the image and then toggle the cutting section again it will re-apply the process to the closest cut-off section.
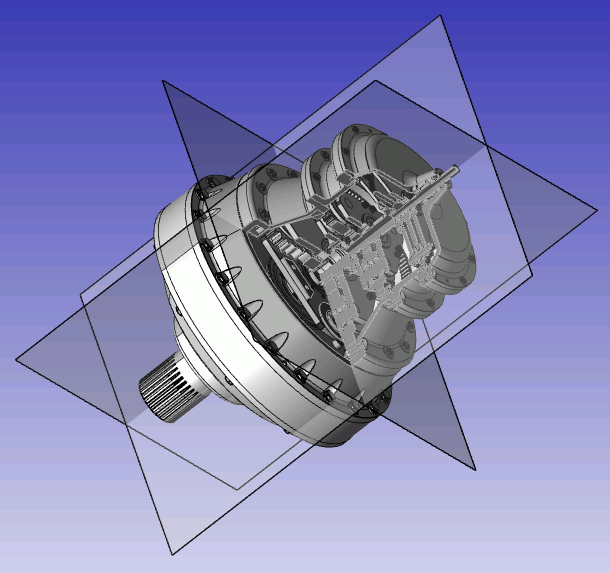
By clicking Toggle Cutting Section again only the furthest section that is cut off by the intersecting cutting planes is displayed.
