Configure Managed Reports in CM4D Plugin
|
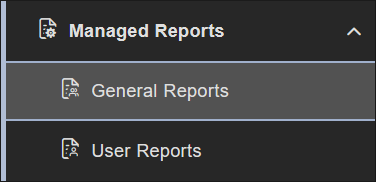
The Managed Reports tab contains blades where you can administrate the General Reports and User Reports needed to print reports via CM4D Scheduler and ATS Reporting. Functionally, General Reports and User Reports are the same. The only difference is that User Reports are private reports for the user who created the report, so it is always generated in a subfolder for that user inside the User Depository. General Reports are accessible to any users with appropriate access rights and are printed to assigned Depositories. |
General Reports
|
The General Reports section of the Managed Reports module in the CM4D plugin is where you create, view or delete Managed Reports available for printing by multiple users through CM4D Scheduler and ATS Reporting. To access this section, you must have the Document Manager user right. The General Reports tab is only visible to users with the Document Manager privilege. See the topic Managed Reports - General Reports for details. |
User Reports
|
The User Reports section of the Managed Reports module in the CM4D plugin is where you can create, view or delete your own personal Managed Reports for printing through ATS Reporting. See the topic Managed Reports - User Reports for details. |
Manage a New Report
New reports are created by clicking Add in the top right of the Reports card. The New Report blade contains all the report fields. These properties may be edited once the report is created by selecting Open from the report grid row Actions menu.
For more details, see also: Report Tags (Tag Source) |
Report Properties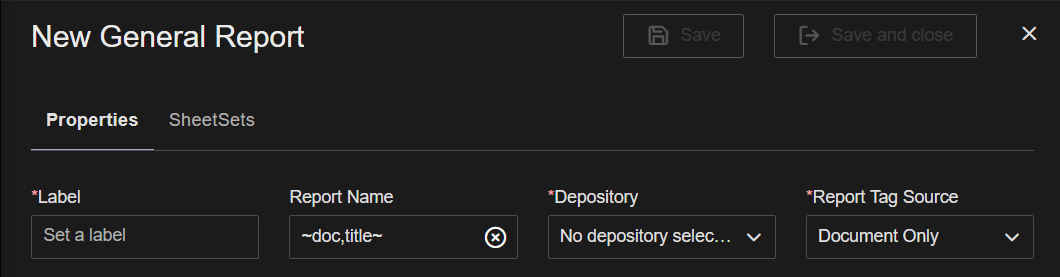 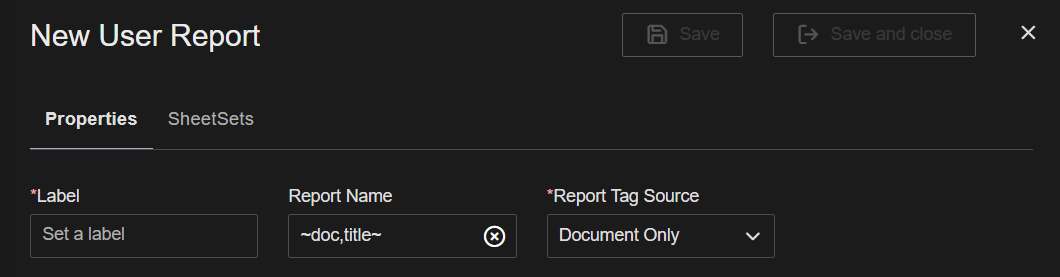 |
Report Contents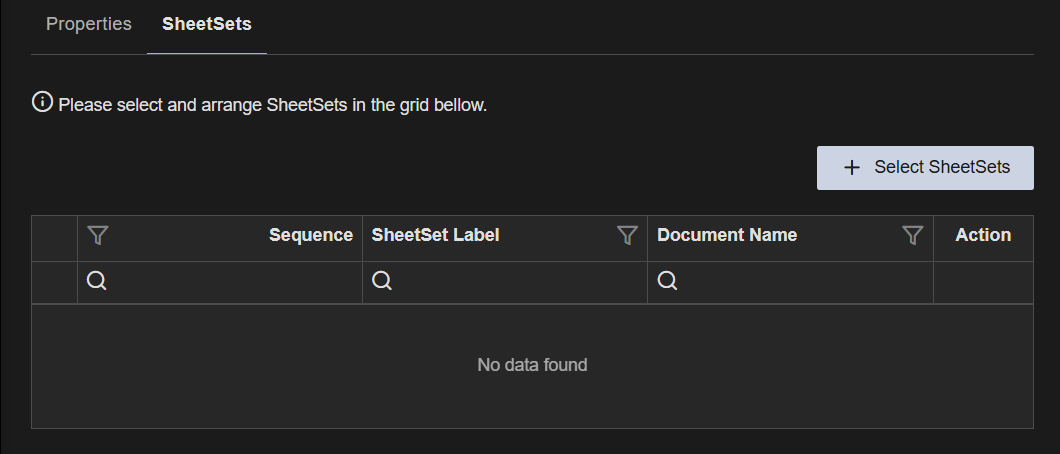 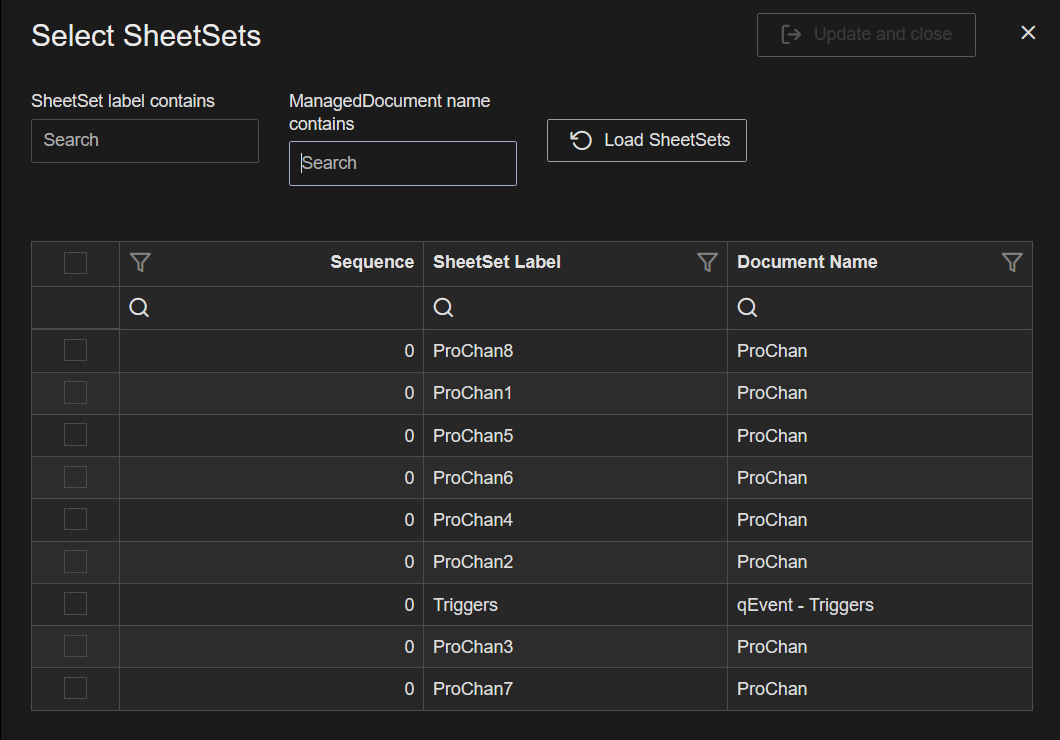 |
Delete a Managed Report
Deleting a Managed Report removes the report definition from the database. Deleted Managed Reports are no longer available for generating reports with CM4D Scheduler or ATS Reporting. Deleting the Managed Report does not delete any existing PDFs created using that Managed Report. All PDFs remain on the file server until manually deleted by an Administrator.
Can we improve this topic? Click Send Feedback in the upper right of the screen to share your comments!