Install ATS Inspect Configuration Clients
For users that are required to configure the Inspect system, a separate installer is provided. The Configuration Client installer contains Inspect Cockpit, Form Composer and View Composer. This provides a quick and convenient method of deploying the applications to administrative areas. Should previous versions of these application exist, they must be uninstalled before proceeding.
You must run the Inspect installation with administrative rights. In Windows 10 and above you must also have elevated rights.
Install the latest ASP.NET Core Runtime 9.0.0 x64 and .NET Desktop Runtime 9.0.0 x64 executables.
Run the ATS-Inspect-Configuration-Clients-x.x.x.x.exe. The following screen will be displayed.
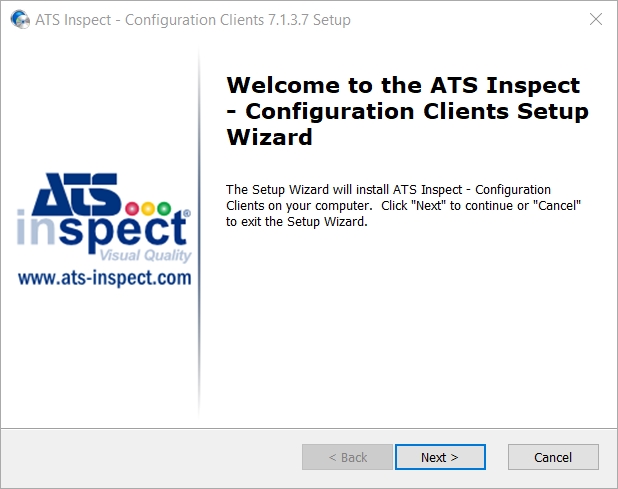
Click Next.
If required, change the installation location.
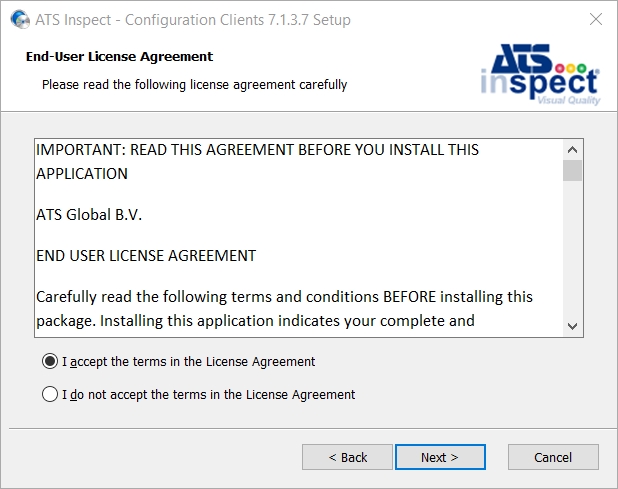
Select “I agree to the License terms and conditions" and click Next to proceed.
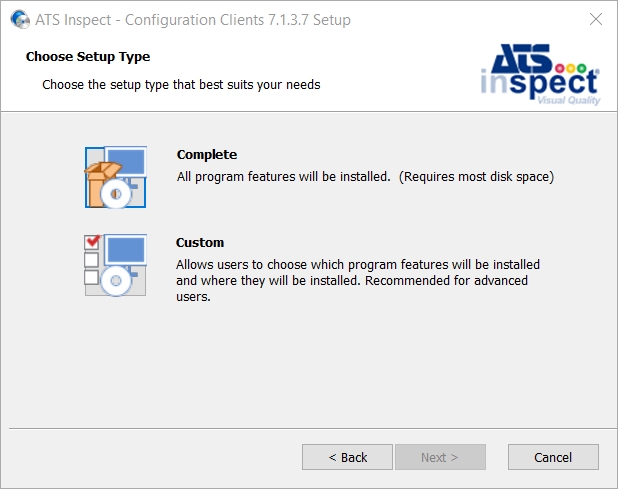
Select one of the following installation types:
Complete - All program features will be installed..
Custom - Allows users to choose which program features will be installed and where they will be installed. Recommended for advanced users..
The installation location can only be changed by using a Custom installation.
Clicking Custom will display the following screen is shown.
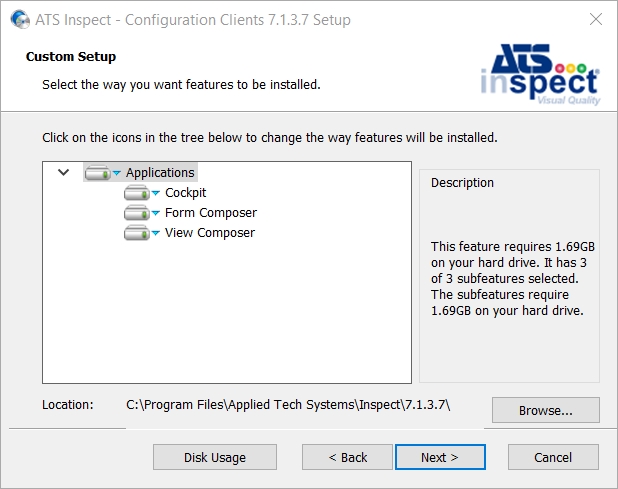
Select the required components as listed below.
Applications: Includes the following items:
Cockpit: This module allows you to configure all aspects of the ATS Inspect system and to enter the information required to carry out an inspection such as available concerns, products and components.
Form Composer: This module is a design and layout program for customizing the appearance of screens used at Inspect data collection stations.
View Composer: This module allows users to create the views of the product that will be used by the operator to add defects.
Change the installation location by clicking Browse and selecting the installation folder.
Press Next.
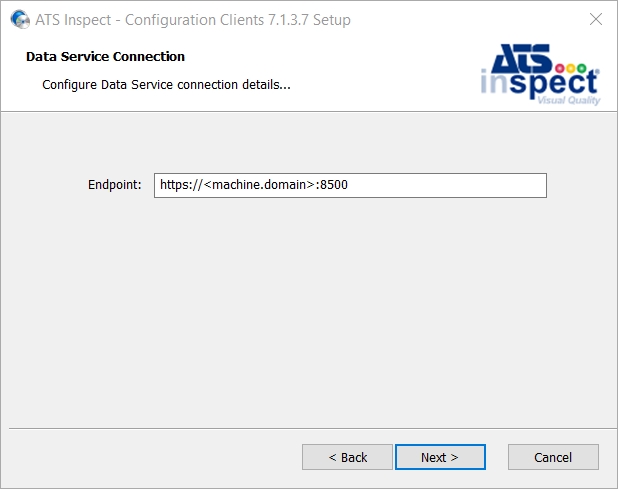
Enter the FQDN of the server and port that hosts the Data Service.
Press Next.
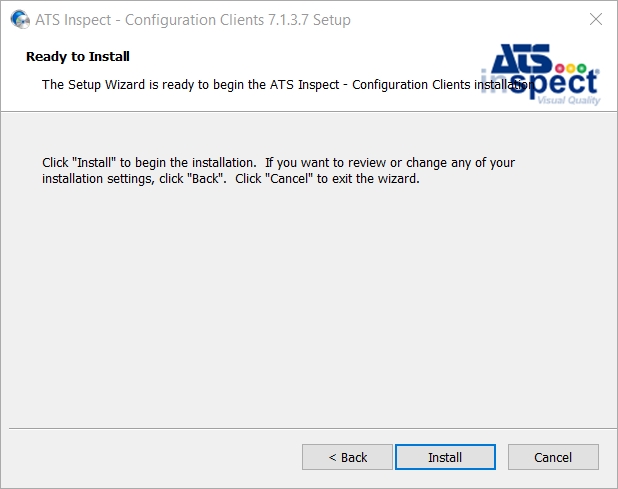
Press Install.
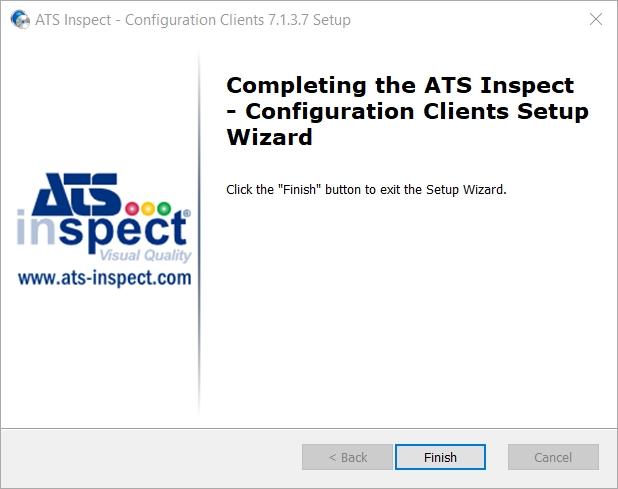
Press Finish.