 tool. Place the ellipse over the area of the view to be viewed close up.
A link, when activated, will jump from an annotation to a specified sheet within a CM4D document. Follow the steps below to create a link (this example demonstrates creating a link which displays a close up of a view).
1. In a new or an existing CM4D document, create two sheets (Linked Sheet 1 and Linked Sheet 2) and place the same view on both of them.
2. On the first sheet, create an ellipse with the shape  tool. Place the ellipse over the area of the view to be viewed close up.
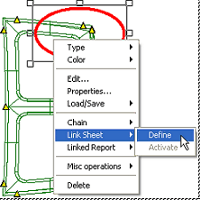
3. Right click on the ellipse and select Define from the Link Sheet menu.
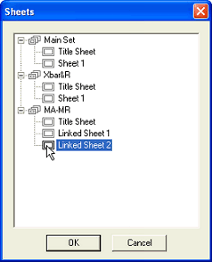
4. Select Linked Sheet 2 from the Sheets dialog box. The second sheet contains the second view, where the close up will be located. Click OK.
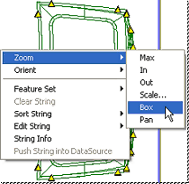
5. Go to Linked Sheet 2 and double click the view to put it in Edit Mode. Then right-click the view and select Box from the Zoom menu.
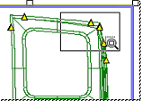
6. Your mouse pointer will change to look like a magnifying glass. Use your mouse pointer to draw a box around the close up area. See the topic Zooming a View, for more information.
7. Click outside the view to take it out of Edit Mode, then right click on the view and select Properties.
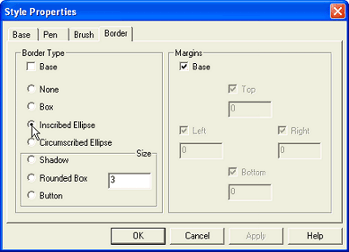
8. Within the View tab of the Annot Properties dialog box, click the Setup button, and then click the Border tab in the Style Properties dialog. Uncheck the Base check box and select Inscribed Ellipse. On the Pen tab, uncheck the Base check boxes for Color and Size, then select Red from the Color menu and enter 1.5 in the Size field. Click OK twice to return to the user interface.

9. Click on the Linked Sheet 1 tab.
10. Click the Execute  tool. The cursor will change to look like an exclamation point.
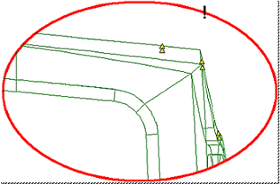
11. Click within the ellipse with the execute tool. The link you created will take you to the second, where you can see the close up your view annotation.

12. You can create a link that will bring you back to Linked Sheet 1 by repeating the steps above for Linked Sheet 2.