
Topic Contents: Hide
A Report Depository is a labeled storage area (network folder) where CM4D Scheduler places generated Reports (and Thumbnail images, if defined) once the job is successfully completed.
Depositories are mandatory when using CM4D Scheduler and CM4D Web. You must define all Report Depositories for Managed Reports used in Scheduled Jobs, as well as a User Depository for users printing reports from CM4D Web. There are two types of Depositories:
· Scheduler Depository - the folder assigned to a Managed Report as the location where Scheduler will store the generated PDF report (and Thumbnail, if available).
§ Can have an unlimited number of Depositories
§ Must be a NETWORK path
§ Must have WRITE access for the Launcher Service User
§ Must have READ access for CM4D Web users
§ The Depository must have a valid definition - Unique Name & Path (combination)
o The same Depository Label cannot be set for two different folder paths
o The same folder path cannot be set for two Depository Labels
o Valid folder characters
· User Depository - the parent folder used by CM4D Web to contain all web reports generated by users. Inside this folder, individual folders will be created for each user ID automatically the first time a user prints a web report.
§ See here for requirements if you have a Multiple Server configuration.
§ See here for requirements if you have a Single Server configuration.
The individual user subfolders will be created automatically when a user prints a web report for the first time. Only the root "UserDepository" folder needs to be added to the Report Depository list in Scheduler Manager.
Depositories are defined via the Report Depository tab in the CM4D Scheduler Manager. A Depository is a labeled storage area where CM4D Scheduler places generated Reports. When a Scheduled Job is run, the generated report will be saved to the Depository assigned to the Managed Report(s) included in the Scheduler Job definition.
Click on the image below to learn more about the various sections of this dialog.
· Enter filter text here - Enter a string to filter down the entire grid to only rows containing text matching the string entered. This filtering is dynamic and will update the grid as you type.
· Drag a column header here to group by that column - See the topic Grid Controls for information on how to use the grouping and sorting options available in the Grid area.
· Columns - The available columns can be used to sort and group the results of a search.
§ Field Chooser - To access any additional or removed columns, right click in the column header area and select Field Chooser. Drag the column names into position in the column header area and close the Field Chooser dialog.
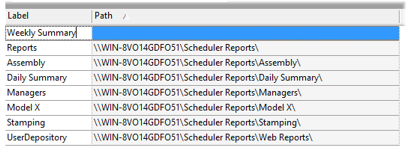
Enter a unique label to identify the Depository.
Provide a path to an existing network folder where Scheduler will generate the reports that will provide the Report information to be entered into the database. This path should be a UNC path, or you may end up with duplicate depositories on multiple machines, depending on where the Scheduler Job is run from.
You must click Save to commit changes to the Depository paths. If you click Revert, no action will be taken and the change will be reset to the last saved state.
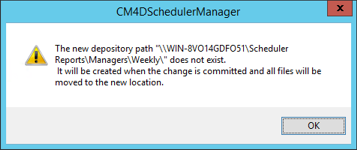
· If the folder does not already exist, Scheduler will ask if you would like it to create the folder for you.

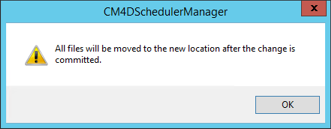
· If the folder path is modified, Scheduler Manager will move any existing Reports to the new folder location, and update the existing Report Records in the database.
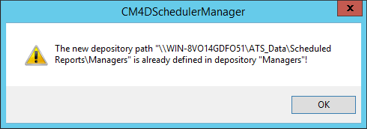
· If the folder path is used by another Depository, Scheduler will warn you and now allow that path to be saved as a duplicate Depository. You can choose OK, and then click inside the blank Path field. The invalid path will appear and then you can manually fix the path to create a new folder within an existing Depository path.
Creates a new Depository row. Change the Label and Path, then click Save.
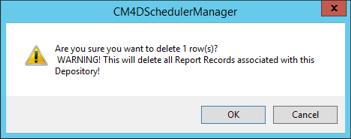
If you wish to delete a Depository, select the Depository row in the Report Depository grid and click Remove. Click OK to confirm deletion of the Depository. All Report Record entries in the Database associated with the deleted Depository will be removed.
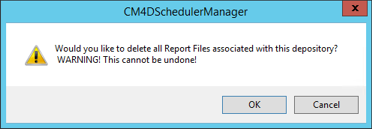
When a Depository is deleted, Scheduler Manager offers to delete the folder and all files within the selected Depository.
· Click Yes to delete the folder and any files within that folder.
· Click No to leave the Depository folder and any remaining files on the network.
To select more than one row at a time for deletion, use either the Ctrl or Shift key, then click the Remove button. Each row will prompt you individually to confirm whether you want to move any report files associated with the Depository.
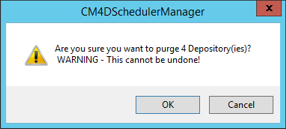
If a Report (PDF) originally generated by Scheduler no longer exists in the assigned Depository folder, you can purge (or remove) all records relating to the missing reports from the Database.
Click Purge to delete the records for the selected Depository. The Purge operation will only remove database records for reports that no longer exist in the selected depository.
Click Revert to return all Depository settings to the last saved state.
1. Click Add.
2. Change the default label Report Depository n to something unique to the reports that will be stored there.
3. Type in the folder path or click  to browse to select an existing network folder.
4. If the folder that you want to use does not exist, you can type in or browse to the partial path, then type in the remaining path information for the folder you want to create.

5. If the folder doesn't exist, Scheduler will create it for you. Click OK.
6. Click Save.