Run the CM4D Server Installer
This topic describes all the steps running the installer for CM4D Server. You should always run the installer as Administrator to ensure that the installer has sufficient privileges to complete the installation successfully.
Run Installer
Before starting the CM4D installer, the 'Print Spooler' Windows service must be running. If the service is not running, the installation will fail.
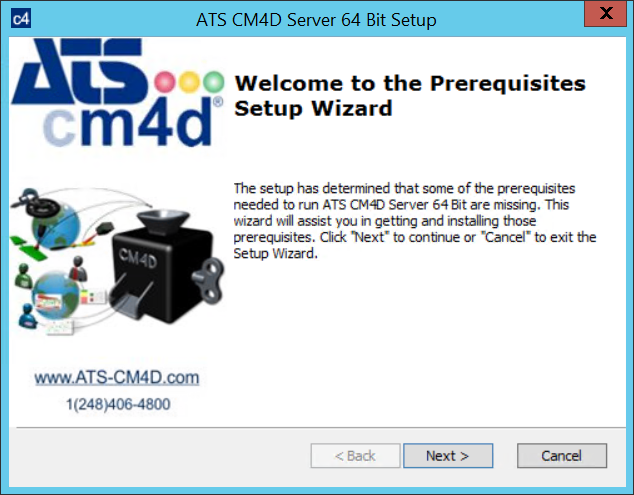
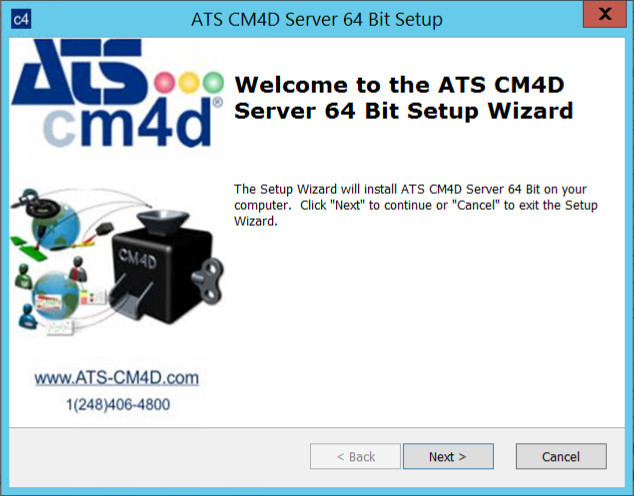
Run the CM4D Server install executable (as Administrator).
Click Next.
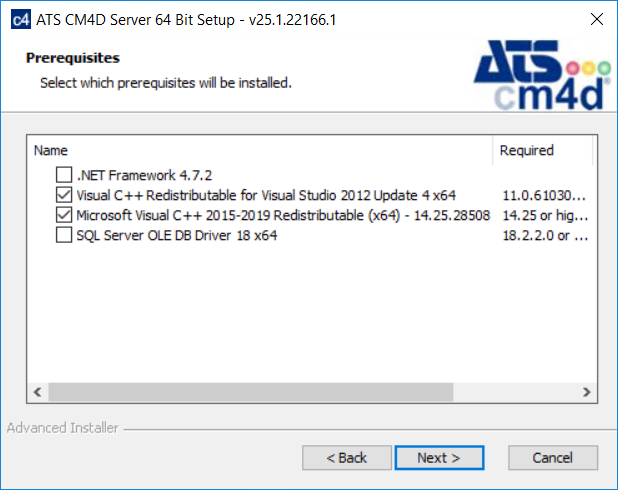
Prerequisites
The first part of the installation will check to see if the machine has the required supporting software redistributables. If your machine already has the required versions of the files installed the installer will detect it and move on to the next steps without reinstalling the existing files.
Click Next.
Install .NET Framework
Agree to the terms and conditions, then click Install.

Click Finish.

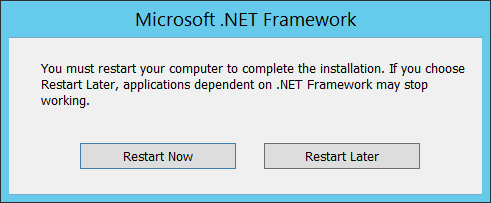
When prompted to reboot, select an option.
Restart Now - the machine will reboot; on restart, the CM4D installation will continue where it left off before the restart.
Restart Later - the CM4D installation will continue; make sure to reboot the system once the CM4D installation is completed.
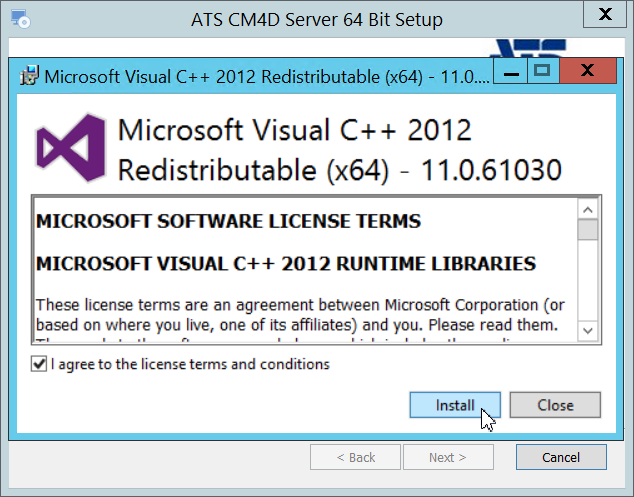
Install Microsoft Visual C++ 2012 Redistributable
Agree to the terms and conditions, then click Install.
Click Close.
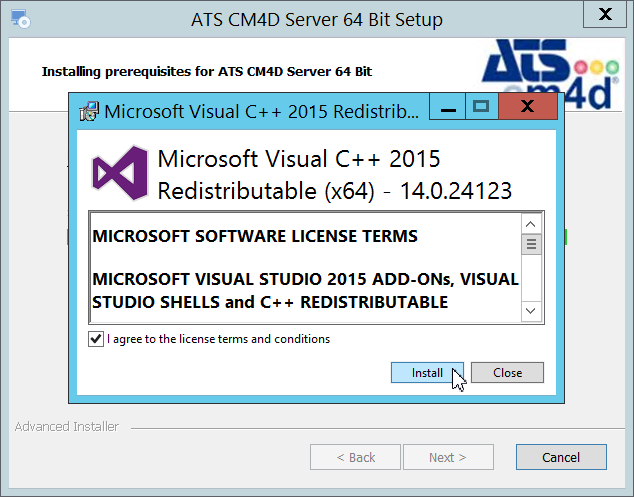
Install Microsoft Visual C++ 2015 Redistributable
Agree to the terms and conditions, then click Install.
Click Close.
CM4D Setup
Once the prerequisites are installed, continue to the CM4D portion of the installation.
Click Next.
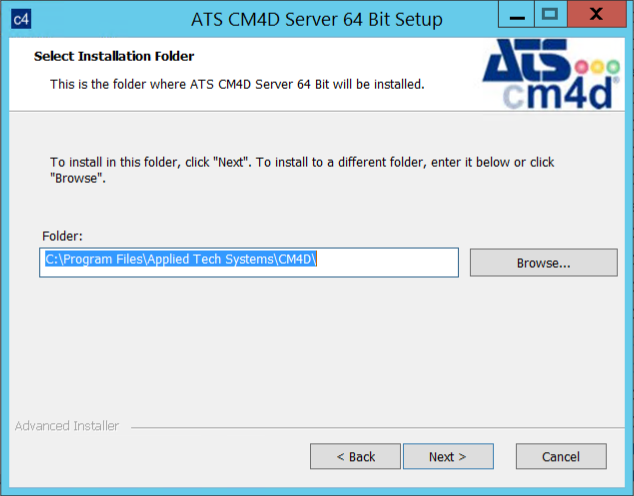
Select Installation Folder
The default installation folder is C:\Program Files\Applied Tech Systems\CM4D\.
To change the install folder, click Browse.
Select the new folder and click Select Folder.
Click Next.
Installation Type
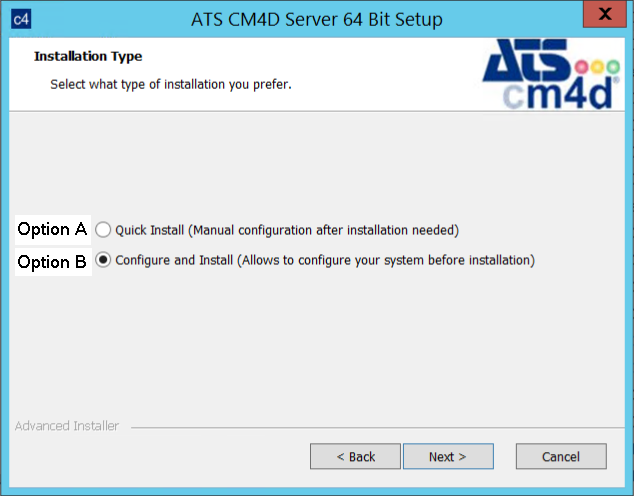
To complete the CM4D installation, choose an Installation Type. See the sections below for instructions on each install type.
- Quick Install - Installs CM4D without any pre-configuration except for licensing; requires manual configuration after installation to run CM4D. You may choose this option if you do not have all the configuration information at the time of install or if you have existing setting/config files that you will copy over the default install files.
- Configure and Install - Installs CM4D and prompts you to fill in configuration information for the CM4D services, EventSmith and licensing. Some configurations not handled by the installer include Scheduler Job users and DataSmith Batch settings.
Option A - Quick Install
This option is a fast option for installing CM4D without any setup or configuration. See here for information on the settings that must be done manually after the installation is completed.
Select Quick Install.

Click Next.
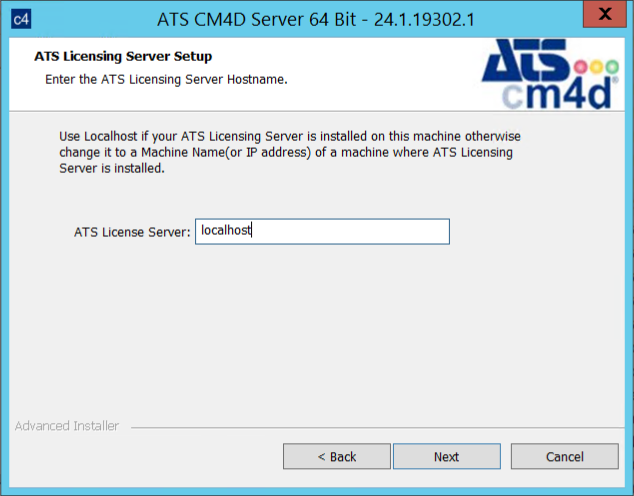
Enter the name of the server running the ATS Licensing Server. You can either leave the default "localhost" if you have Licensing Server running on the same machine, or configure this in the ATSLicensingServer.Client.dll.config file after installation.
Click Next.
Click Install.
Click Finish.
Following the installation, manually configure CM4D services user settings. See here for details.
Option B - Configure and Install
This option allows you to enter information used to configure CM4D during the installation so you do not have to manually set up or configure the information in multiple places. Follow the steps and enter information when prompted.
You may leave any of the fields blank, but remember any missing information must be entered manually afterwards. See here for more information.
Installation Type
Select Configure and Install.
Click Next.
CM4D Services Setup
Fill in the information for the user that you want to run your CM4D services. If you leave this blank, the default local user will be set and you will need to manually set the logon user for each service individually post-installation.
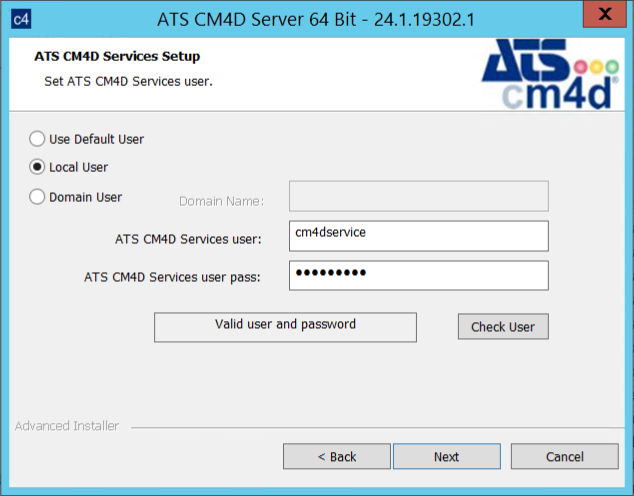
Select the type of user you will be using to run the CM4D Services.
Use Default User - Local System Account, no user input required.
Local User - Windows User Account; requires username and password.
Domain User - Domain User Account, requires domain name, username and password.
Enter the user credentials.
Domain - Enter the Domain name (if using a Domain User).
CM4D services user - Enter the name of the user.
CM4D services user pass - Enter the password for the user.
Click Check User. This will confirm that the user information entered is valid for this machine. If the user name or password entered is not valid, you can still continue to the next step. However, the services will install with the Default User set as the logon user.
The Check User button functions as a Windows login attempt. Too many check attempts with an Invalid User or Password may lock the user account.
Click Next.
Licensing Server Setup
- Enter the name of the server running the ATS Security Manager (with Licensing plugin). You can either leave the default "localhost" if you have Licensing Server running on the same machine, or configure this in the ATSLicensingServer.Client.dll.config file in the CM4D install folder once the installation is completed.
- Click Next.
Ready to Install
- Click Install.
- Once the installer completes, click Finish.
EventSmith SMTP Setup
Fill in the information for your EventSmith server.
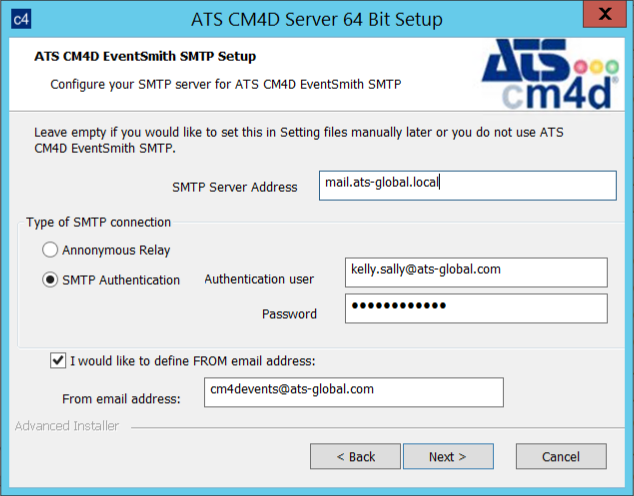
SMTP Server Address - Enter the address of your SMTP mail server.
Set the Type of SMTP connection.
Anonymous Relay - the mail server does not require authentication.
SMTP Authentication - the mail server requires a user and password to authenticate.
Authentication user - Enter the username of the authentication user.
Password - Enter the password for the authentication user.
Set the "From" address for all email notifications (optional).
I would like to define FROM email address - Check the box to enable a defined a From address.
From email address - Enter the email address that will appear as the "From" address on event notification emails.
Click Next.
EventSmith SMTP Site Database Connection
Fill in the information for connecting to your CM4D Site database. If you leave this blank, you must configure this manually post-installation.
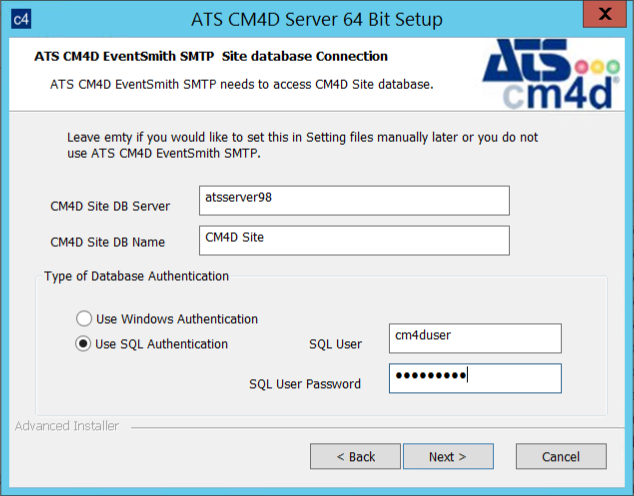
CM4D Site Server - Enter the name of the database server. If using a Named Instance, include this in the server name.
CM4D Site DB Name - Enter the name of the CM4D Site database.
Type of Database Authentication - Select one of the two available methods of authentication for connecting to the databases:
Use Windows Authentication
Use SQL Authentication:
SQL User - Enter the user name of the SQL user login.
SQL User Password - Enter the password for the SQL user.
Click Next.
Can we improve this topic?