How Are Images Used?
Images can be associated to a wide variety of items within ATS Inspect. The main reason for using images is when creating views for Data Collect. The operator will be able to click on these views to add defects. The other use for images is to give more information to the administrator configuring the system or the operator collecting data. The associated images could even be used in reports. Below is a complete list of what the images can be associated to:
Characteristics
Concerns
Details
Locations
Part Categories
Parts
Ranks
Steps
Users
View Categories
Views
Import an Image
No matter what they are being used for all images are added in the same way as follows:
Select the Management tab.
Click Image Management.

Select the Image Type you want to add from the drop down list at the top of the pane.
Click one of the following add buttons:
Add Raster Image (![]() )
)
Add Vector Image ( )
)
Add Image from Connected Device (e.g. camera or webcam) ( )
)
The file selection window opens.
Select one or more files.
Click Open.
If a Vector Image has been selected for import, the following message will be displayed.
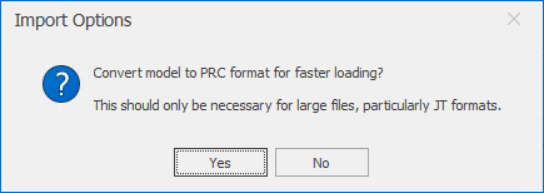
Select Yes to convert to PRC, or No to keep the file in it's original format.
If mutliple images are selected, and the Yes is selected during step 6, only the focussed image will be converted to PRC.
The selected files are listed in a new popup.
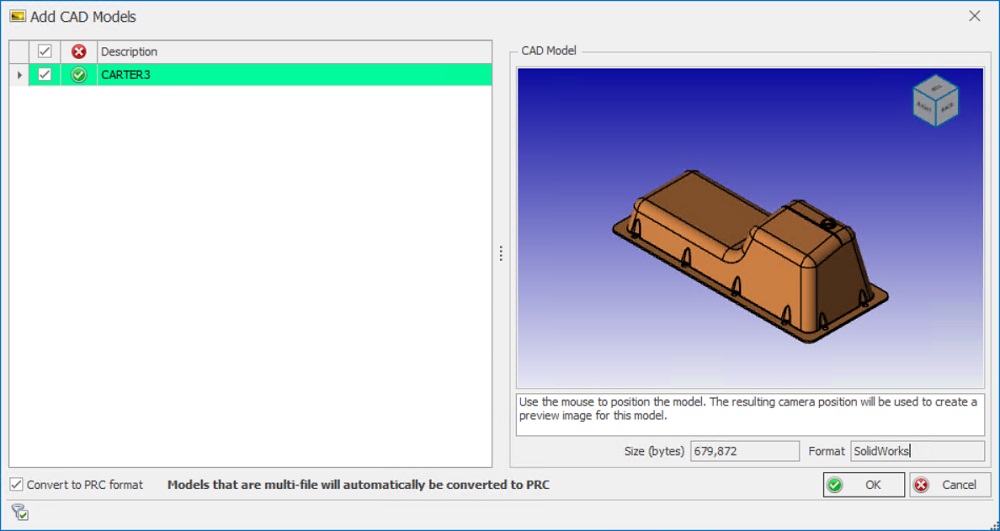
Place a tick next to the imported image(s).
If a Vector image is being imported and No was selected during step 6, the user can opt to convert the image to PRC by placing a tick in the Convert to PRC format checkbox.
The orientation of Vector images can be altered by either clicking and dragging the image to the desired position, or by using the Navigation cube.
Modify the description(s).
If there is already an image in the database with the selected description then a warning symbol will be displayed. You must change the name to an alternative before proceeding.
Click OK.
The image(s) are added to the database.
Imported images can be converted to a specific file format and reduced to a maximum height/width. 
Modify Image
Edit current image
Once an image has been imported the description can be change and it can be visually modified. It's possible to adjust the contrast and brightness as well as rotate and flip the image.
Select an image from the list.
Click the edit icon ( ). In the details view you can also double-click or right-click on the description.
Modify the description.
If there is already an image in the database with the selected description then a warning symbol will be displayed. You must change the name to an alternative before progressing.
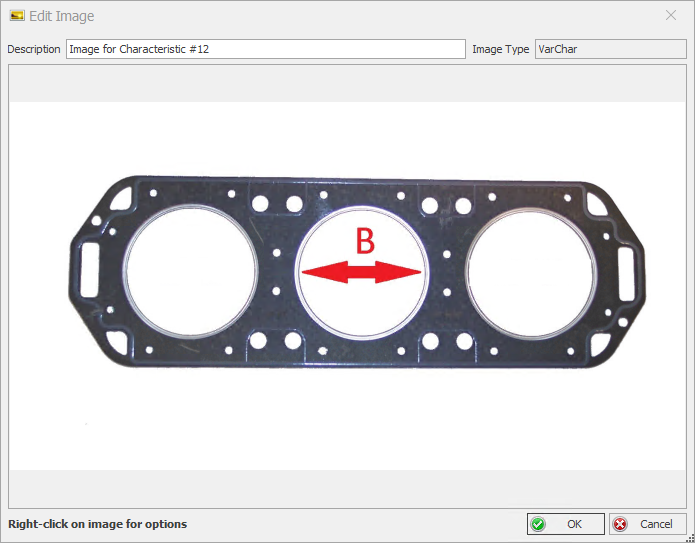
To edit the image, right click the image and select Edit.
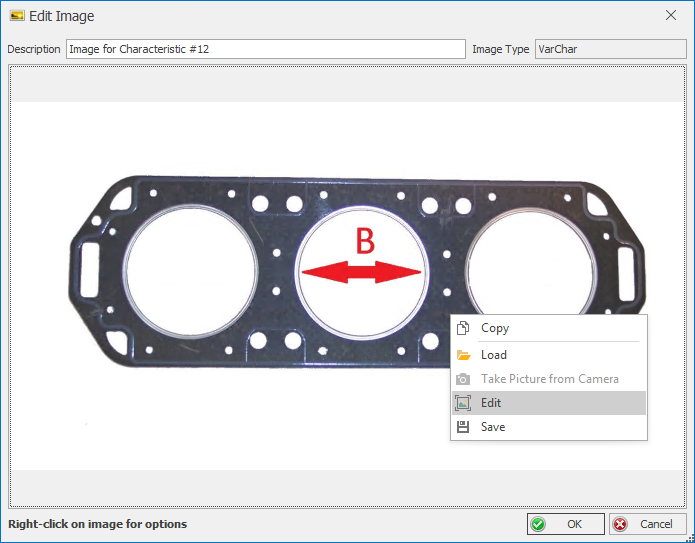
The image can be edited using the buttons at the top of the window:
Crop: Adjust the aspect ratio by dragging the points on the image to a new position or set the size in pixels using the Width and Height fields. Alternatively, set the aspect ratio to Original to maintain the images original aspect ratio or Square to set the aspect ratio to square. Adjust the angle of the image by moving the Angle slider. Once the adjustments have been made, press Done.
![]()
Desaturate: Desaturate the colours of the image.
Adjust colors: Adjust the Contrast, Brightness and Saturation of the image using the sliders. Once the adjustments have been made, press Done.

Mirror: Flip the image so that it's a mirror image of the original.
Rotate: Rotate the image in 90 degree increments.
The Undo and Redo buttons can be used to undo or reapply any changes made to the image.
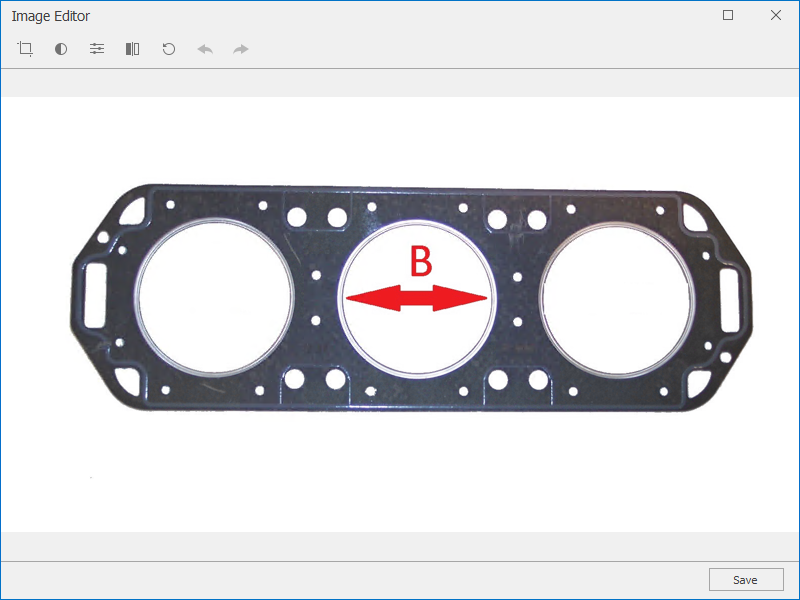
Once all adjustments are made, press Save.
Change image
To change the image, right click on it and select one of the following options:
Load: Load a new image from the local computer or network storage.
Take picture from camera: Add an image from a camera connected to the computer.
Delete an Image
An image cannot be deleted if it is in use.
Select an image from the list.
Click the delete button ( ). In the details view you can also click Delete on the keyboard.
Click Yes.
The image is deleted.
Fix Missing Image Information
If images have been imported directly into the database without using Cockpit then they may not have all of the correct associated data.
Click the Fix Missing Image Info button ( ).
).