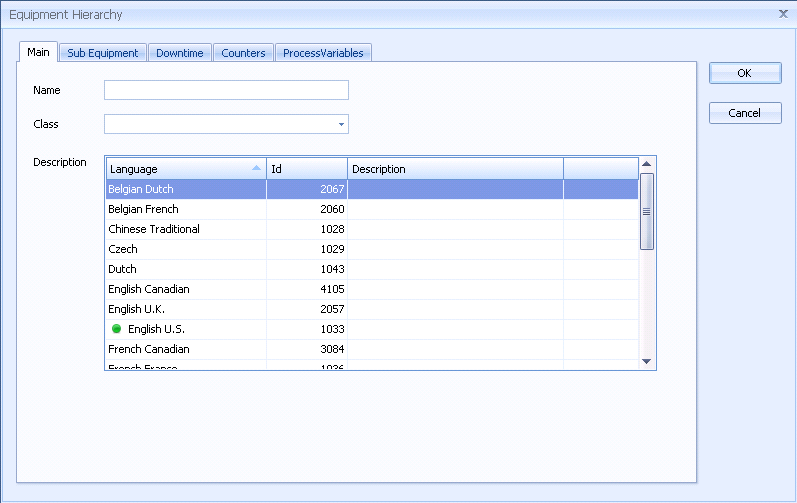
The Equipment Hierarchy window allows you to define the hierarchy of the equipment being assessed. The equipment hierarchy is split into 3 levels as follows:

The equipment hierarchy can be created using equipment that was specified in the Equipment Classes window or by specifying new pieces of equipment.
1. Select the Equipment and Downtime tab.
2. Click Equipment Hierarchy.
The Equipment Hierarchy is displayed. If this is the first time that the hierarchy is being created then this area will be blank.
The equipment classes are shown in the right-hand pane.
3. Drag an Area Class that you require from the Equipment Classes section into the Equipment Hierarchy.

The following dialog opens:

For information on how to fill in the tabs see the other topics in this section:
o Main tab
o Sub Equipment tab (for Work Units only)
4. Enter the required information for the Area.
5. Click OK.
The Area is added to the hierarchy.
6. Select the Work Cell tab.
The available work cells are displayed.
7. Click and drag a Work Cell that you require onto the Area that you have already added.

8. Fill in the details in the popup that appears as was done for the Area.
The Cell is added to the hierarchy underneath the Area.
9. Add a Unit to the Cell using the same method.
10. Repeat as required to build a hierarchy of the equipment within the plant.