Overview
This document describes the installation of the ATS Reporting application. This installs both the ATS Reporting Portal and the ATS Reporting configuration plugin.
You must have ATS Configuration Manager and the ATS Security plugin installed and configured prior to installing the ATS Reporting plugin. ATS Configuration Manager is a web application, which contains various ATS plugins designed to configure and manage ATS products such as ATS Security and ATS Licensing.
ATS Reporting Portal uses ports 6200 and 13228 by default. These ports need to be open on any client that requires access to ATS Reporting.
For further information on these applications, please click the links below:
ATS Configuration Manager
ATS Security
Register ATS Reporting Portal application in ATS Security
The steps detailed below must be followed prior to running the installers for ATS Reporting Portal.
Login to ATS Security with a user that has rights to edit applications.
Select the Applications option in the main ATS Security menu.
Click on the Add button in the top right corner above the Applications grid.
Enter a name for the application e.g. ATS Reporting.
The name assigned to the application must be unique within ATS Security.
Provide a Description for the application (optional).
Provide an Access Rights URL. This is a mandatory field and it must be a properly formatted URL string. For ATS Reporting this URL can be: http://server_name:port/api/configUpload/checkApplicationId where port is the port where ATS Reporting Portal is installed. Please note, however, that this URL can be edited later according to the details specified during the installation.
Ensure that the FQDN is specified for the server name.
The default port for ATS Reporting Portal is 6200.
Upload a logo and/or background image for the application (optional).
Click on the Save button.
The application will attempt to connect to ATS Reporting with the generated ID. The first call will fail because ATS Reporting is not installed or started as a service. For further troubleshooting advice, please click here.
The Add application blade is closed and the successfully created ATS Reporting application appears in the top position of the Applications grid.
After the ATS Reporting application is successfully registered in ATS Security its status is set to Created.
Acquire Application ID for ATS Reporting Portal application
To continue with the installation steps the Application ID, which was assigned during the registration of the ATS Reporting application, should be acquired.
Click on the ATS Reporting item (row) in the Applications grid in ATS Security.
The application details blade is loaded on the right.
Copy the value from the read-only Application ID field.
Install ATS Reporting Portal
This section describes the installation of the ATS Reporting Portal, which includes both the ATS Reporting Portal web application and the Reporting Portal API.
Please ensure that the steps described above are followed before proceeding with the installation.
Reporting Portal must be installed on the same instance of Security & Configuration Manager as where ATS Licensing is registered.
Once the software has been downloaded and unpacked, please follow the steps below:
Run the ATS.ReportingApiAndPortalWs.1.4.x.x.exe.
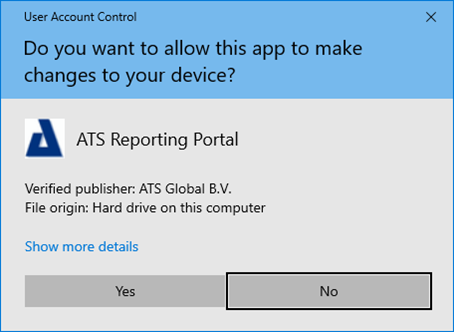
If UAC (User Account Control) is not disabled, a message will be displayed seeking approval to run the installer. Press Yes.
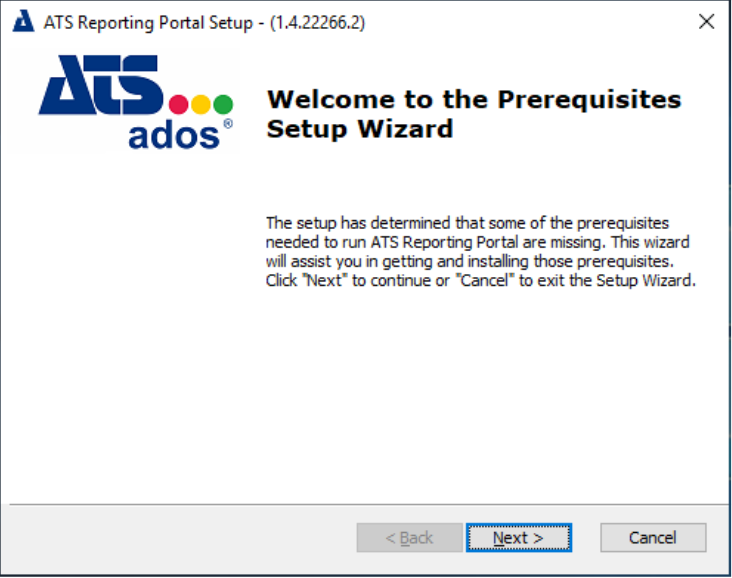
If at least one of the prerequisite applications, Visual C++ Redistributable or SQL Server ODBC Driver, are not installed the screen below will be displayed. If all prerequisites are installed, please proceed to step 6.
Press Next.
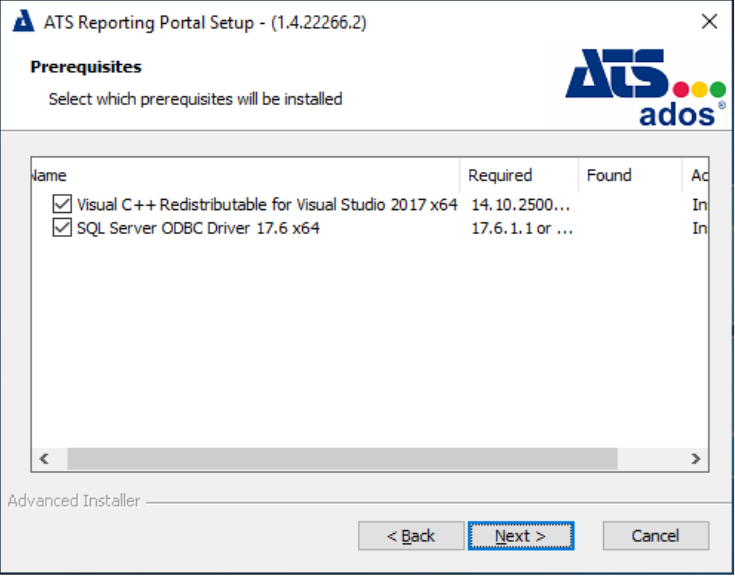
Ensure a tick is placed next to the required prerequisite(s) and press Next.
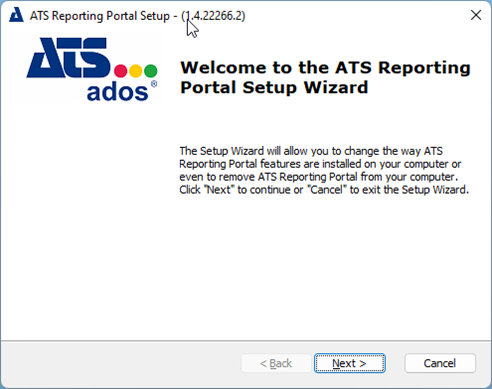
Follow the installation process for each prerequisite. Once complete the Welcome to the ATS Reporting Portal Setup Wizard screen will be displayed.
Press Next.
Accept the license agreement and press Next.

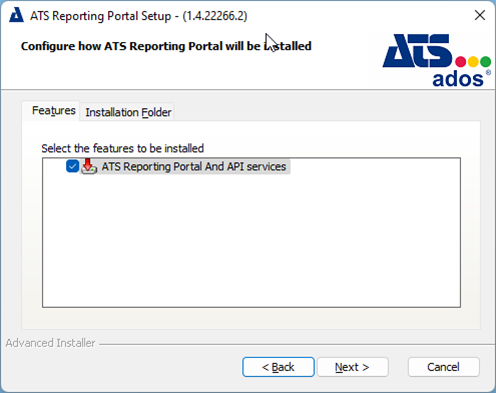
Both the ATS Reporting Portal And API services check box is ticked by default on the Features tab.
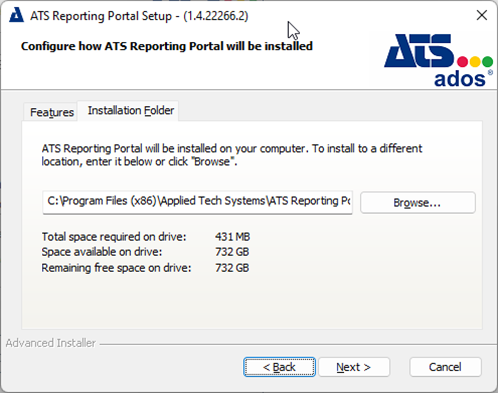
Select the Installation Folder tab and browse to a different installation location if required. Press Next.
Specify a server name along with a user that has permission to create databases. Finally, provide a name for the database. Press Next.
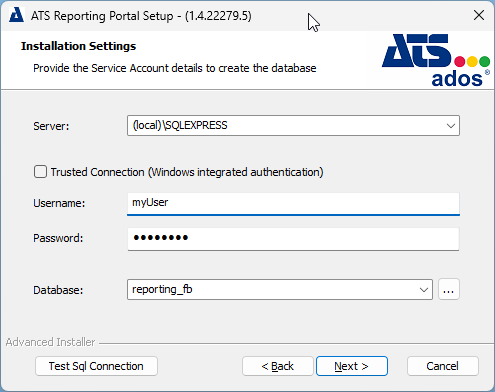
If the database specified already exists then the installer will overwrite the contents. If the database specified does not exist, a new database will be created.
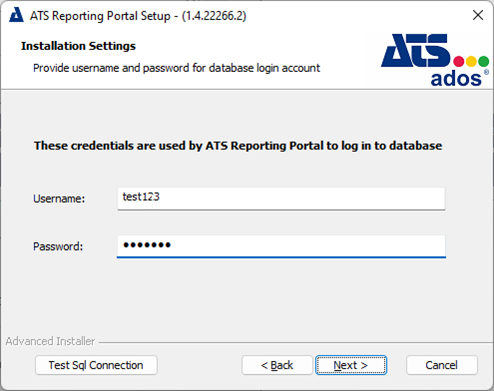
Enter a username and password to be used for the ATS Reporting Portal database. If the credentials specified do not currently exist, they will be created by using the credentials from the previous step and assigned as Schema Owner. Press Next.
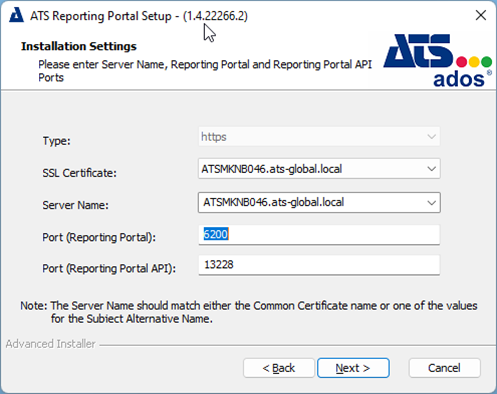
Enter the following configuration details:
Type: The type is set to https and cannot be changed.
SSL Certificate: Specify the SSL certificate used to secure communication.
Server Name: Enter the name of the machine that hosts the ATS Reporting Portal.
Port (Reporting Portal): Enter the port number to be used for the Reporting Portal. The default is 6200.
Port (Reporting Portal API): Enter the port number to be used for the Reporting Portal API. The default is 13228.
The server name specified must match with the certificates' CN value.
Press Next.
Provide the URL including the port for ATS Security in the Security Manager endpoint field. I.e. (http://servername:port/).
For information on installing ATS Security Manager, please click here.
Provide the Application ID that was acquired by following the steps in the Installation Prerequisites in the Application ID field.
Click Next.

Enter the Licensing Server URL. If an ATS Licensing Server is detected, then this form is omitted and the installer will automatically detect and configure the URL.
For information on installing ATS Licensing, please click here.
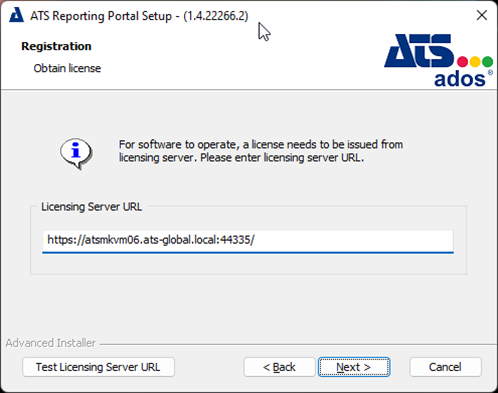
Click Install.
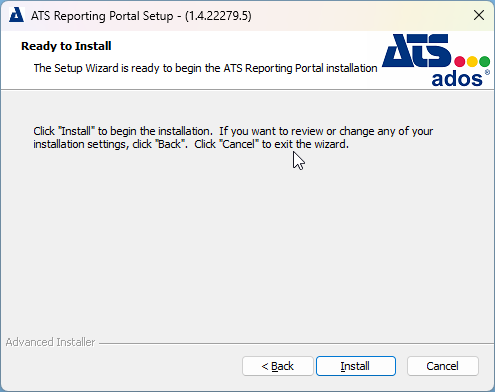
Once the installation is complete, press Finish.
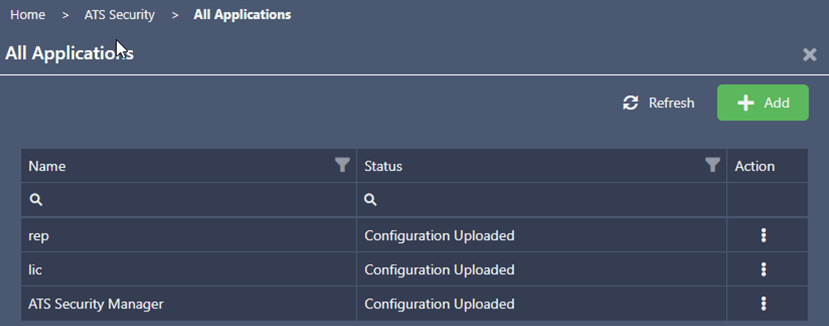
Following the successful installation of ATS Reporting Portal the status of the registered ATS Reporting application in ATS Security should be set to Configuration Uploaded. This indicates that the ATS Reporting application rights have been uploaded to ATS Security and can be assigned to ATS Security roles, which in turn can be assiged to users.
Unattended installation
The installation package for ATS Reporting configuration can be run as an unattended installation.
An unattended installation or silent/quiet install is where the installation of a software program can be completed without any user interaction. The installer runs from start to finish without interrupting the user.
To achieve this, several parameters are required when executing the installation using the command prompt. The examples below indicate the values to be replaced in bold.
Installation with Trusted Connection:
.exe /exenoui /qn /LV "Install.log" SERVER_PROP="ATSMKNB046\SQLEXPRESS" DATABASE_PROP="rep_211015_01" EDIT_NEW_DLG_LOGIN_ID_PROP="test123" EDIT_NEW_DLG_PASSWORD_PROP="test123" CBTYPE_1_PROP="https" HTTP_S="https" EDIT_SERVER_HOST_NAME_PROP="ATSMKNB012.ats-global.local" EDIT_PORTAL_PORT_PROP="6200" EDIT_API_PORT_PROP="13228" CBSSL_PROP="ATSMKNB0046.ats-global.local" EDIT_SEC_LOC_PROP="https://atsmknb046.ats-global.local:5000/" EDIT_APPID_PROP="2786e5a6-36a8-4bf2-e72a-08daa05ba5b5" EDIT_LIC_SRV_URL_PROP="https://atsmknb0046.ats-global.local:44335/" SILENT_INSTALL="TRUE"
Installation with SQL user
.exe /exenoui /qn /LV "Install.log" SERVER_PROP="ATSMKNB046\SQLEXPRESS" USERNAME_PROP="test123" PASSWORD_PROP="test123" DATABASE_PROP="rep_211015_01" EDIT_NEW_DLG_LOGIN_ID_PROP="test123" EDIT_NEW_DLG_PASSWORD_PROP="test123" CBTYPE_1_PROP="https" HTTP_S="https" EDIT_SERVER_HOST_NAME_PROP="ATSMKNB012.ats-global.local" EDIT_PORTAL_PORT_PROP="6200" EDIT_API_PORT_PROP="13228" CBSSL_PROP="ATSMKNB0046.ats-global.local" EDIT_SEC_LOC_PROP="https://atsmknb046.ats-global.local:5000/" EDIT_APPID_PROP="2786e5a6-36a8-4bf2-e72a-08daa05ba5b5" EDIT_LIC_SRV_URL_PROP="https://atsmknb0046.ats-global.local:44335/" SQL_TRUSTED_CONNECTION=”” SILENT_INSTALL="TRUE"
The Parameters that are provided for quiet installations are:
SERVER_PROP: The name of the server where the database will be created.
USERNAME_PROP: The user that has rights to create a database. Used in conjunction with SQL_TRUSTED_CONNECTION.
SQL_TRUSTED_CONNECTION: Specifies the authentication method to use. If the property is set to "1" then Trused SQL Authentication is selected and it will use the windows account under which the installer is started. If "" is set then it will use SQL Authentication. The default value is 1.
EDIT_NEW_DLG_LOGIN_ID_PROP: The username for SQL user that will be used to connect to the database. This user requires access to the database only. Admin rights to the server and database are not required.
EDIT_NEW_DLG_PASS_PROP: The password for the user that is used to connect to the database.
CBTYPE_1_PROP: Indicate which protocol will be used. I.e. HTTP or HTTPS
HTTP_S: Used in scripts where configuration URLs are built and must have the same value as CBTYPE_1_PROP. I.e. HTTP or HTTPS.
EDIT_NEW_DLG_HOST_NAME_PROP: The name of the host where the software is installed.
EDIT_SEC_MEN_PORT_PROP: The ort value for Security Manager. Default is 5000.
EDIT_CONF_MNG_PORT_PROP: The port value for Configuration Manager. Default is 4200.
CBSSL_PRO: The name of the certificate that will be used if the software is installed for HTTPS.
GO_INSTALL: Used during the upgrade of the software and indicates that the user accepts the upgrade.
SILENT_INSTALL: The default value is FALSE and indicates to the installer if some scripts need to be executed if installation is run in silent mode.
SSL_CN: The Certificate Common Name Value
Error Log
It is recommended to enable logging so that any issues that may occur during an unattended installation can be identified. Ensure the location of the text file, indicated in bold in the below example, is valid.
<NAME-OF-INSTALLATION-PACKAGE>.exe /exenoui /qn /L*V "C:\silent\Install.log"
.exe /exenoui /qn /LV "C:\silent\Install.log" SERVER_PROP="ATSMKNB046\SQLEXPRESS" DATABASE_PROP="rep_211015_01" EDIT_NEW_DLG_LOGIN_ID_PROP="test123" EDIT_NEW_DLG_PASSWORD_PROP="test123" CBTYPE_1_PROP="https" HTTP_S="https" EDIT_SERVER_HOST_NAME_PROP="ATSMKNB012.ats-global.local" EDIT_PORTAL_PORT_PROP="6200" EDIT_API_PORT_PROP="13228" CBSSL_PROP="ATSMKNB0046.ats-global.local" EDIT_SEC_LOC_PROP="https://atsmknb046.ats-global.local:5000/" EDIT_APPID_PROP="2786e5a6-36a8-4bf2-e72a-08daa05ba5b5" EDIT_LIC_SRV_URL_PROP="https://atsmknb0046.ats-global.local:44335/" SILENT_INSTALL="TRUE"
Install ATS Reporting Configuration plugin
The ATS Reporting Configuration plugin is required to enable users to configure the ATS Reporting Portal.
For information on how to install plugins in ATS Configuration Manager, please click here.
Configure roles for ATS Reporting Portal and ATS Reporting Configuration
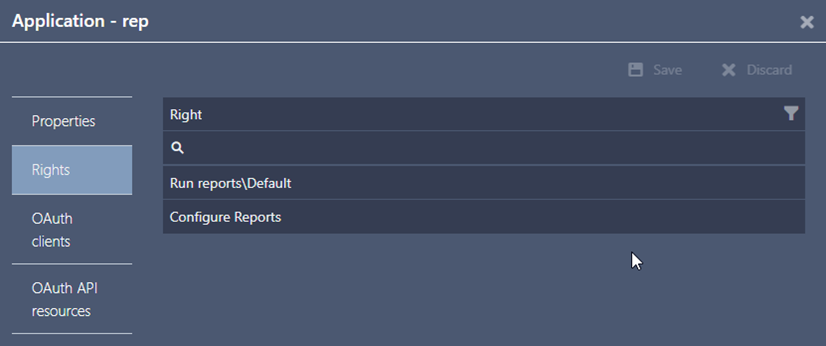
The ATS Reporting Portal application comes with two built-in rights:
Run reports\Default: The Run reports\Default right is added to the Default security class. All reports initially added to the Reports menu in the ATS Reporting plug-in have the Default security class.
Configure Reports: The Configure Reports right can be assigned to roles that are permitted to configure reporting sources, the reports menu and other configuration aspects of ATS Reporting in the ATS Reporting configuration plug-in in ATS Configuration Manager.
Please note that the Configure Reports right will only be available once the ATS Reporting Configuration plugin has been installed. Please click here.
Additional security classes can be created and assigned to reports in the Reports menu. Those classes will be available as application rights of the ATS Reporting Portal application in ATS Security.
For further information security classes, please click here.
Create/edit a role for viewing reports in ATS Reporting Portal
Create or edit a role in ATS Security.
Assign the Run reports\Default right to the new role.
Assign the new role to a user (login) that can authenticate through ATS Security.
For further information on configuring user roles in ATS Security, please click the links below:
Create a new Role
Edit a Role
Assign a Role to a user
Users assigned with the new permission are required to log out and sign in again for the changes to take effect.
Create a role for configuring reports in ATS Reporting plug-in
Create or edit a role in ATS Security.
Assign the Configure reports right to the new role.
Assign the new role to a user (login) that can authenticate through ATS Security.
For further information on configuring user roles in ATS Security, please click the links below:
Create a new Role
Edit a Role
Assign a Role to a user
Users assigned with the new permission are required to log out and sign in again for the changes to take effect.