ATS CM4D Printer
Alternatively you can use the eDoc PDF Printer. See here for more information.
The ATS CM4D Printer is a PDF print driver that can be used as the printing mechanism for generating PDF reports from CM4D applications. Since the CM4D Printer is not a third-party add-on (like eDoc PDF Printer), a special license for the print driver is not required.
You can use the CM4D Printer on all systems running CM4D, including Servers and Clients. While eDoc only requires installation on systems running the Scheduler services, the CM4D Printer is also used for internal application printing along with the Scheduler and Web printing. If a system does not require PDF printing you may choose not to configure the CM4D print driver or use the alternative eDoc PDF Printer.
The generated PDF reports are created with CM4D Printer are the same as those created by eDoc. Files with the same name are overwritten and all sheets in a Managed Report are merged into a single file. However, you may notice some minor changes regarding the appearance images or ways markings are drawn. It would be highly recommended to test the CM4D print driver prior to installing on multiple systems or directly in production.
PDF Resolution
The printed PDF resolution is 600dpi. The only print option that allows you to change is the File > Print Direct menu option in CM4D or CM4Di.
Configure CM4D Printer
The CM4D printer must be set in the Cm4d.ini file as the print driver. If any CM4D applications are currently open, you should exit those applications and restart them after configuring the Cm4d.ini file.
Browse to the CM4D install folder (.\Applied Tech Systems\CM4D).
Edit the Cm4d.ini file (requires READ/WRITE Administrator privileges).
In the [default] section find the parameter "PDFPRINTDRIVER".
Change the value to "ATS CM4D Printer".
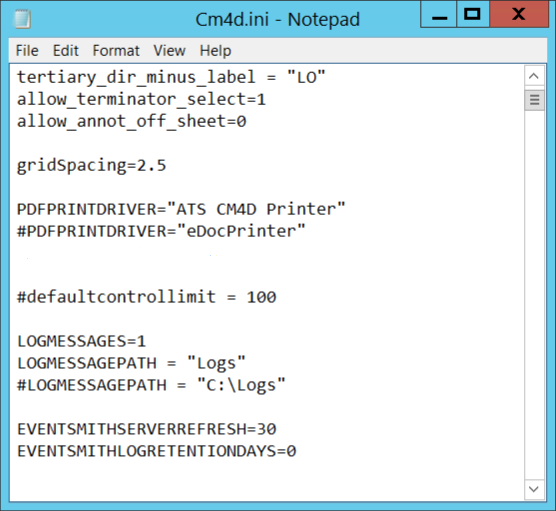
Comment out (#) the other print driver options or delete the unused lines entirely.
Save the file.
Repeat these configuration steps on every CM4D system or provide a master copy of the Cm4d.ini to every computer running CM4D with the CM4D Printer.
Test CM4D Printer
After configuring the CM4D printer for the first time, it is recommended to test printing a report to confirm the driver is working properly. You can do this using any report print method you are familiar with in CM4D, or by following the suggestions outlined below.
CM4D Classic - Print PDF
Run CM4D Classic and open any report or create and save a new document.
Go to File > Print Misc > Print PDF.
The file will automatically save to the file path of the CM4D document.
Browse to the document folder and open the PDF.
CM4D Scheduler - Test Job
Start the CM4D Scheduler and CM4D Launcher services.
Run CM4D Scheduler Manager.
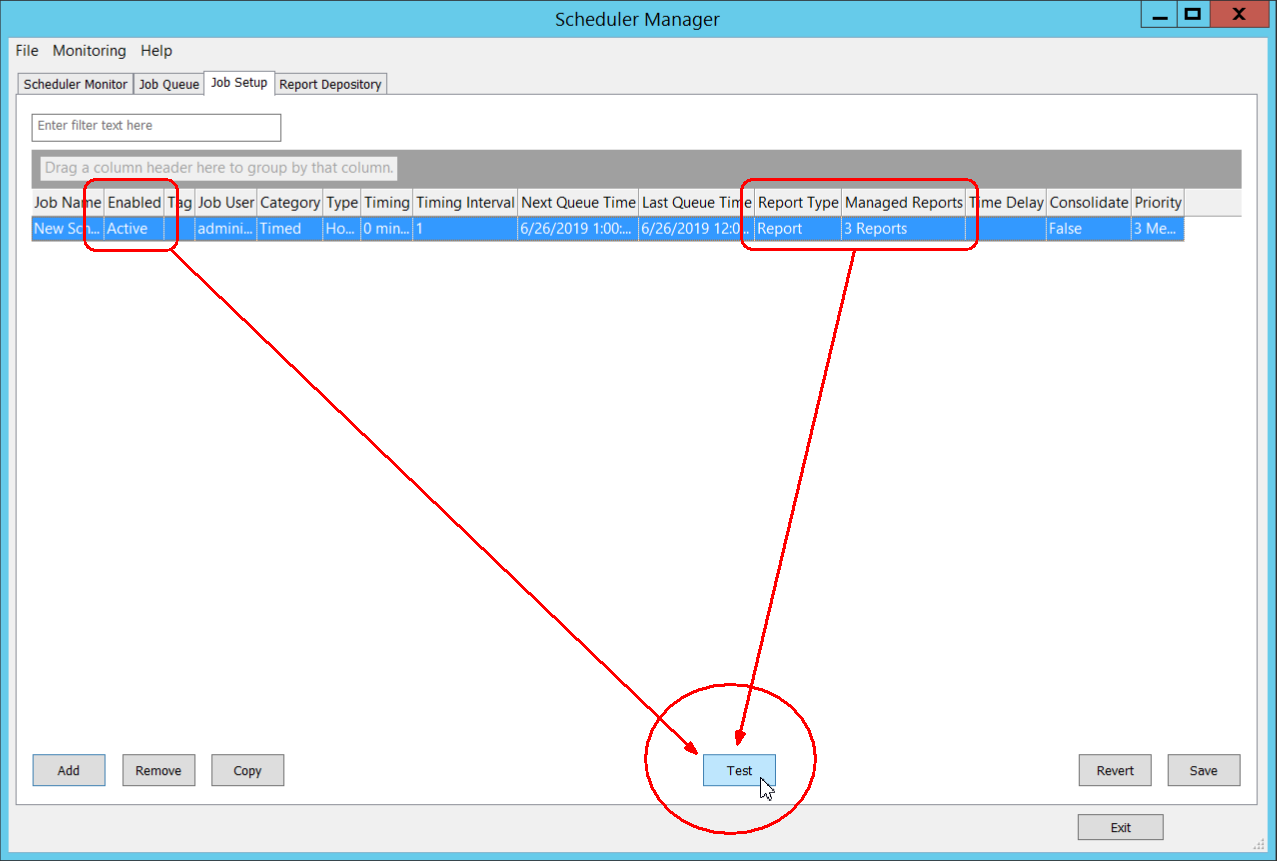
Go to the Job Setup tab.
Select an existing job (or create/setup a new job) with at least one Managed Report.
Set the Enabled field to Active.
Set the Report Type to either Report or Both.
Click Test.
Wait for the job to process.
Go to the repository folder for the printed report.
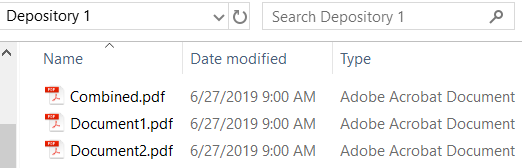
Open a PDF to view the report.
Close the PDF.
Can we improve this topic?