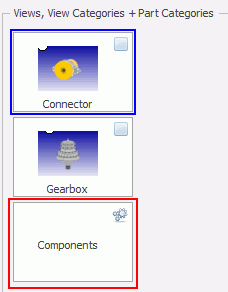
When the area you are inspecting is very small or where it is not necessary to be precise in marking a defect, your station might be configured with a button-driven inspection. This means that instead of placing the defect on a view you must drill down to the component starting from the part category.
Part categories have the name of the category on the button and have a different symbol in the corner.

Entering defects with part categories is the same general process as entering them from an image view.
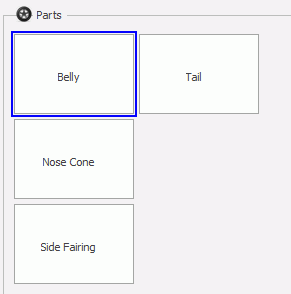
Select the part category. The parts contained in that category are shown.

If there are documents associated to a part then the document icon (![]() ) will be shown in the corner of it. Click on the icon to show a list of the associated documents and then click on the document to open it.
) will be shown in the corner of it. Click on the icon to show a list of the associated documents and then click on the document to open it.
Select the part on which the defect was found.
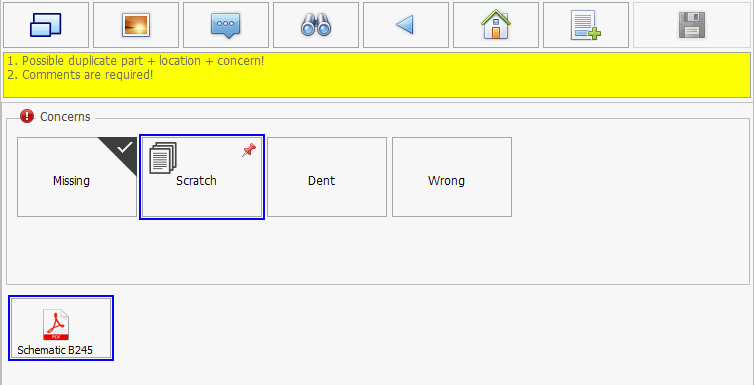
The concern selection window opens.

If there are documents associated to a concern then the document icon (![]() ) will be shown in the corner of it. Click on the icon to show a list of the associated documents and then click on the document to open it.
) will be shown in the corner of it. Click on the icon to show a list of the associated documents and then click on the document to open it.
Select a Concern.
A warning is displayed if the part/location/concern matches an existing defect on the unit.
The rank selection window opens.
Select a Rank.
The responsible area and responsible cell selection window opens.
Select a Responsible Area and Responsible Cell.
Enter any required comments relating to the defect.
Enter a Track Number. This is a unique identifier for the defect.
Enter a Quantity. This is used when there are multiple defects of the same type on a part. By default the value is 1.
Enter a Recurring Qty. This is used when the same defect is found on consecutive, identical parts. The default value is 0 with a maximum of 1000.
For further information on Recurring Defects, click here.
If the Reference Documents control is present (see here) you can view images and guidelines, associated to the selected concern, by clicking on their images. These will help you to correctly fill in the form.
Click OK to apply the concern and return to the View screen.
For a description of how the defect appears on the View screen refer to the Defect Flags section.