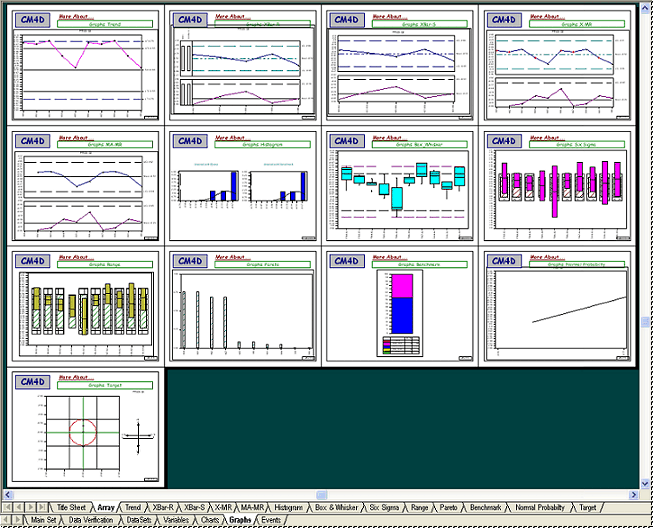
The Array sheet is a thumbnail layout of all of the Sheets within a SheetSet. Within the Array sheet, you may perform any action on the annotation as you can when a single sheet tab is selected, such as annotation editing, sheet resizing, moving annotation, etc.
Although the Array sheet is located before the first sheet in a SheetSet by default, and cannot be moved, renamed or deleted, it is not the default display sheet of a selected SheetSet. The default display page (or the first page viewed when a SheetSet is opened), will always be "Sheet 1" (or whatever sheet is the first sheet after the Array). You can set the Array sheet to be the default display sheet by selecting the Array sheet, saving, and closing your document. When the document is reopened, this will be the first sheet you see when that SheetSet is opened.
Functions
Annotation cannot exist outside the border of a sheet. If an annotation is dropped beyond the border while in the sheet Array, the annotation's center will snap back onto the nearest point inside of the sheet's border. There are various controls which may be utilized within the sheet Array:
Copy an Annotation to New Sheet: Click first annotation, drag it onto the sheet you want to copy it to, and drop it. This will create a copy on the new sheet.
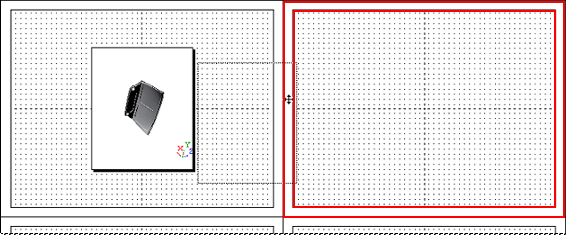
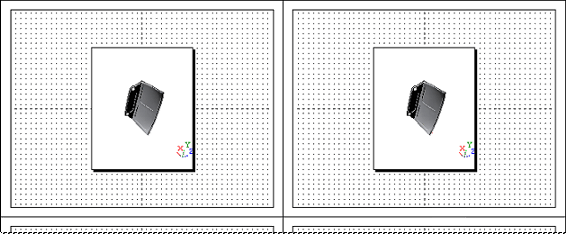
Copy an Annotation to New Sheet (Identical Position): Click first annotation, drag it over the margin of the sheet you want to copy it to (shown below), and drop it. This will create a copy on the new sheet in the exact location as the original.
|
|
|
|
|
|
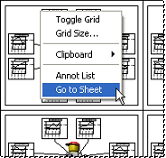
Go to Sheet: To view a Sheet from the Array, right click the sheet you wish to view and select Go to Sheet. This will open the Sheet normally (i.e. by the individual Sheet tab).
Move annotation from Sheet to Sheet: To move an annotation from one sheet to another, click on the annotation, drag over the sheet you wish to move it to, and drop the annotation. If you want to move the annotation to the exact location as on the first sheet, drop the annotation onto the margin of the new sheet.
Zoom to a Sheet: If you hold the ctrl key and click Zoom Fit when in the array sheet, the sheet with the active annotation will be zoomed to fit the view region
Printing the Array Sheet
When a Print job is executed from the Array sheet, all of the sheets within the SheetSet are sent to the printer as a single job. If you do a Print Preview from the sheet Array, you can preview all of the sheets within the SheetSet prior to completing the print job. This is the only way of printing a multi-sheet single job.
If the Array Sheet has been altered, the report will still print as it appeared before the temporary modifications.
Custom Array Layout
The Layout of the Array sheet may be customized using the SheetSet Properties dialog. Within the Array Row Adjust field, 0 designates the default "auto-layout" option. To increase the layout by columns, enter a positive number increment (e.g. 1). To increase the layout by one row, enter a negative number increment (e.g. -1). In order to get all sheets to form a single column, enter a large positive number, such as 100. To get all sheets to form a single row, likewise enter a large negative number, such as -100.
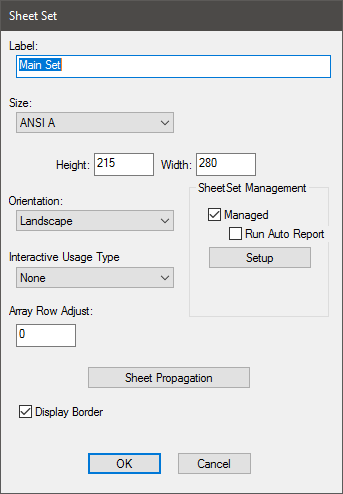
Depending on the number of sheets in your Sheetset, a small increment may not appear to do anything. Trying a large number (e.g. 100) may result in the desired outcome.
Altered Array Sheet
While in ReportTweak mode, the Array Sheet can be temporarily altered by hiding or moving sheets so that you only have to deal with the sheets that are relevant to the data you are currently working with. See the topic, Altered Array Sheet.
